|
Tutorial de Natália
Link tutorial original:
Recanto
|
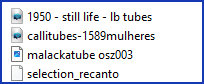
| Tubes Principais:
VM Tubes
|
| Link material:

|
| Plugins: Eye Candy 4000/ Weave
Cybia/ Screenworks
Unlimited 2.0/ Buttons & frames
|
Save the selection [selection_recanto]
in the Selections folder on the PSP
It will be necessary:
1 tube character
1 tube misted landscape
1 decorative tube |
SCRIPT
01. Choose a color from your tubes that will be predominant
in the image
02. Copy your tube character (it will be remembered)
03. Open a new transparent image measuring 950 x 650px
04. Paint the image with the chosen color
05. Selections / Select All
06. Paste the image copied above into the selection
07. Select none
08. Effects / Image effects / Seamless Tiling / Default
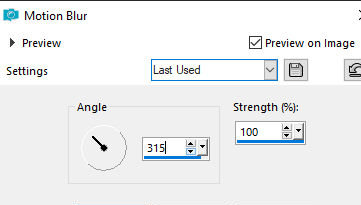
09.Adjust/Blur/Motion Blur
315 100
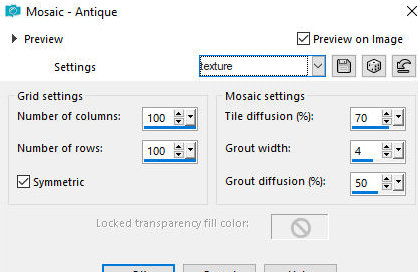
10. Effects / Texture Effects / Mosaic-Antique - preset: Texture
(or copy the configuration as shown in the print)
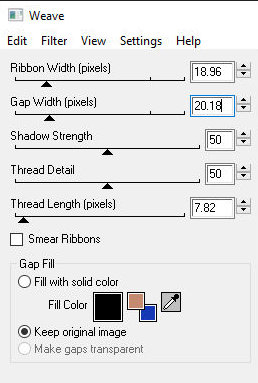
11. Effects / Plugins / Eye Candy 4000 / Weave
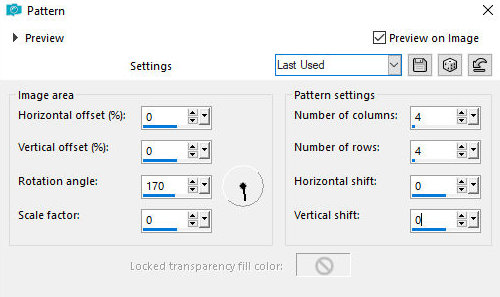
12. Effects / Reflection Effects / Pattern
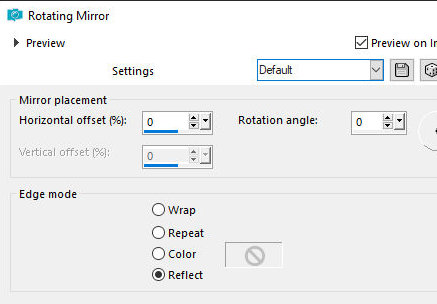
13. Effects / Reflection Effects / Rotating Mirror - Default
14. Drop Shadow: 5 5 60 10 black
15. Layers / New Raster Layer
16. Paint with the color chosen at the beginning
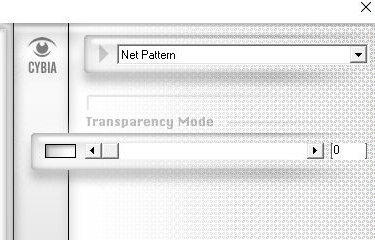
17. Effect / Plugins / Cybia / Screenworks / Net Pattern
Choose the values according to the color you chose at the
beginning
18. Layers / Arrange / Send to Bottom
19. Activate the Raster 1 layer
20. Layers/duplicate
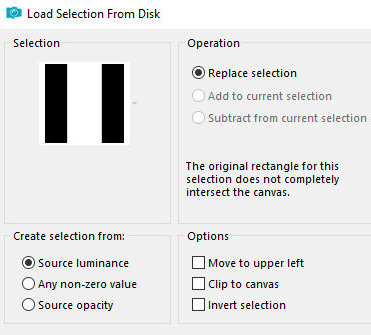
21. Selections / Load selection from disk / Selection [selection_recanto]
22. Press Delete on your keyboard
23. Selections / Invert
24. Drop Shadow: 5 5 60 10 black
25. Repeat Drop shadow with negative V and H
26. Copy the mixed landscape tube and paste it as a new layer
27. Position the tube in the selection so that the part of the
image you choose appears
28. Selections / Invert
29. Press Delete on your keyboard
30. Select none
31. Layers / Arrange /Move Down
32. Activate Layers Raster 1
33. Layers/Properties/Opacity: 65%
34. Activate the top layer
35. Copy the tube character and paste it as a new layer
36. Position as desired
37. Drop Shadow of your choice
38. Copy the decorative tube and paste as a new layer
39. Position as desired
40. Drop shadow of your choice
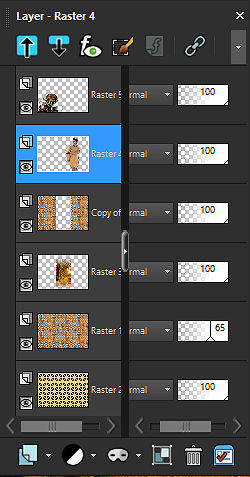
The layers:
41. Image / Add borders / symmetric marked / 2px / black
42. Image / Add borders / symmetric marked / 20px / color chosen
at the beginning
43. Image / Add borders / symmetric marked / 2px / black
44. Image / Add borders / symmetric marked / 50px / color chosen
at the beginning
45. Select this 50px border with the Magic Wand (tolerance/feather=0)
46. Effects / Plugins / Cybia / Screenworks / Net Pattern same
as above
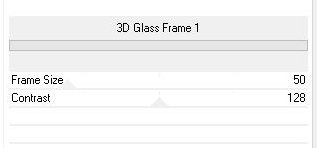
47. Effects / Plugins / unlimited 2 / Buttons&Frames / 3D Glass
Frame 1
50 128
48. Select none
49. Image / Resize: width=950px - all layers checked
50.Adjust/sharpness/Sharpen
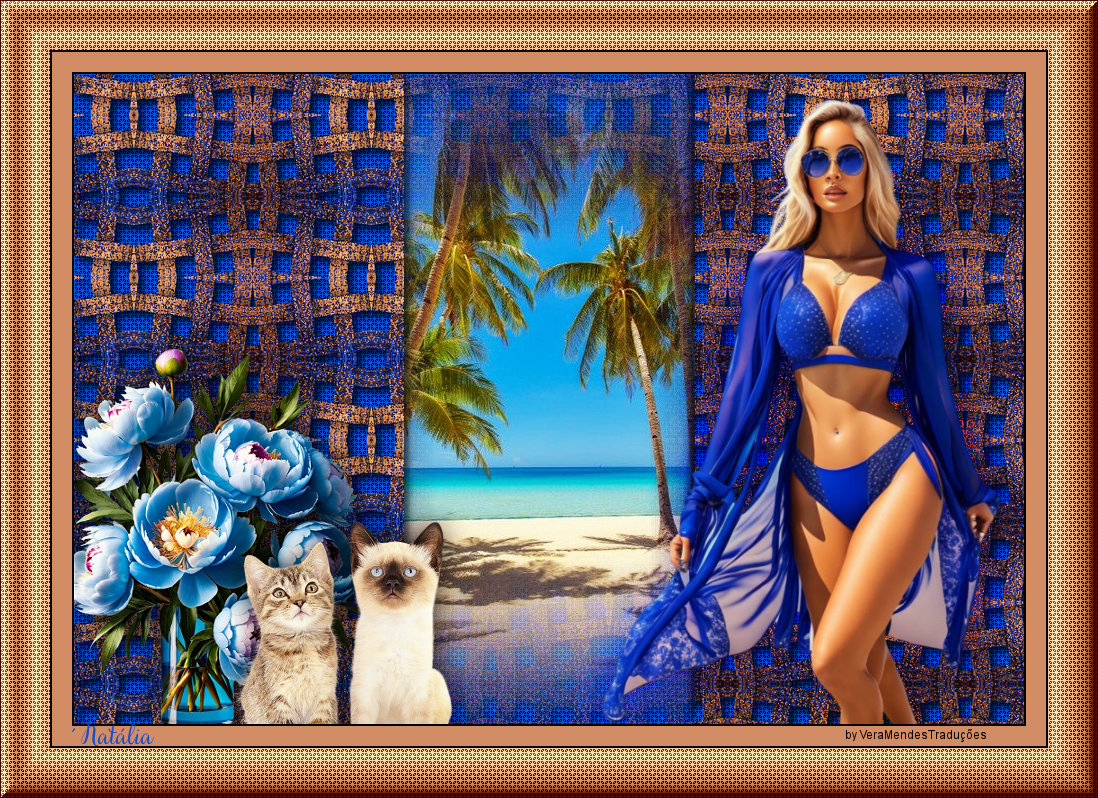
51. Put your signature
52. Save as jpeg