Material
Tube de personagem
Misted de paisagem
Tube decorativo
Plugin Eye Candy 4000/ Weave
Plugin Cybia/ Screenworks
Plugin Unlimited 2.0/ Buttons & frames
selection_recanto (coloque na pasta Corel Paint Shop Pro/ Selection)
Roteiro:
1 - Abra um tube no PSP. Retire uma cor predominante
Edit/ copy.
2 - Abra uma imagem transparente 950X650.
Pinte com essa cor
3 - Selections/ Select all
Edit/ Paste into Selection. Selections/ Select None
4 - Effects/ Image Effects/ Seamless Tiling/ Default
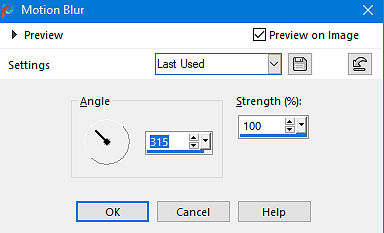
5 - Adjust Blur/ Motion Blur/ Angle/ 315/ Strength/ 100
Aplique duas vezes
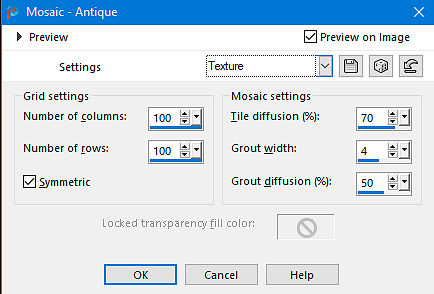
6 - Effects/ Texture Effects/ Mosaic-Antique/ Settings/ Texture
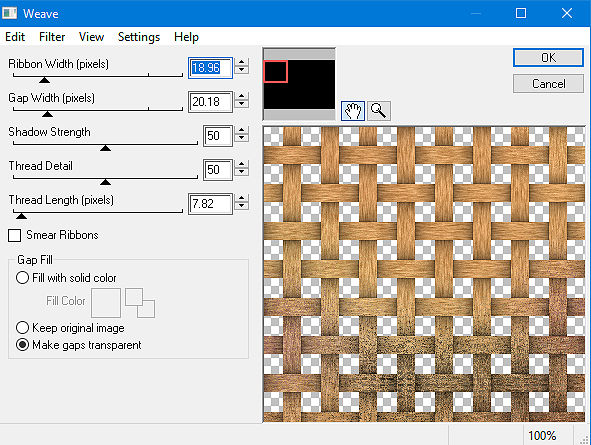
7 - Effects/ Plugins/ Eye Candy 4000/ Weave/ 18,96 / 20,18 / 50 / 50 / 7,82
/ Make gaps transparent marcado
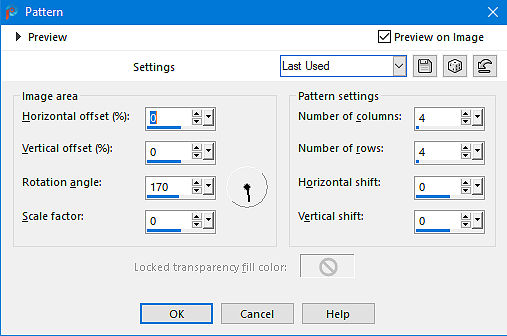
8 - Effects/ Reflection Effects/ Pattern/ Default
Altere Rotation angle para 170,
Number of columns e Number of rolls para 4
9 - Effects/ Reflection Effects/ Rotation Mirror/ Default
10 - Effects/ 3D Effects/ Drop Shadow/
5/ 5/ 60/ 10,00/ Preto
11 - Layers/ New Raster Layer
Pinte com a cor escolhida no item 1
12 - Effects/ Plugins/ Cybia/
Screenworks/ Net Pattern
Escolha o valor de acordo com a tonalidade que preferir
13 - Layers/ Arrange/ Send to Bottom
14 - Volte à Raster1 e duplique a
layer
15 - Selections/ Load/ Save Selection
/ Load Selection from Disk
Escolha a seleção selection_recanto
16 - Aperte a tecla delete no teclado
Selections/ Invert
17 - Effects/ 3D Effects/ Drop Shadow/
5/ 5/ 60/ 10,00/ Preto. Repita com os valores H e V negativos
18 - Edit/ Copy no misted de paisagem
Edit/ Paste as New Layer
19 - Com a ferramenta Move, mova a
imagem colocando no centro a parte que quer que apareça
20 - Aperte a tecla delete no
teclado, para remover o excesso da imagem
Selections/ Select None
21 - Layers/ Arrange/ Send to Bottom
22 - Volte à Raster1 e baixe a
opacidade para 65%
23 - Edit/ Copy no tube de personagem
Edit/ Paste as New Layer
24 - Layers/ Arrange/ Bring to Top
Coloque onde desejar e aplique uma sombra a gosto
25 - Edit/ Copy no tube decorativo
Edit/ Paste as New Layer
26 - Coloque onde desejar e aplique
uma sombra a gosto
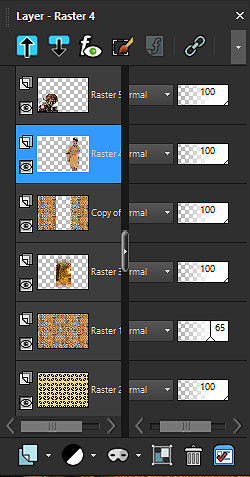
Posição das Layers
27 - Image/ Add Borders/ Symmetric/
2/ Preto
28 - Image/ Add Borders/ Symmetric/
20/ cor escolhida anteriormente
29 - Image/ Add Borders/ Symmetric/
2/ Preto
30 - Image/ Add Borders/ Symmetric/
50/ cor escolhida anteriormente
Selecione essa borda
31 - Effects/ Plugins/ Cybia/
Screenworks/ Net Pattern.
Escolha o valor de acordo com a tonalidade que preferir
32 - Effects/ Plugins/ Filters/
Unlimited 2.0/ Buttons & Frames/ 3D Glass Frame1/ 50/ 128
33 - Selections/ Select None
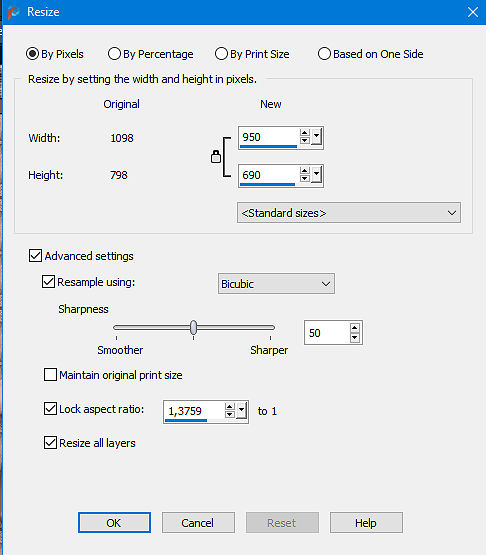
34 - Image/ Resize/ By Pixels/ Width/ 950. Resize All Layers marcado
Adjust/ Sharpness/ Sharpen
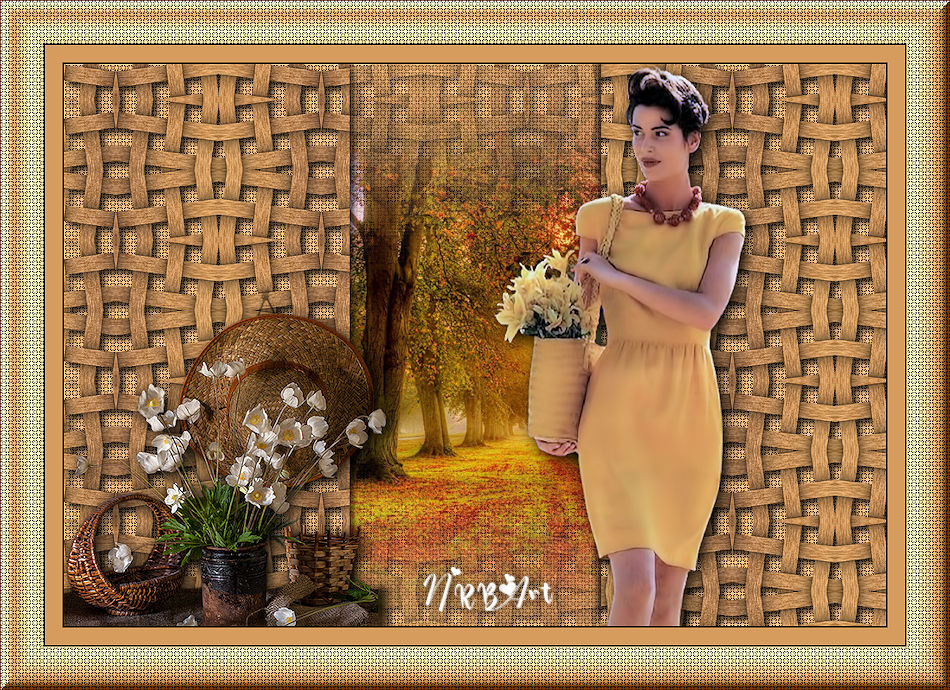
35 - Assine e salve em jpeg
Outro Modelo:
Créditos:
Tube1: Calligraphy
Misted paisagem1: Malackatube
Tube decorativo1: LB tubes
Tube2: Angel Star
Misted paisagem2: Ana Ridzi
Tube decorativo2: Kamil Tube
selection_recanto
Tutorial criado por Natália Raposo em Agosto de 2023