|

|
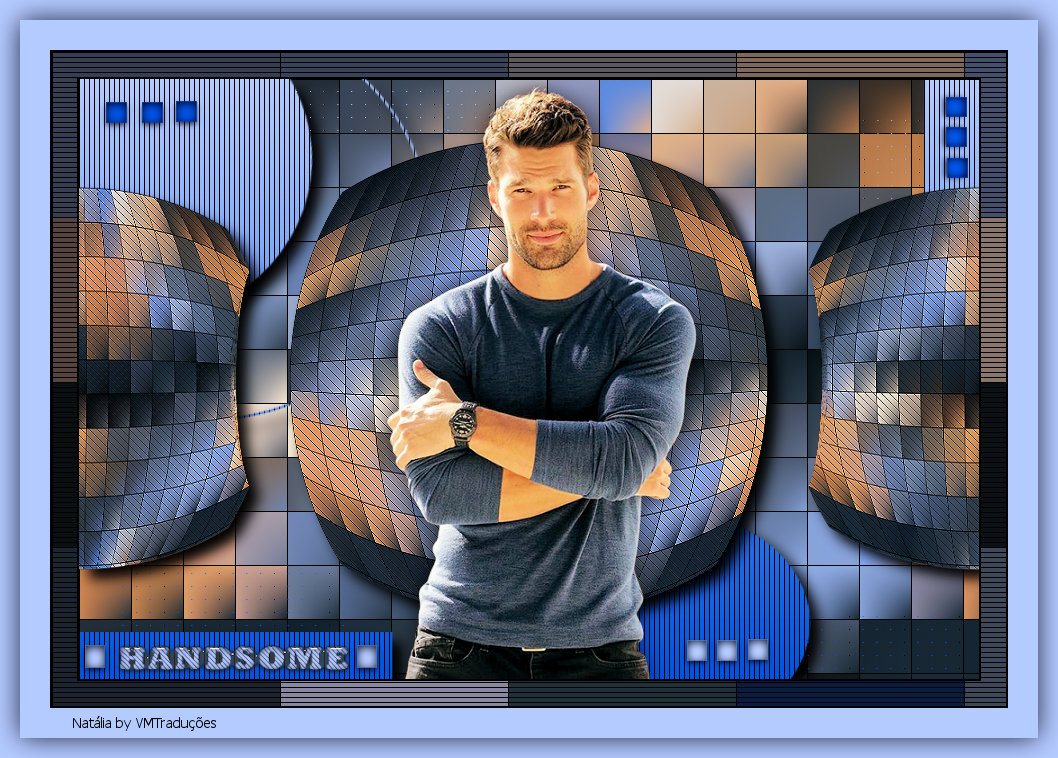
Tutorial de Natália
Link tutorial original:
Handsome
|
| Tubes Principais:
VM Tubes
|
| Link material:

Você precisará de:
1 tube personagem
|
| Plugins: Toadies/ Plan Mosaic Blur
AP01[Innovations]/ Lines-Silverlining
Simple/ Left Right Wrap
LenK's/ Jouri
|
SCRIPT
01. Open the tubes / Duplicate (shift+d) / close
the originals
02. Choose two colors from your tube. A dark color for the
foreground and a light color for the background
03. Open a new transparent image measuring 900 x 600px
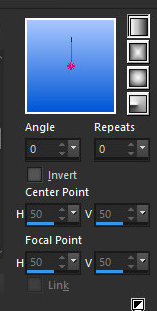
04. Prepare a Linear gradient
0/0/invert unchecked
05. Paint the image with this gradient
06. Selections / select All
07. Copy the tube character and paste it into the selection
08. Select none
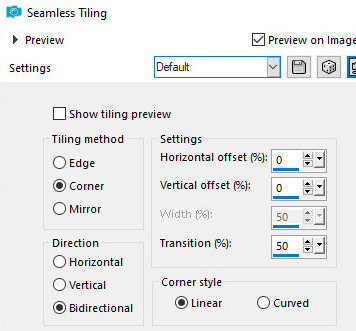
09. Effects / Image Effects / Seamless Tiling - default
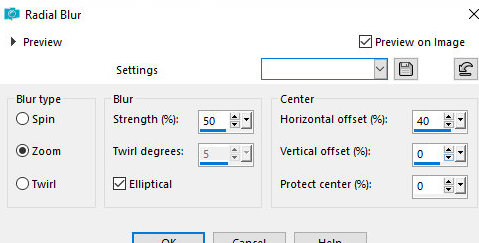
10. Adjuts / blur / Radial blur
zoom 50 elliptical marked 40 0 0
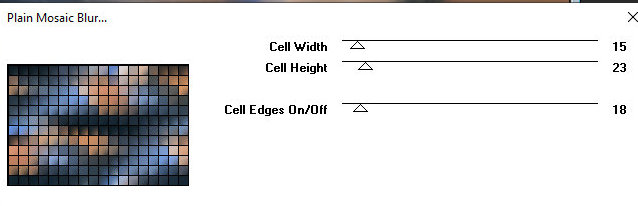
11. Effects / Plugins / toadies / Plain Mosaic Blur
15 23 18
12. Layers/Duplicate
13. Image/resize: 80% - all layers unchecked
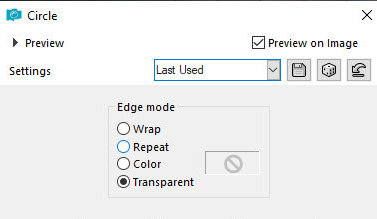
14. Effects / Geometric Effects / circle / transparent
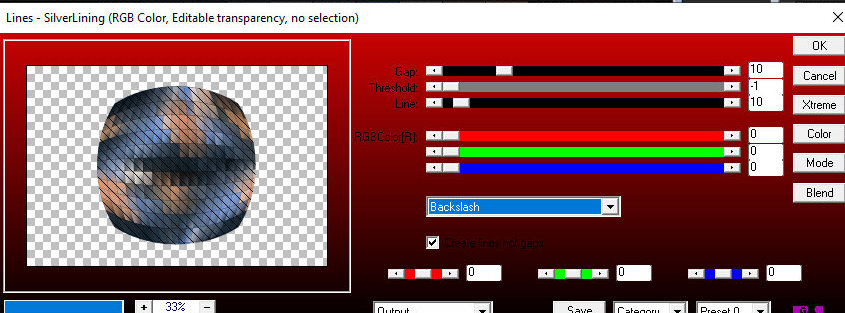
15. Effects / plugins / AP 01 [Innovations] / Lines-Silverlining
backslash 10 -1 10 0 0 0
16.Adjust/sharpness/sharpen
17. Layers/duplicate
18. Image / Resize: 80% - all layers unchecked
19. Effects / plugins / Simple / Left Right wrap
20.Adjust/sharpness/Sharpen
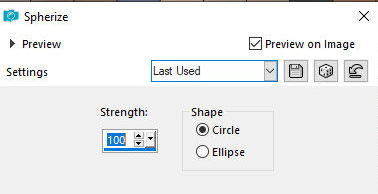
21. Effects / Geometric Effects / Spherize
100 circle
22. Merge down
23. Drop shadow: 10 10 100 20 black
24. Layers / New Raster Layer
25. Paint with the gradient
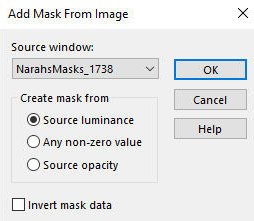
26. Layers / New Mask Layer / From Image / Mask [NarahsMask_1738]
27. Merge Group
28. Layers / Arrange / Move Down
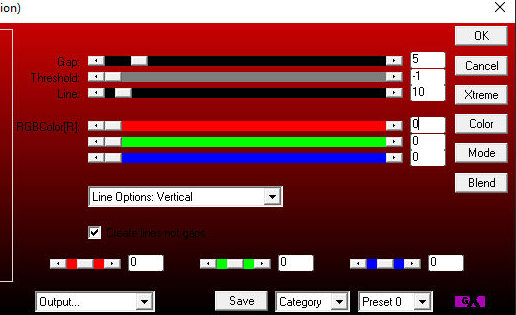
29. Effects / Plugins / Ap 01 [Innovations] / Lines-Silverlining
Line options: vertical 5 -1 10 0 0 0
30. Drop shadow: 10 10 100 20 black
31. Copy the tube character and paste it as a new layer
32. Layers / Arrange / bring to top
33. Make any adjustments you deem necessary (resize/sharpen/drop
shadow/position)
34. Copy the tube deco [nrb_art_deco_59] and paste it as a new layer
N.T.: Colorize according to the colors you are using
35. Position according to the model
35. Do the same thing with the decos: nrb_art_deco_60, 61 and 62
36. Copy the tube [nrb_art_texto_11] and paste it as a new layer
37. Position according to the model
38. Image / add borders / symmetric marked / 2px / black
39. Copy (it will remain in memory)
40. Selections / select All
41. Image / add borders / symmetric marked / 25px / black
42. Selections / Invert
43. Copy the previously copied image into the selection
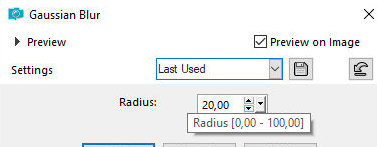
44.Adjust/blur/Gaussian Blur: 20
45. Effects / Plugins / L&K's Jouri
122 129 128
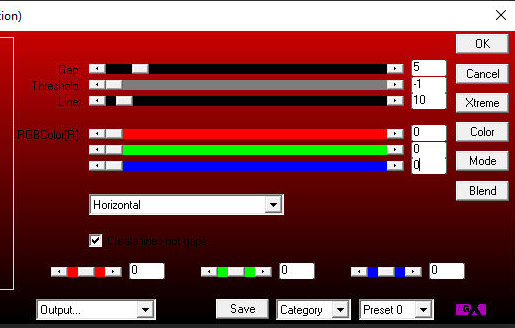
46. Effects / Plugins / AP 01 [Innovations] / Lines-silverlining
horizontal 5 -1 10 0 0 0
47. Select none
48. Image / Add borders / symmetric marked / 2px / black
49. Image / Add borders / symmetric marked / 50px / background color
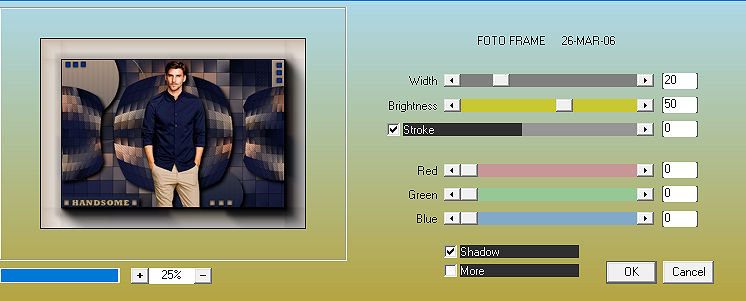
50. Effects / Plugins / AAA Filters / Photo Frame
20 50 0 0 0 0
51. Image / Resize: width=900px - all layers checked
52. Adjust / sharpness / sharpen
53. Put your signature and save as jpeg
*
|
Value the translator’s work. In
addition to the link to the original work, also include
the translation link. Thank you very much!
|
Tutorial traduzido em
18/11/23
*
 |