|

This tutorial is from Natália, who I thank for
letting me translate her tutorials
*
Original here

*
Tubes:

*
Material


> You will need a character tube and a decorative tube
*
Plugins
Unlimited 2.0/ &<BkgDesigner sf10I>/ BlindsVertical
AP [Lines] Lines Plugin - Silverlining
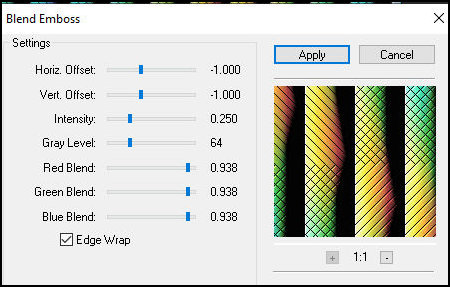
Plugin FM Tile Tools/ Blend Emboss
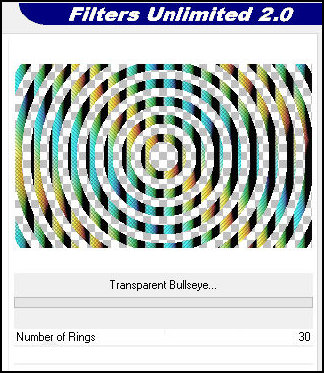
FF Gallery E/ Transparent Bullseye
SCRIPT
Open the material on psp / Duplicate (shift+d) / close the originals
Choose two colors from your main tube/ Put the darker one in the
foreground and the lighter one in the background
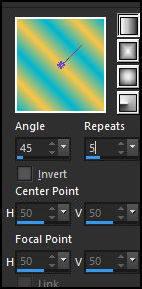
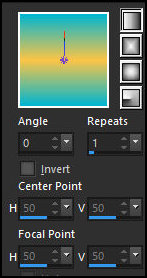
Prepare a Linear gradient
[45/5/invert unchecked]
Open a new transparent image measuring 800 x 500px
Paint with the gradient
Effects / Edge Effects / Enhance more
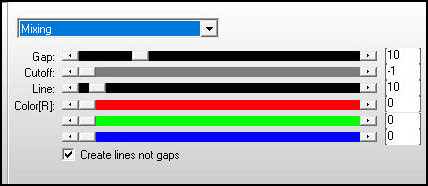
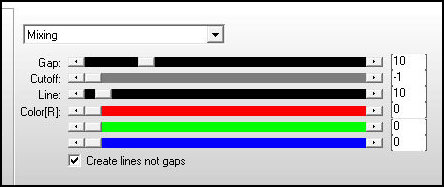
Effects / Plugins / AP [Lines] / SilverLining - Preset [Mixing]
default
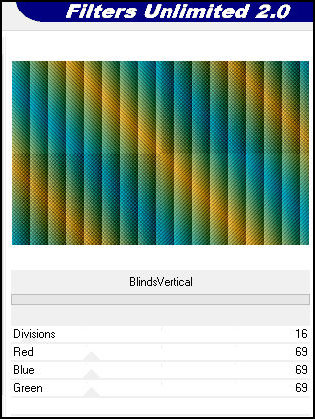
Effects / Plugins / unlimited 2 / BKG Designer sf10 I / Blinds
vertical
[16 69 69 69]
Effects / Plugins / FM Tile Tools / Blend Emboss - Default
Layers/Duplicate
Effects / Plugins / FF Gallery E / Transparent Bullseye=30
Note: the effect does not appear, but it is there
Layers / Properties / blend Mode: Screen
Effects / distortion Effects / Polar Coordinates / Rectangular to
polar / Transparent

Adjust / Sharpness / sharpen More
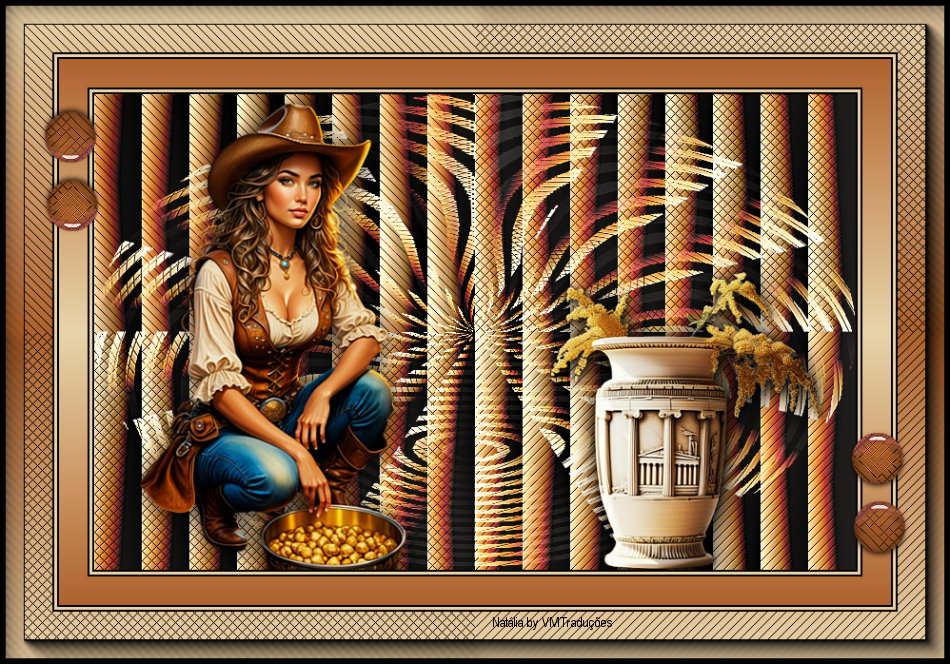
Copy the tube character and paste as a new layer
Position to the left according to the model
Make any adjustments you deem necessary (Resize/Sharpen/Drop shadow)
Copy the decorative tube and paste as a new layer
Position to the right according to the model
Make any adjustments you deem necessary (Resize/Sharpen/Drop shadow)
Image / Add borders / Symmetric marked:
2px / black
3px / background color
2px / black
30px / contrasting color
Select this 30px border with the Magic Wand (tolerance/feather=0)
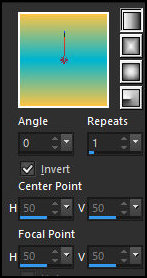
Paint with this Linear gradient
[0/1/invert unchecked]
Select none
Image / Add borders / Symmetric marked:
2px / black
3px / background color
2px / black
50px / contrasting color
Select this 50px border with the Magic Wand
Paint with the previous gradient, with INVERT CHECKED
Effects / plugins / AP [Lines] / SilverLining / Mixing - default
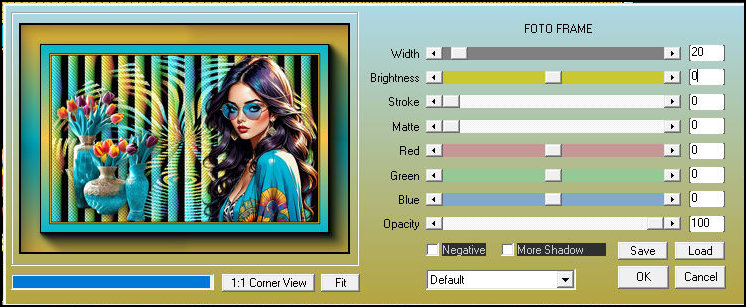
Effects / Plugins / AAA Frames / Photo Frame
[20/0/0/0/0/0/0/100]
Select none
Image / Add borders / Symmetric marked / 5px / black
Copy the tube deco and paste it as a new layer
Colorize according to your colors
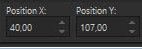
Activate the Pick Tool and configure: X=40 / Y=107
Layers/Duplicate
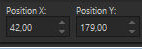
Activate the Pick Tool and configure: X=42 / Y=179
Merge down
Layers/Duplicate
Image / Mirror / Mirror Horizontal
Image / Mirror / Mirror Vertical
Put your signature
Merge All
Save as jpeg
*
Outro modelo

|
If you do my translation, I will be
very happy if:
> You let me know if you find any errors
> Send a copy of your version to my email *
>If when sharing you mention that you used my
translation, thus valuing my work
*MEU EMAIL
|
Tutorial traduzido em
15/02/2024
*
 |