|

|
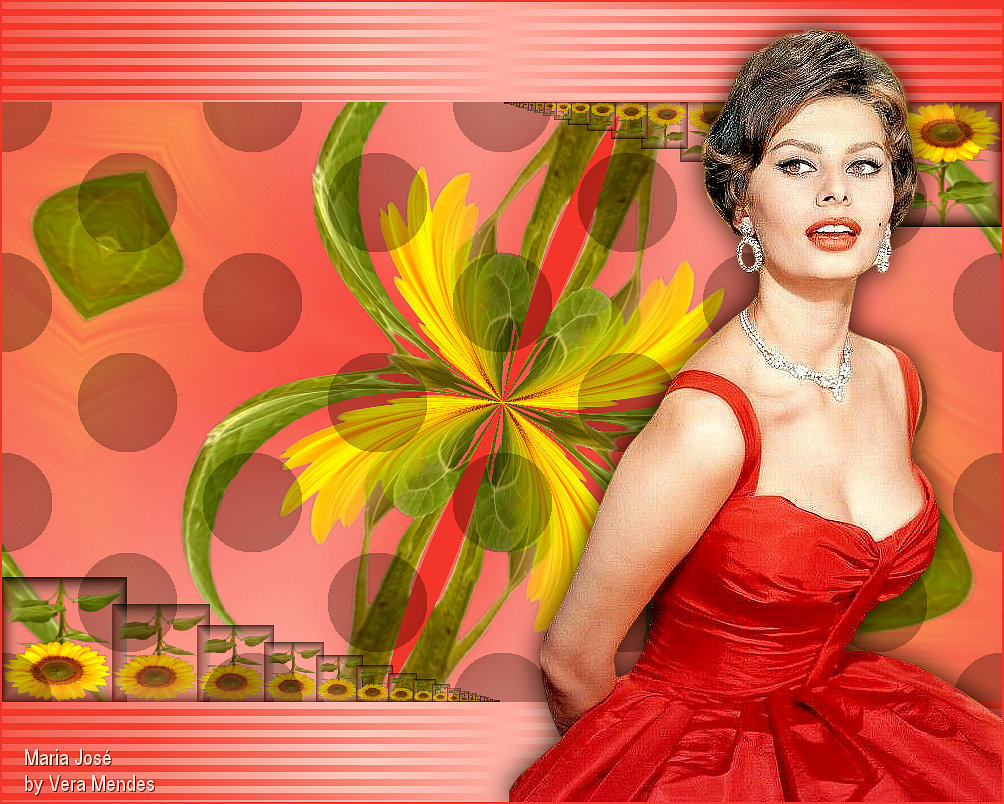
Tutorial de Maria José
Link tutorial original:
Sonhadora
|
| Tubes Principais:
VM Tubes
|
| Link material:


|
| Plugins: Muras Seamless / Polkadot
DSB Flux / Linear Transmission
|
| Save the selection in the PSP's
Selections folder You need
A tube character
A floral tube
|
SCRIPT
01. Open a new transparent image with 1000 x 600
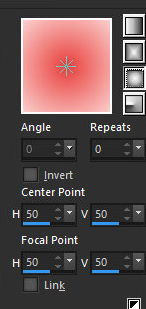
02. Prepare a Sunburst gradient, as shown in the print.
use two tube colors: a light color in the foreground and a dark
color in the background
03. Paint the image with this gradient
04. Selections / select All
05. Copy the floral tube
Paste into selection
06. Select none
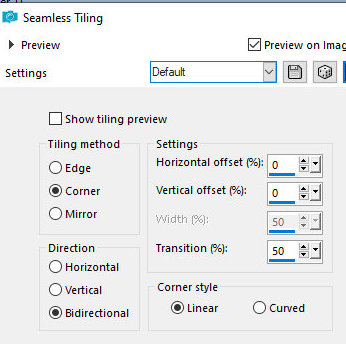
07. Effects / Image Effects / Seamless tiling / default
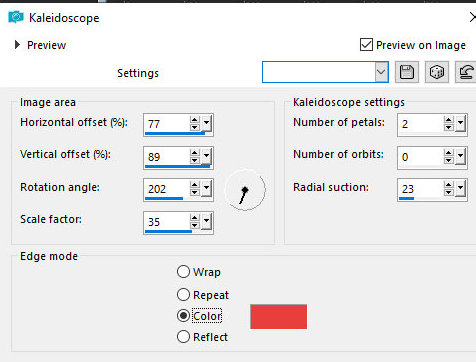
08. Effects / Reflection Effects / Kaleidoscope - background color
09. Layers / New Raster layer
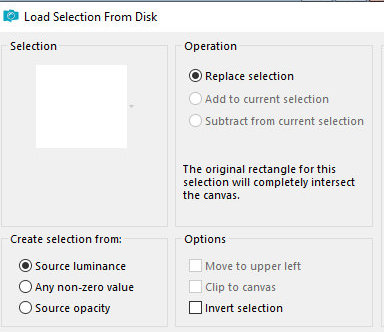
10. Selections / Load selection from disk / selection [Corel
125x125]
11. Copy the floral tube
Paste into selection
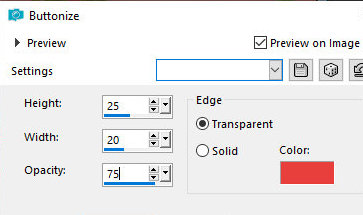
12. Effects / 3D Effects / Butonize - background color
23. Select none
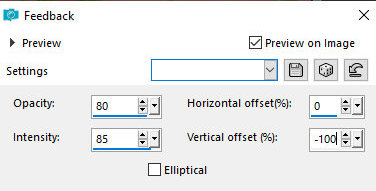
14. Effects / Reflection Effects / Feedback
15. Image/Mirror/Mirror Horizontal
Layers/Duplicate
Image / mirror / Mirror Vertical
Image / Mirror / Mirror horizontal
16. Merge visible
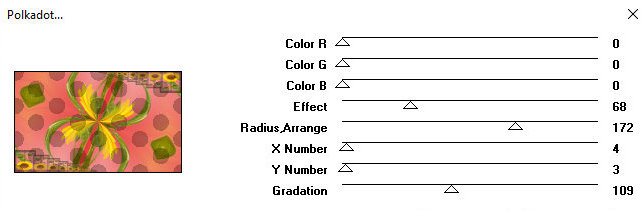
17. Effects / Plugins / Mura's Seamless / Polkadot
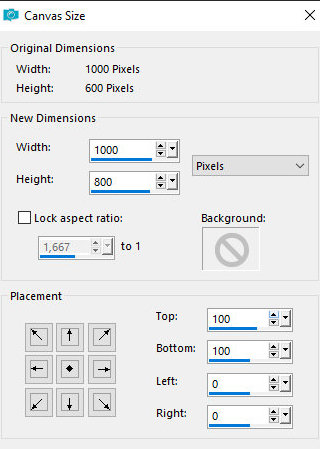
18. Image / Canvas size - 1000 x 800 / 100 100 0 0
19. Select the top edge with the Magic Wand (tolerance/feather=0)
20. Layers / New Raster Layer
Fill with initial gradient
Keep selection
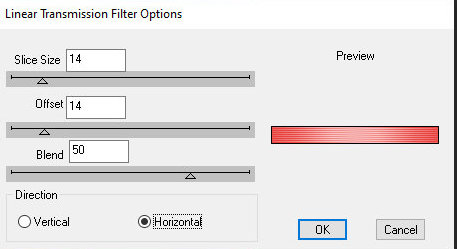
21. Effects / Plugins / DSB Flux / Linear Transmission
14 14 50 horizontal
Select none
22. Activate the Merged layer
Select the bottom edge
Repeat the steps done on the top edge
23. Copy the main tube
Paste as new layer
24. Layers / Arrange / Bring to top
Position as desired
Drop Shadow of your choice
25. Image / Add borders / 2px / symmetric marked / background color
26. Put your signature
Save as jpeg
Tutorial traduzido em 27/10/2023
*
 |