|


This tutorial is from Natália, who I thank for
letting me translate her tutorials
*
Original here
*
Tubes:

*
Material


*
Plugins
Unlimited 2.0/ &<Bkg Designer sf10I/ ALFs Border Mirror Bevel
Unlimited 2.0/ &<Bkg Designer sf10I/ Circle Pede
Mura's Meister/ Perspective Tiling
DSB Flux/ Bright Noise
AAA Frames/ Frame Works
SCRIPT
01/05
Place selections in the PSP's Selections folder
Open the material on PSP / Duplicate (shift+d) / Close the originals
Choose two colors for your tubes: a dark one for the foreground and
a light one for the background
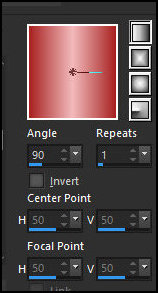
Prepare a Linear gradient
[Angle: 90/ Repeats: 1/ Invert unchecked]
Open a new transparent image measuring 1000 x 700px
Paint with the gradient
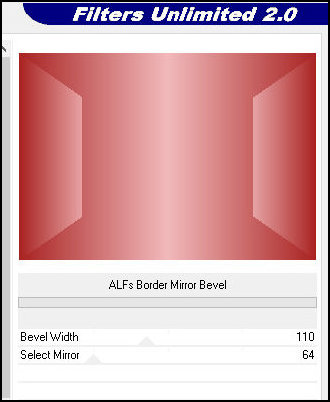
Effects / plugins / Unlimited 2 / BKG Designers sf10 I / Alf's
Borders Mirror Bevel
[110 64]
Add new layer
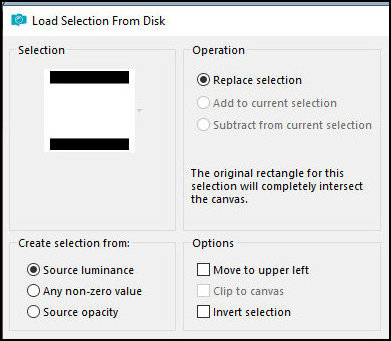
Selections / Load selection from disk / Selection
[Selection_scene_1]
06/10
Copy the mixed floral or landscape tube and paste it into the
selection
Select none
Activate the Raster 1 layer
Layers/Duplicate
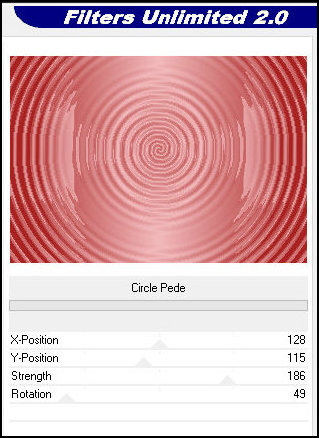
Effects / plugins / Unlimited 2 / BKG Desginer sf10 I / Circle Pede
[128 115 186 49]
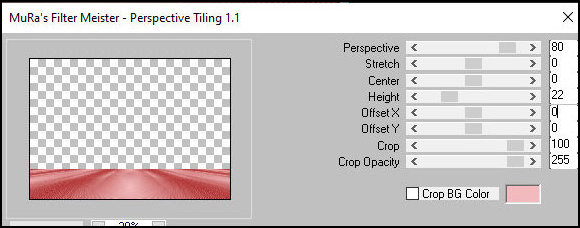
Effects / Plugins / Mura's meister / Perspective Tiling
[80 0 0 22 0 0 100 255]
Effects / Edge Effects / Enhance
Layers/Arrange/Move Up
11/15
Activate the Magic Wand, tolerance=0, feather=10 and click on the
transparent part of the layer
Press Delete on your keyboard 6 times
Select none
Add new layer
Selections / Load selection from disk /[Selection_scene_2]
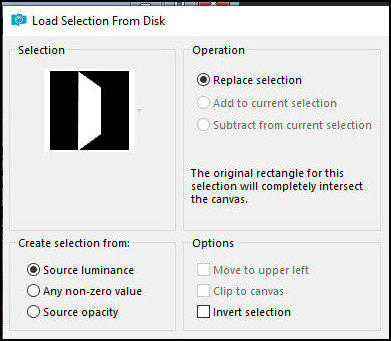
Paint the selection with the light gradient color
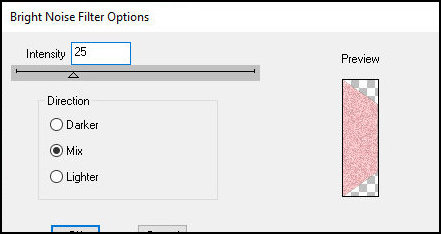
Effects / Plugins / DSB Flux / Bright Noise
[25 mix]
Effects / Texture Effects / Blinds
[Width 15/ Opacity 75/ black/ Light from Left/ Top marked]

Drop shadow: 0 0 60 10 black
16/20
Select none
Layers/Duplicate
Image / Mirror / Mirror Horizontal
Add a new layer
Paint with light color
Effects / Plugins / DSB Flux / Bright Noise
[25 mix]
Effects / Texture Effects / Blinds
[Width 15/ Opacity 75/ black/ Light from Left/ Top marked]
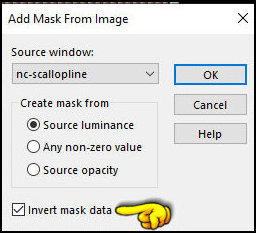
Layers / New Mask Layer / From Image / Mask [NC-ScallopLine]-INVERT
MARKED
Merge Group
21/25
Effects /Image Effects / Offset= 0/370/transparent

Drop shadow: 2 2 100 2 black
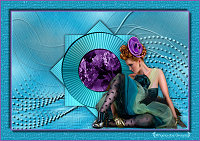
Copy the tube character and paste as a new layer
Resize / Apply a Drop shadow of your choice / Position as desired
Copy the decorative tube and paste as a new layer
Resize / Apply a Drop shadow of your choice / Position as desired
Image / Add borders / symmetric marked / 2px / black
26/30
Selections / Select All
Image / Add borders / symmetric marked / 50px / black
Selections/Invert
Paint with the gradient
Effects / Plugins / AAA Frames / Frame Works / Gold / Single 20
[20 27 0 -170]

Note: Change the values in Red/Green/Blue according to the
foreground color
Select none
Image / Resize: width=950px - all layers checked
Adjust/sharpness/Sharpen
Put your signature
Merge all
Save as jpeg
*
|
Value the translator’s work. In
addition to the link to the original work, also include
the translation link. Thank you very much!
Valorar el trabajo del traductor.
Además del enlace a la obra original, incluya también el
enlace a la traducción. ¡Muchas gracias! |
Tutorial traduzido em
07/02/2024
*
 |