|

This tutorial is from VeBeau who I thank for
letting me translate his tutorials
*
Original -
Here
*
Material:

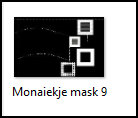
>Open the mask and minimize
> You will need 5 .jpg images
and 1 tube character
*
Plugins:
No plugins, just PSP effects
SCRIPT
01. Open your material / Duplicate (shift+d) / close the originals
02. Open a new transparent image measuring 800 x 600px
03. Choose 2 colors for your tube: a dark color for the foreground
and a light color for the background
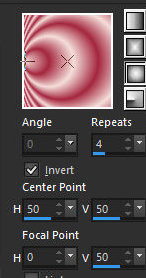
04. Prepare a Sunburst Gradient
0/4/invert unchecked/center point=50/50/focal point=0/50
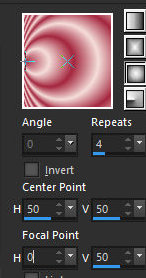
05. Paint the image with this Gradient
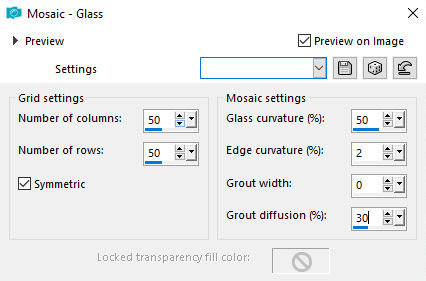
06. Effects / Texture Effects / Mosaic Glass
50 /50 50 /2 /0 /30/symmetric marked
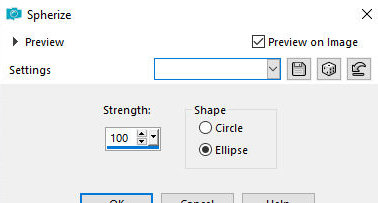
07. Effects / Geometric Effects / Spherize
100/ellipse
print
08. Effects / Edge Effects / Enhance
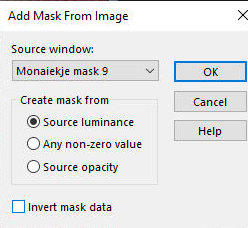
09. Layers / New Mask Layer / From Image / Mask [Monaiekje mask 9]
print
10. Merge Group
11. Drop Shadow: 10 / 10 / 80 / 24 / 000000
12. Layers / New Raster Layer
13. Layers / Arrange / Move Down
14. Paint with Gradient with Invert checked
print
15. Effects / Edge Effects / Enhance
16. Activate Layer Group Raster 1
17. Layers / New Raster Layer
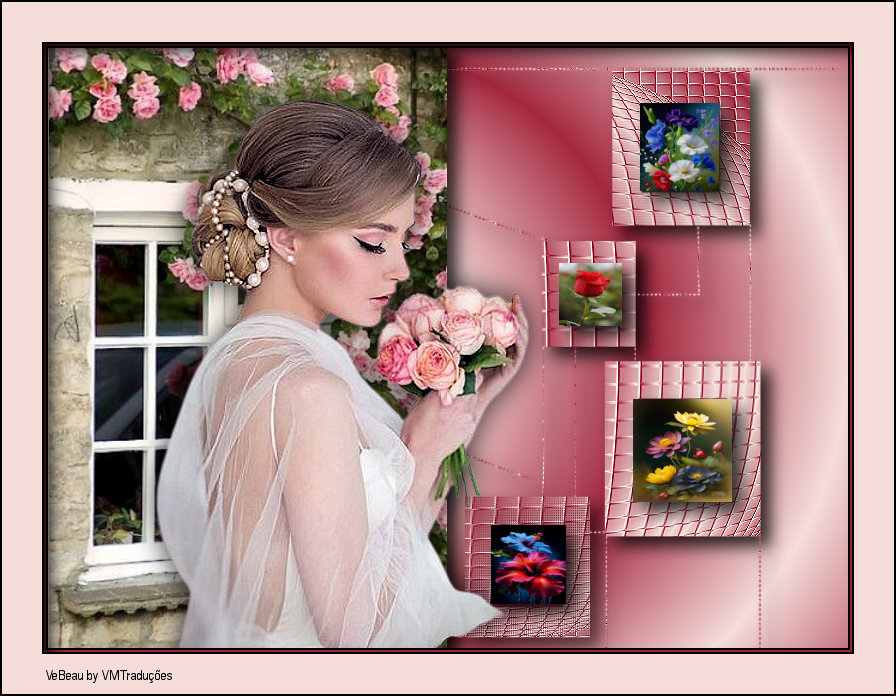
18. Select the first frame with the Selection Tool, as shown in the
print
print
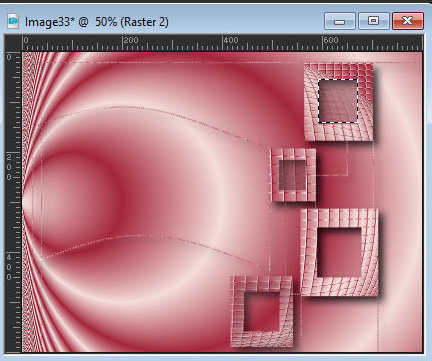
19. Copy the .jpg image and paste it into the selection
20. Drop Shadow: 10 / 10 / 80 / 24 / Color 000000
21. Select None
22. Layers / New Raster Layer
23. Select the second frame with the Selection Tool
24. Copy another .jpg image and paste into selection
25. Drop shadow same as above
26. Repeat these same steps in the last two frames
27. Merge down - repeat two more times
28. Activate the Raster 1 layer
29. Copy the chosen .jpg image and paste it as a new layer
30. Position the image on the left and adjust the position with the
Pick tool
31. Drop Shadow: 10 / 10 / 80 / 24 / 000000
32. Layers / Arrange / Bring to Top
33. Copy the tube character and paste it as a new layer
34. Make any adjustments you deem necessary (resize, sharpen, drop
shadow, etc.)
35. Image / Add borders / Symmetric marked:
2px / black
2px / foreground color
2px / black
40px / background color
36. Select this 40px border with the Magic Wand
37. Drop Shadow: 10 / 10 / 80 / 24 / 000000
38. Select None
39. Image / add borders / symmetric marked / 2px / black
40. Image / Resize: 800 x 600px - all layers checked (optional)
41. Put your signature
42. Merge All
43. Save as jpeg
*
|
Value the translator’s work. In
addition to the link to the original work, also include
the translation link. Thank you very much!
Valorar el trabajo del traductor.
Además del enlace a la obra original, incluya también el
enlace a la traducción. ¡Muchas gracias! |
Tutorial traduzido em
07/12/2023
*
 |