|


This tutorial is from Natália, who I thank for
letting me translate her tutorials
*
Original here
*
Tubes:

*
Material

*
Plugins
Flaming Pear/Flexify 2
FM Tile Tools/ Blend Emboss
Len K's/ Katharina
MuRa's Meister/ Perspective Tiling
Unlimited 2.0/ &<Bkg Designer sf10I>
DSB Flux/Linear Transmission
SCRIPT
1.
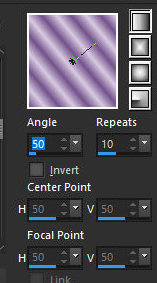
Open the material on PSP / Duplicate (shift+d) / close the originals
Choose two colors for your tube, a dark one for the foreground and a
light one for the background
Prepare a Linear gradient
Open a new transparent image measuring 1000x600px
Paint the image with the gradient
2.
Effects / edge Effects / Enhance More
Selections / Select All
Copy the tube character and paste it into the selection
Select none
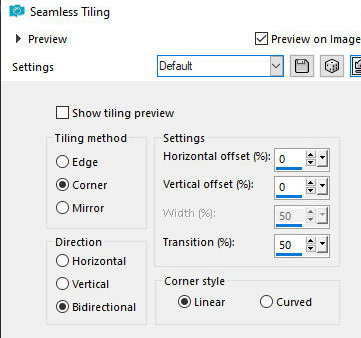
Effects / Image Effects / seamless Tiling - default
3.
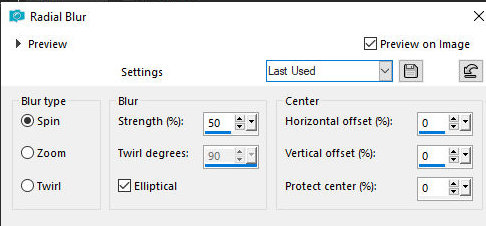
Adjust/Blur/Radial Blur
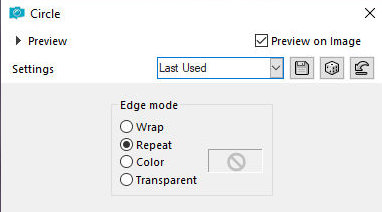
Effects / Geometric Effects / Circle /Repeat
With the Magic Wand select the parts with solid
color and Delete on the keyboard
Select none
Effects / Plugins / flaming Pear / Flexify2
4.
Layers/Duplicate
Image / Mirror / Mirror Horizontal
Layers / Properties / blend Mode: Overlay
Merge down
Effects / Plugins / FM Tile Tools / Blend Emboss - Default
5.
Layers/Duplicate
Image / Mirror / Mirror Horizontal
Layers / Properties / blend Mode: Overlay
Merge down
Effects / Plugins / FM Tile Tools / Blend Emboss - Default
6.
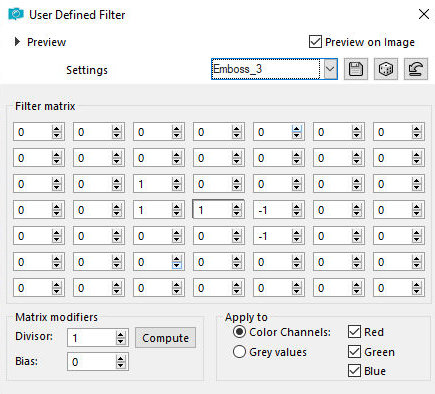
Effects / User Defined Filter / Emboss 3
Add new layer
Paint with white color
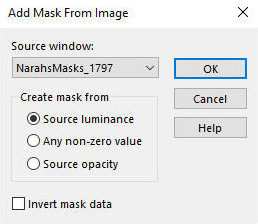
Layers / New mask Layer / From Image / Mask [NarahsMasks_1797]
Merge Group
7.
Using the Pick Tool Drag the left and right sides to the edge of the
tag as shown in the screenshot
Add new layer
Paint with the gradient
Layers / Arrange / Send to Bottom
Effects / Plugins / L&K's / L&K's Katharina
8.
Layers/Duplicate
Effects / Plugins / Mura's Meister / Perspective Tiling
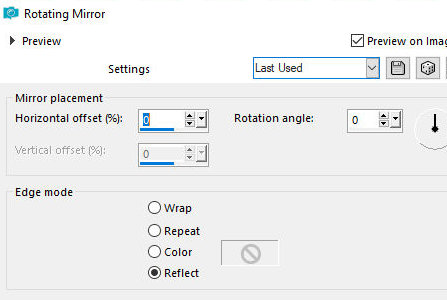
Effects / Reflection Effects / Rotating Mirror -
Default
Effects / Edge Effects / Enhance More
Copy the tube character and paste as a new layer
9.
Layers / Arrange / Bring to top
Resize if necessary
Drop shadow of your choice
Position as you see fit
Image / Add borders / symmetric marked / 2px / white
10.
Image / Add borders / symmetric marked / 3px / background color
Image / Add borders / symmetric marked / 20px / white
Image / Add borders / symmetric marked / 3px / background color
Copy (it will remain in memory)
Selections / select All
11.
Image / Add borders / symmetric marked / 60px / any color
Selections/Invert
Paste the image in memory into the selection
Effects / Plugins / Unlimited 2 / BKG Designer sf10 I / Blur'em!
Effects / Plugins / DSB Flux / Linear Transmission
12.
Effects / Plugins / FM Tile Tools / blend Emboss - default
Adjust/Sharpness/Sharpen
Select none
Image / Add borders / symmetric marked / 2px / foreground color
Image / Add borders / symmetric marked / 20px / white
13.
Image / Add borders / symmetric marked / 2px / foreground color
Copy the deco tube (activate the Raster 1 layer) and paste it as a
new layer
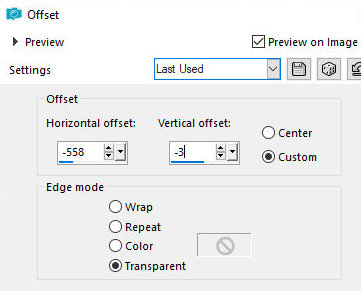
Effects / Image Effects / Offset
Layers/Duplicate
Image / Mirror / Mirror Horizontal
14.
Copy the text and paste as a new layer
Position as you prefer
Merge All
Image / Resize: width=1000px - all layers checked
Adjust/sharpness/Sharpen
15.
Put your signature
Merge All
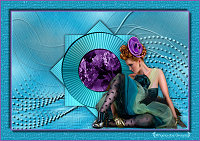
Save as jpeg
*
If you do my translation, I will be very happy if:
> You let me know if you find any errors
> Send a copy of your version to my email *
>If when sharing you mention that you used my translation, thus
valuing my work
*MY EMAIL - veramendespsp2@gmail.com
Tutorial traduzido em 12/04/24
*
 |