|

This tutorial is by Alessandra, whom I thank for
letting me translate her tutorials.
*
Original here
*
Tubes

*
Material

*
Plugins
Redfield / Fractalius
Eye Candy 7 / Glass
SCRIPT
1.
Open the material in PSP / Duplicate (shift+d) / close the originals
Open the mask and minimize
2.
Choose two colors: a dark color for the foreground and a light color
for the background
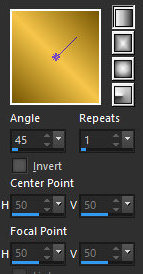
Prepare a Linear gradient
3.
Open a new transparent image with 1000 x 700px
Paint with the gradient
4.
Add a new layer
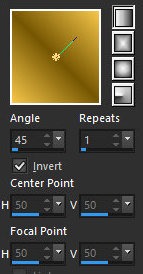
Paint with the same gradient, with INVERT MARKED
5.
Layers / New Mask Layer / From Image / Mask
[5888149d4d668ab7e84a72655123a104]
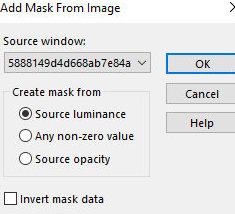
Merge Group
6.
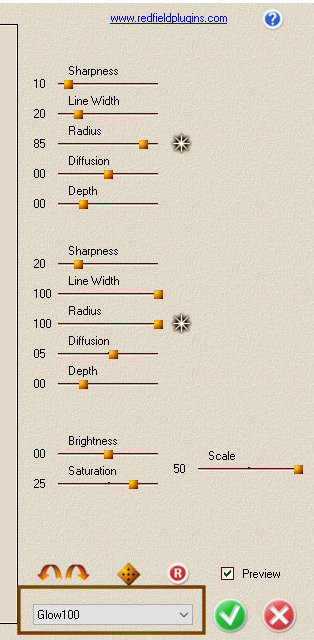
Merge down
Effects / plugins / Redfield / Fractalius - Preset [Glow100]
7.
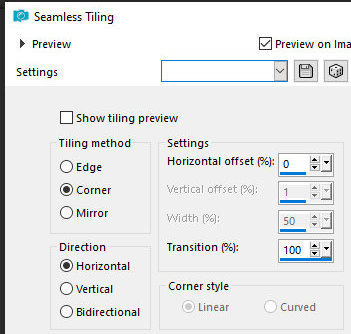
Effects / Image Effects / Seamless Tiling
Add new layer
8.
Activate the Selection tool / custom Selection and set:`
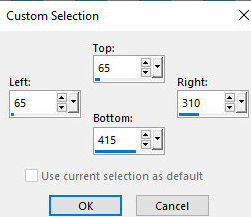
Paint with the gradient
9.
Copy the Face tube and paste it into the selection
Effects / plugins / Redfield / Fractalius - same as before
10.
Paste the Face tube back into the selection (it is still in the
memory)
Select none
11.
Effects / Plug-ins / Eye Candy 7 / Glass - preset [Clear, Low
Refraction]
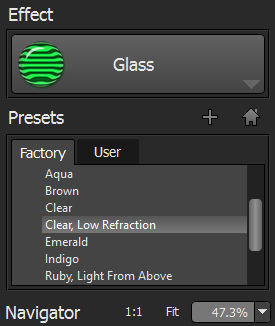
N.T.: I don't have this plugin. I used Eye Candy
5: Impact / Glass / Clear with reflection
Layers / Properties / blend Mode: luminance (L) or Hard Light
12.
Copy the deco tube [deco-lily] and paste it as a new layer
Colorize it according to your work
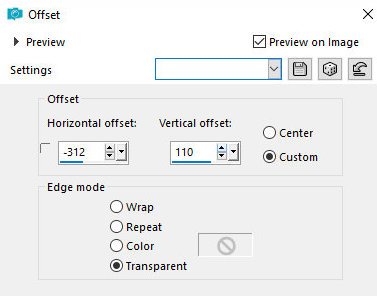
13.
Effects / Image Effects / offset
Merge visible
14.
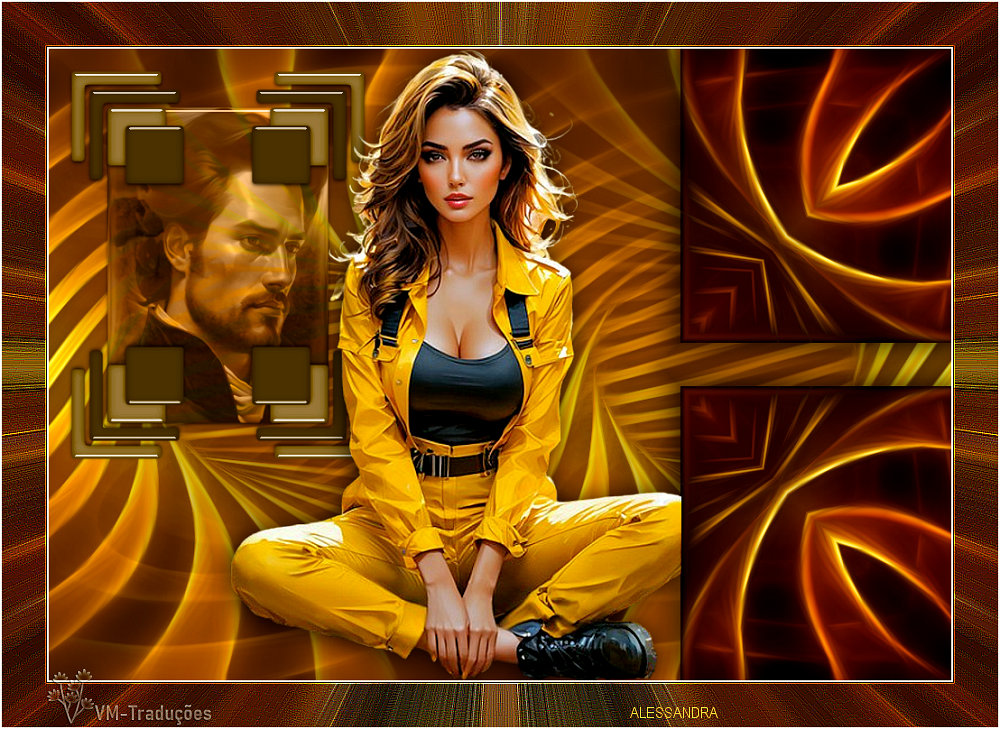
Copy the character tube and paste it as a new layer
Resize it if you think it's necessary
15.
Adjust / sharpness / Sharpen
Drop shadow of your choice
16.
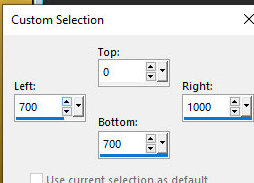
Activate the Merged layer
Activate the Selections Tool / Custom Selection and set:
17.
Selections / Promote selection to layer
Effects / plugins / Redfield / Fractalius same as before
17.
Drop Shadow: 0 0 100 60 black
Select none
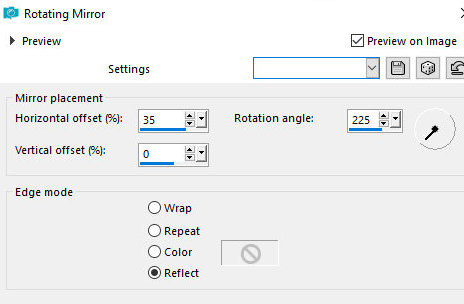
18.
Effects / Reflection Effects / Rotating Mirror
Layers / Duplicate
19.
Image / Mirror / Mirror Vertical
Image / Add borders / 2px / white
20.
Copy the layer (it will stay in memory)
Selections / Select All
21.
image / Add borders / 50px / foreground color
Selections / Invert
22.
Paste the image that is in memory into the selection
Adjust / blur / Radial Blur:
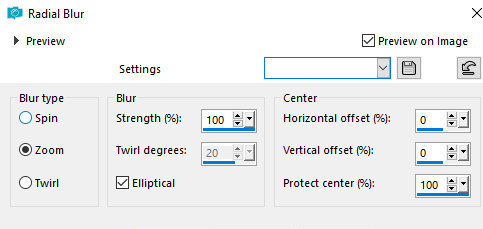
23.
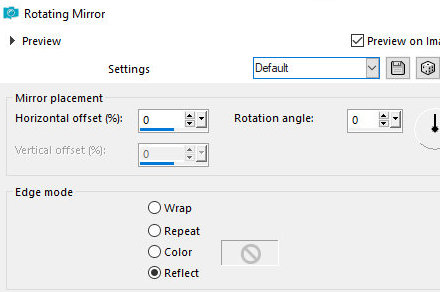
Effects / Reflection Effects / Rotating Mirror / Default
Effects / Edge Effects / enhance More
24.
Repeat the Enhance More
Select none
25.
Image / Add Borders / 2px / white
Image / Resize: 1000 x 700px
26.
Insert your signature
Save as jpeg
*
If you do my translation, I will be very happy if:
> You let me know if you find any errors
> Send a copy of your version to my email *
>If when sharing you mention that you used my translation, thus
valuing my work
*MY EMAIL - veramendespsp2@gmail.com
Tutorial traduzido em 02/06/24
*
 |