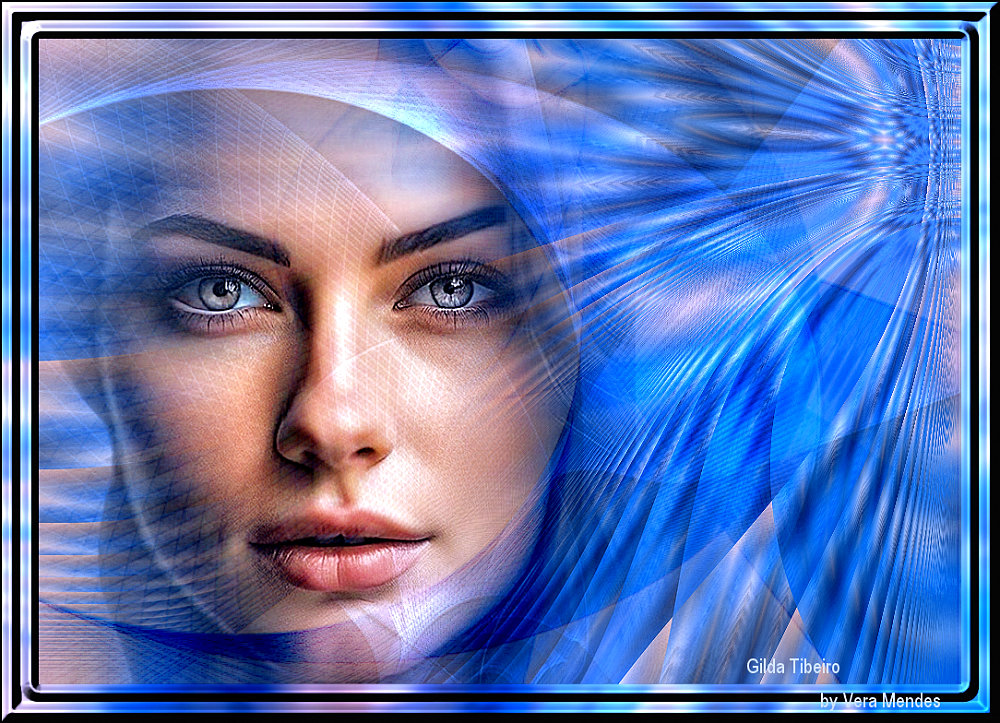
|


|
Tutorial de Gilda Ribeiro
Link tutorial original:
Faces
|
| Tubes Principais:
VM Tubes
|
| Link material:


|
| Plugins: FF Gallery D
|
| You need: 1 tube misted gace
|
01. Open the tube on the psp desktop
Copy and paste as new image
Close the original
02. Choose two colors for your tube: a dark color for the foreground
and a light color for the background
Prepare a Linear gradient
N.T.: the author did not specify a gradient. So I used this one, if
you want to use the same one, see the print
03. Open a new transparent image measuring 800 x 600px
Paint with the gradient
04. Copy the tube
05. Activate your working image
Selections / Select All
06. Paste the tube into the selection
Select none
07. Effects / Image Effects / Seamless Tiling
08. Effects / Reflection Effects / Kaleidoscope:
09. Effects / Plugins / Unlimited 2 /FF Gallery D / Dimensia
10. Effects / Plugins / Unlimited 2 / FF Gallery D / Infini Tiles
11. Effects / Distortion Effects / Warp
12.Adjust/Sharpness/Sharpen
13. Copy the tube again
Paste as new layer
resize if necessary
14.Adjust/Sharpness/Sharpen More
15. Layer/New Raster Layer
Paint with dark color
16.Layers / New Mask Layer / From Image / Mask [Narah_Mask_1715]
Merge Group
17. Layers/Duplicate
18. Remove the visibility of the Copy Group Raster 3 layer by
clicking on the eye
Activate the Group Raster 3 layer
19. Effects / Edge Effects / Enhance
20. Image / Mirror/ Mirror Vertical
Image / Mirror / Mirror Horizontal
Image / Mirror / Mirror Vertical
21. Layers / Properties / blend Mode; Dodge
22. Effects / Art Media Effects / Charcoal
23. Remove the visibility of this layer
Return the visibility of the Copy of Group Raster 3 layer by
clicking on the eye
Activate this layer
24. Effects / Edge Effect / Enhance
25. Image / Mirror / Mirror Horizontal
Image / Mirror / Mirror Vertical
26. Layers / Properties Blend Mode: Burn
27. Effects / Art Medium Effects / Colored Chalk
Return the visibility of the Group Raster 3 layer
Translator note: If you want, position the tube further to the left
28. Merge all
29. Copy this image (it will remain in memory)
30. Image / Add border / Symmetric marked / 40px / color #000000
31. With the Magic Wand tool (Tolerance and Feather=0) select this
edge
32. Paste the image copied above into the selection
33.Adjust/Blur/Glaussian Blur: 5
34- Effects / 3DEffects / Inner Bevel / Light Color
35. Select None
36. Image / Add borders / Symmetric marked / 2px / Color #000000
37. Image / Resize: width 800px - all layers checked
38. Put your signature
Save as jpeg
Tutorial traduzido em
*
 |