|


This tutorial is from Maria José do Rio Tinto who
I thank for letting me translate her tutorials
*
Original - Here
*
Material

> Save the Preset in the PSP's Preset shapes folder
*
Plugins:
Unlimited 2
Edge, Squares
Simple
SCRIPT
01. Open the material on psp / Duplicate (shift+d) / close the
originals
02. Choose two colors for your tube: a dark color for the foreground
and a light color for the background
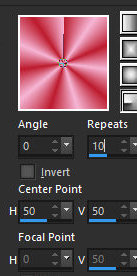
03. Prepare a Radial gradient
0/10/invert unchecked/50-50
04. Open a new transparent image measuring 900 x 600px
05. Paint the image with the gradient
06. Effects / plugins / Simple / Zoom Out and Flip - apply 3 times
07. Layers / duplicate
08. Layers / New Raster Layer
09. Paint the layer with a light color
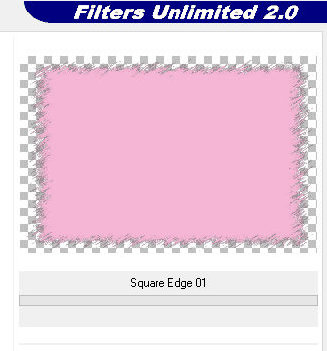
10. Effects / Plugins / Unlimited 2 / Edge, Squares / Square Edges
01
11. Activate the Preset shape / Locate tool and select the preset [Burst
2] with the size and location of application as you prefer
12. Click on the drawing layer, right-click and select Convert to
raster Layer
13. Copy the tube character and paste it as a new layer
14. Position it over the design formed by the preset shape
15. Copy the flower tube and paste it as a new layer
16. Make adjustments to the two tubes as you see fit (resize, drop
shadow, position)
17. Put your signature
18. Merge all
19. Save as jpeg
*
|
Value the translator’s work. In
addition to the link to the original work, also include
the translation link. Thank you very much!
Valorar el trabajo del traductor.
Además del enlace a la obra original, incluya también el
enlace a la traducción. ¡Muchas gracias! |
Tutorial traduzido em
10/12/2023
*
 |