|
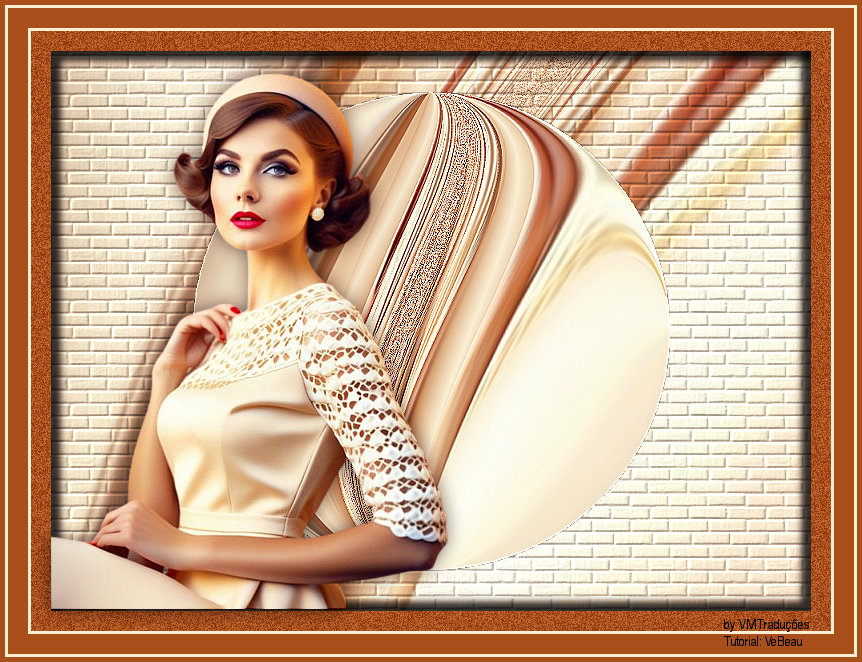
Tutorial de VeBeau
Link tutorial original:
Circular
|
| Tubes Principais:
VM Tubes
|
| Link material:
No material
You'll need:
> 1 character tuber
|
| Plugins: No plugins
|
SCRIPT
Open material / Duplicate (shift+d) / Close originals
Choose two colors from your tube or that match it. Put the dark
color in the foreground and the light color in the background
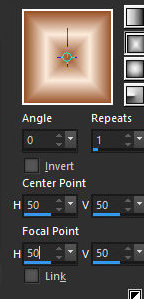
Prepare a Rectangular Gradient (0/1/invert unchecked/center
point 50/50 / focal point 50/50)
Open a new transparent image measuring 800 x 600px
Paint the image with the gradient
Selections / select All
Copy the tube character and paste it into the selection
Select none
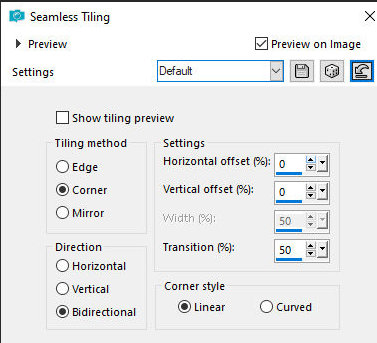
Effects / Image Effects / Seamless Tiling / Default
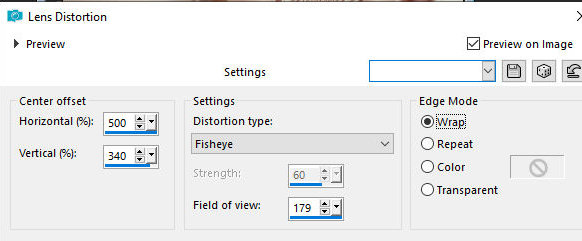
Effects / distortion Effects / Lens distortion
Note: Depending on the colors and tube used, this effect may
give a slight difference
Layers/duplicate
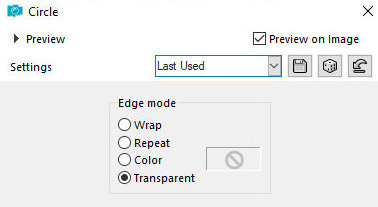
Effects / Geometric Effects / Circle / Transparent
Image / Resize: 80% - All layers unchecked
Effects / edge Effects / enhance
Activate the Raster 1 layer
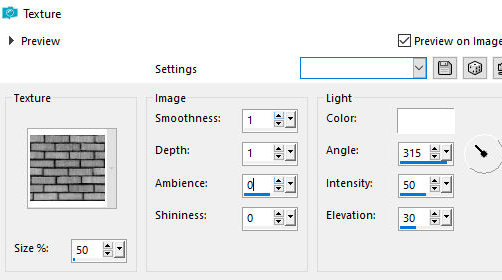
Effects / Texture Effects / Texture - texture[bricks]
Merge visible
Layers/New Raster Layer
Selections / select All
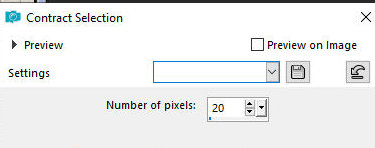
Selections / Modify / Contract=20
Selections/Invert
Paint the selection with the dark foreground color
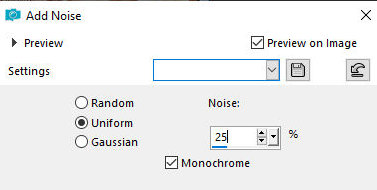
Adjust / Add/Remove Noise / Add Noise
Drop shadow: 4 4 80 10 black
Repeat with negative V and H
Select none
Image / Add borders / Symmetric checked
3px / light color
20px / dark color
3px / light color
Copy the tube character and paste as a new layer
Make any adjustments to the tube that you deem necessary (resize,
sharpen, drop shadow, position)
Image / Add borders / symmetric marked / 5px / dark color
Put your signature
Merge All
Save as jpeg
*