|
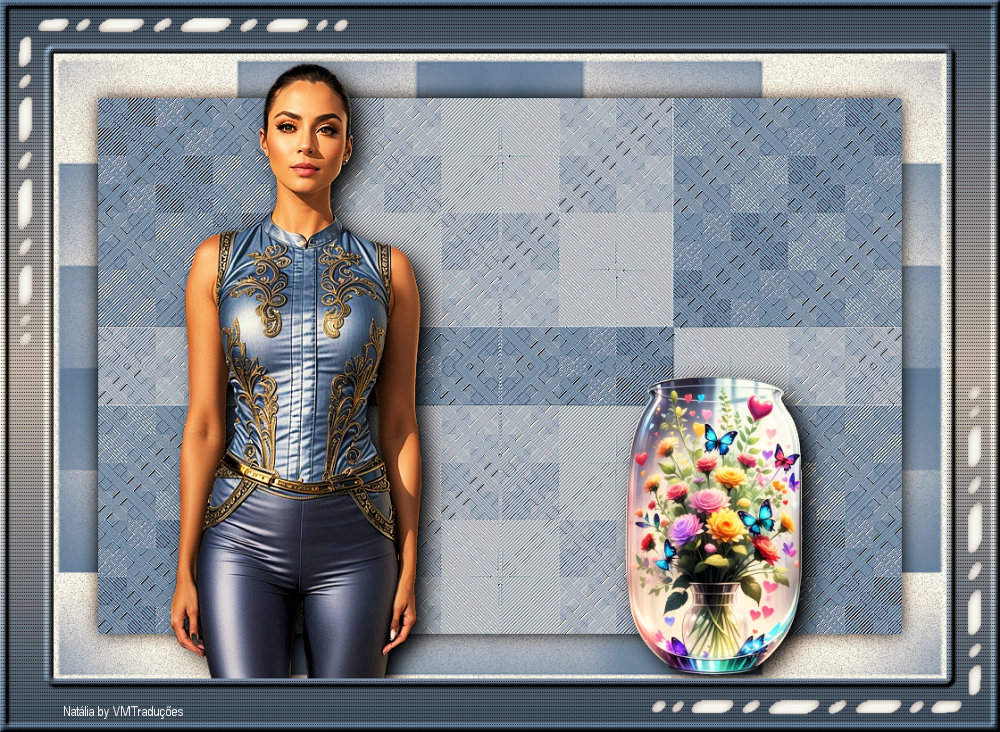

This tutorial is from Natália, who I thank for
letting me translate her tutorials
*
Original here
*
Tubes:

*
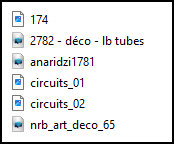
Material

*
Plugins
Kang 1/ Busy Circuits
Simple/ Top Left Mirror
MuRa's Seamless/ Emboss
MuRa's Seamless/ Emboss at Alpha
Cybia/Screenworks
SCRIPT
01/15
Open the material on psp / Duplicate (shift+d) / Close the originals
Open mask [174] and minimize
Choose two colors for your tube: a dark color for the foreground and
a light color for the background
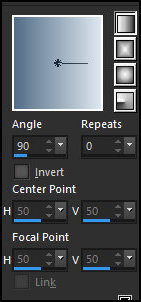
Prepare a Linear gradient
[ Angle/ 90/ Repeats/ 0/ Invert unchecked]
Open a new transparent image measuring 900 x 600px
Paint with the gradient
Effects / Plugins / Unlimited 2 / Kang 1 / Busy Circuits
[66 199]
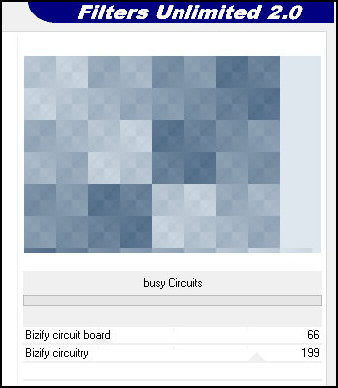
Effects / Edge Effects / Enhance More
06/10
Effects / Plugins / Unlimited 2 / Kang 1 / Busy circuits
[77 199]
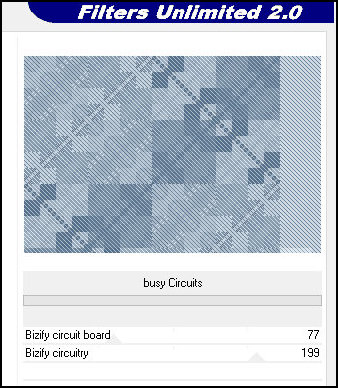
Effects / Plugins / Simple / Top Left Mirror
Effects / Plugins / Mura's Seamless / Emboss - default
[128 128 128 192 255]

Effects / Plugins / Mura's Seamless / emboss at Alpha - default
[128 128 128 64 255 128]

Image / Canvas Size=1000 x 700 50 50 50 50
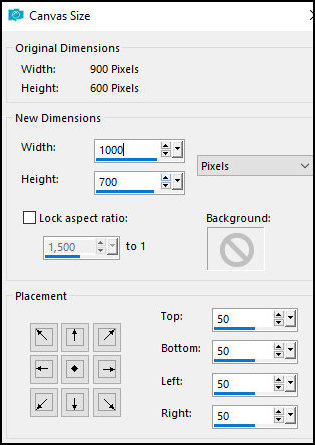
11/15
Drop shadow: 0 0 100 30 black
Add new layer
Paint with the foreground color
Layers / Arrange / Send to Bottom
Layers / New Mask Layer / From Image / Mask [174]

Merge Group
Add new layer
Paint with the background color
Layers / Arrange / Send to Bottom
Adjust / Add/remove Noise / Add Noise
[gaussian 35 monochrome]

16/20
Copy the tube character and paste as a new layer
Layers / Arrange / Bring to top
Position as desired
Drop shadow of your choice
Copy the decorative tube and paste as a new layer
Position as desired
Drop Shadow of your choice
Selections / Select All
Image / Add borders / Symmetric marked / 60px / any color
21/25
Selections/Invert
Paint with this Linear gradient
[ 0/ 1/ Invert unchecked/]
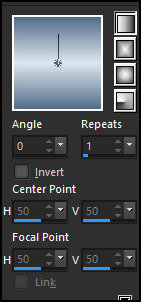
Effects / Plugins / Cybia / Screenworks / Fine Rule=0
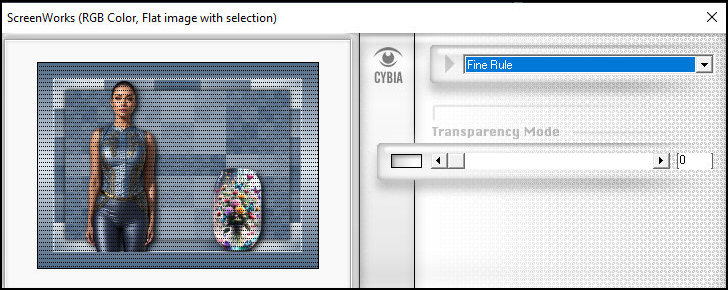
Effects / 3D Effects / Inner Bevel - Preset [Frame] (or according to
the print)
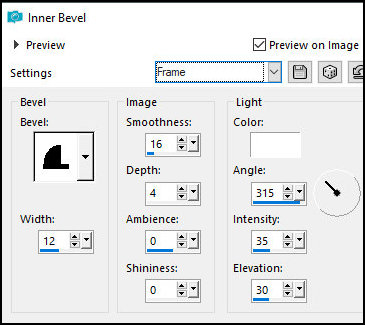
Select none
Copy the tube deco [nrb_art_deco_65] and paste it as a new layer
Activate the Pick Tool and configure: X=20/ Y=20

Layers/Duplicate
26/end
Image / Mirror / Mirror Horizontal
Image / Mirror / Mirror Vertical
Merge all
Image / Resize: width=1000px - All layers checked
Adjust/Sharpness/Sharpen
Put your signature
Merge All
Save as jpeg
*
|
Value the translator’s work. In
addition to the link to the original work, also include
the translation link. Thank you very much!
Valorar el trabajo del traductor.
Además del enlace a la obra original, incluya también el
enlace a la traducción. ¡Muchas gracias! |
Tutorial traduzido em
07/02/2024
*
 |