|


|
Tuturial de Angela das Graças
Link tutorial original:
Charmosa
|
| Tubes Principais:
VM Tubes
|
| Link material:


|
| Plugins: Medhi / Sorting
Tiles
Medhi / Kaleidoscope
Medhi Vibration
Medhi HSL Plus
|
SCRIPT
01- Open the mask [1250181955_nikita_masques] on
the PSP and minimize
Open the tube
02- Remove two colors from the Tube or two that match it, place the
dark one in the Foreground and the light one in the Background
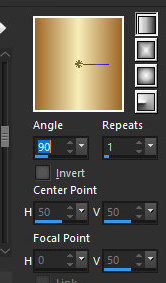
Prepare a Linear Gradient Angle 90 / Repeats 1 / Invert unchecked
03- Open a new transparent image 900 X 600px
Paint with Gradient
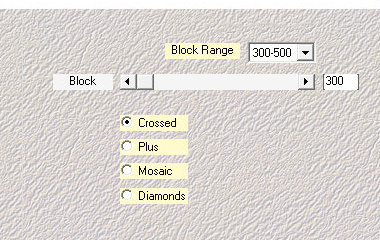
04- Effects / Plug-in / Medhi / Sorting Tiles
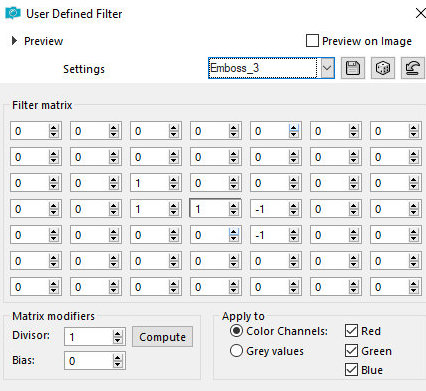
05 - Effects / User Defined Filter / Emboss 3
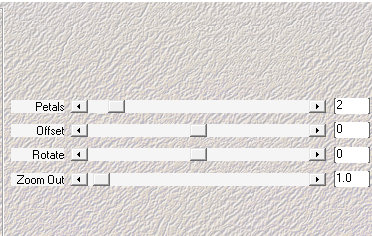
06- Effects / Plug-in / Medhi / Kaleidoscope
07 - Layers / Duplicate
Image/Resize: 80% - all layers unchecked
08 - Drop Shadow: 10 / 10 / 60 / 10 / Black Color
Repeat with negative H and V
09 - Activate the Raster 1 layer
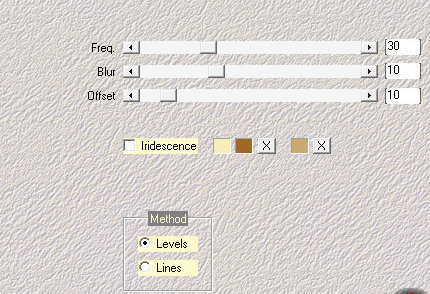
10- Effcts / Plug-in / Medhi Vibration (colors appear automatically):
11 - Activate the Copy of Raster 01 layer
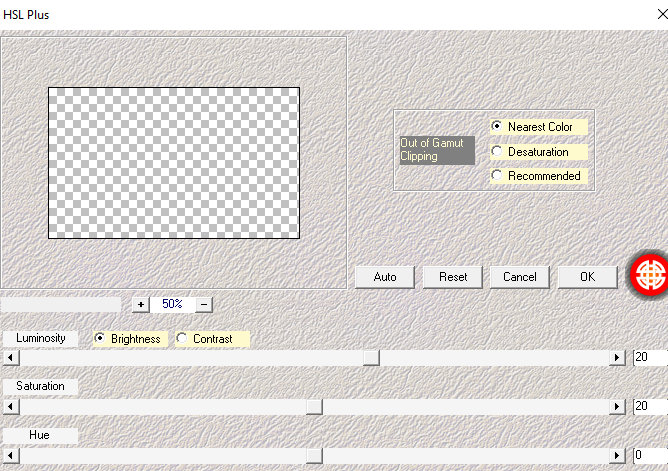
12- Effects / Plug-in / Medhi HSL Plus
13 - Adjust/ Sharpness/ Sharpen More (2 times)
14 - Layers / New Raster Layer
Paint with dark color
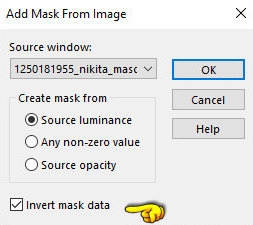
15 - Layers / New Mask Layer / From Image / Mask [1250181955_nikita_masques]
- with Invert MARKED
Merge Group
16 - Image / Resize: 90% - all layers unchecked
17 -- Effects / Plug-in / Medhi HSL Plus same as above
18 - Drop Shadow: 2 / 2 / 60 / 2 Black color
19 - Activate the Raster 1 layer
Effects / Texture Effect / Weave - start colors
20- Copy the main tube
Paste as new layer
Layers / Bring to top
Position according to the model or as desired
21- Resize if necessary
Drop shadow of your choice
22- Copy the tube deco
and paste as new layer
Position as you wish
23- Resize if necessary and apply a Drop Shadow accordingly
24- Image / Add Borders: Symmetric Marked / 5 pixels / Dark color
25- Image / Add Borders: Symmetric Marked / 5 pixels / Light color
26- Image / Add Borders: Symmetric Marked / 5 pixels / Dark color
27- Image / Add Borders: Symmetric Marked / 50 pixels / Color
different from the previous one
28- Select with the Magic Wand (Tolerance and Feather = 0)
Paint with the Start Gradient
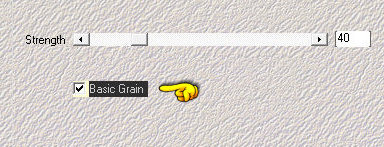
29- Effects / Plug-in / Medhi / Natural Grain : 40
Translator's Note: To use this effect, first click
on Basic Grain
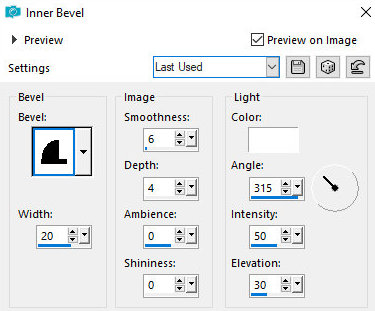
30 - Effects/ 3D Effects / Inner Bevel
Bevel 11/ 20 / 6 / 4 / 0 / 0 / 315 / 50 /30 White Color
31 - Drop Shadow: 5 / 5 / 60 / 5 Black Color
Repeat with Negative H and V
32- Image / Resize: width=900px - all layers checked (optional)
33- Adjust / Sharpness / Sharpen
34- Add your signature
Save as jpeg
Tutorial traduzido em 23/10/2023
*
 |