|


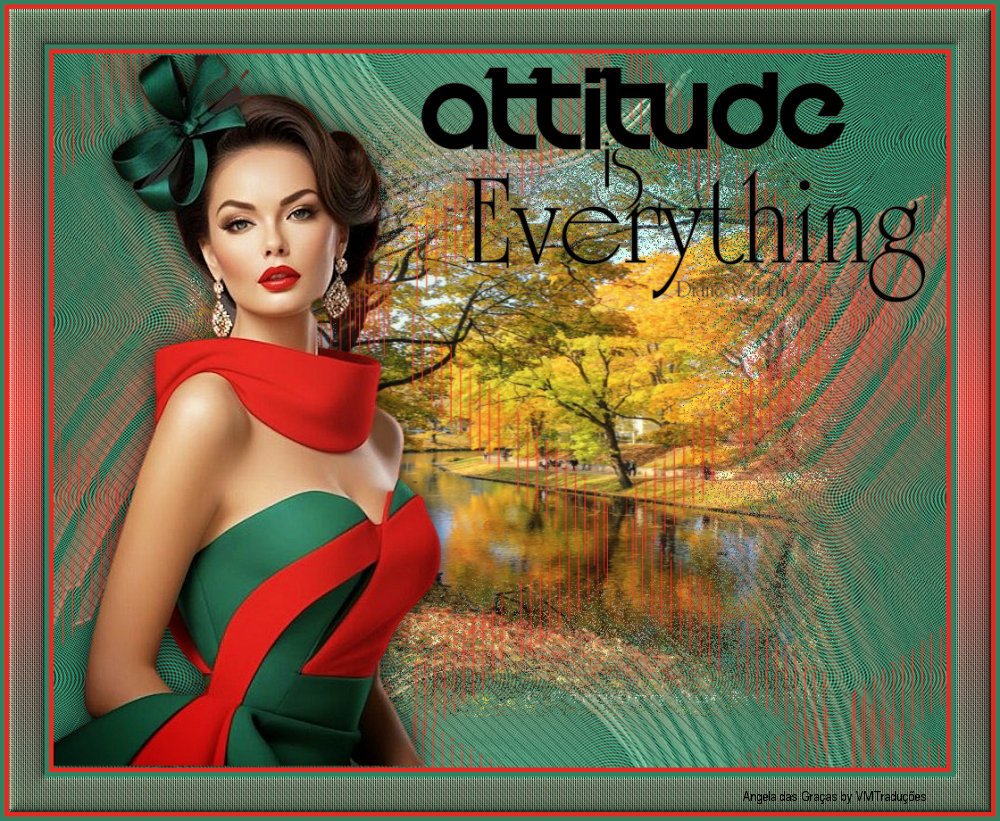
This tutorial is from Angela das Graças who I
thank for letting me translate her tutorials
*
Original - Here
*
Material

> Open the masks on the PSP and minimize
>Save the presets in the Presets folder on the PSP
> You will need 1 mixed landscape tube
*
Plugins
Penta.com / Jeans
Penta.com/Color Dot
SCRIPT
01. Open the material on psp / Duplicate (shift+d) / close the
originals
02. Remove two colors from the Tube: place the dark one in the
Foreground and the light one in the Background
03. Prepare Linear Gradient: Angle 0 / Repeats 1 / Invert unchecked

04. Open a new transparent image with 1000 X 800px
05. Paint with dark color
06. Effects / Artistic Effects / Halftone

07. Effects / Distortion Effects / Wave
20/50/20/50/Wrap marked

08. Layers / New Raster Layer
09. Paint with Gradient
10. Layers / New Mask Layer / From Image / Mask [NarahMask_1732]

11. Merge Group
12. Effects / User Defined Filter / Emboss 3

13. Layers/Duplicate
14. Image / Mirror / Mirror Horizontal
15. Image/Mirror/MIrror Vertical
16. Merge Down
17. Effects / Plug-in / Penta.com / Jeans: 54 / 14

18. Layers / New Raster Layer
19. Paint the layer with the light color
20. Layers / New Mask Layer / From Image / Mask [LJduxfTdJsR-6sQs5CnTpV6UXVk]

21. Merge Group
22. Copy the mixed landscape tube and paste it as a new layer
23. Layers / Arrange / Move Down
24. Layers / Properties / blend Mode: multiply or as you prefer
25. Activate the top layer
26. Copy the tube character and paste it as a new layer
27. Position as desired
28. Drop shadow as you prefer
29. Copy the Wordart tube and paste it as a new layer
30. Position as you prefer
31. Image / Add borders / Symmetric checked
5px / light color
5px / dark color
40px / white
32. Select this 40px border with the Magic Wand
33. Paint with the gradient
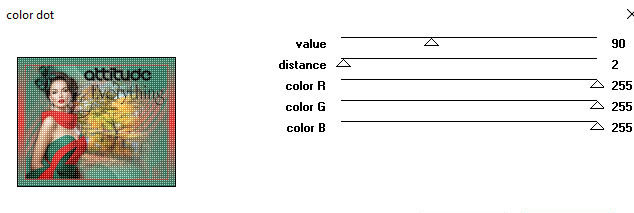
34. Effects / Plugins / Penta.com / Color Dot
90/2/255/255/255:

35. Effects / Plugins / Penta.com / Jeans
20/8

36. Effects / User Defined filter / Glass Edges (in the material or
see the print)

37. Effects / 3D Effects / Inner Bevel - preset [cushion] (in the
material or see the print

38. Select none
39. Image / add borders / Symmetric checked
5px / light color
5px / dark color
40. Put your signature
41. Image / Resize: width=1000px - all layers checked
42. Merge all
43. Save as jpeg
*
|
Value the translator’s work. In
addition to the link to the original work, also include
the translation link. Thank you very much!
Valorar el trabajo del traductor.
Además del enlace a la obra original, incluya también el
enlace a la traducción. ¡Muchas gracias! |
Tutorial traduzido em
09/12/2023
*
 |