|

|
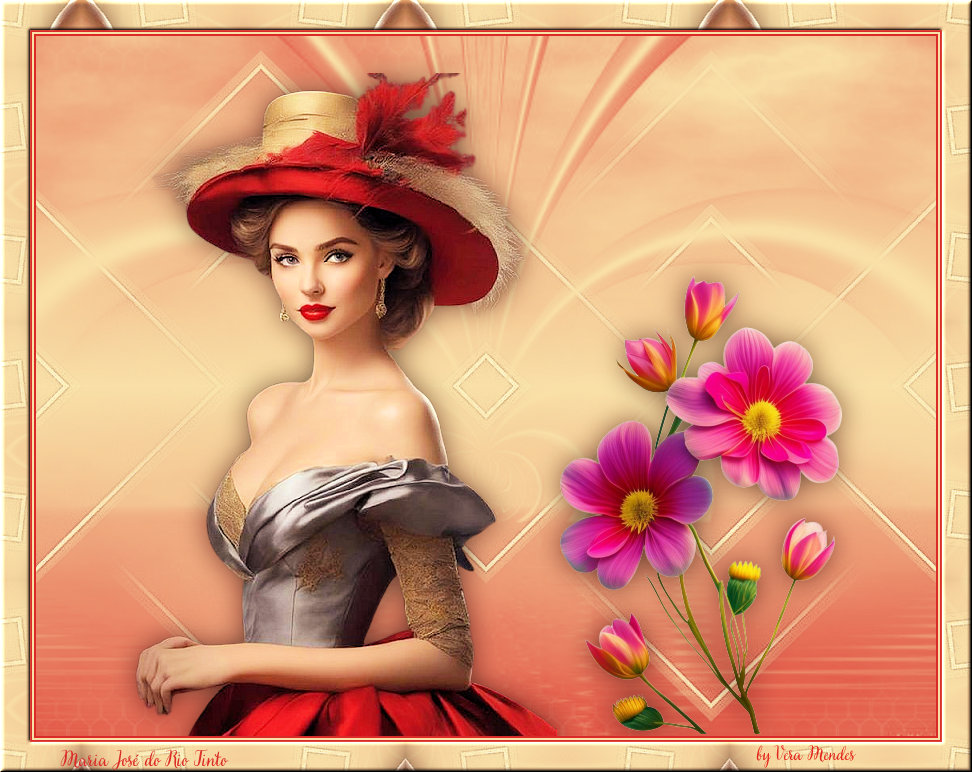
Tutorial de Maria José do rio Tinto
Link tutorial original:
Alessandra
|
| Tubes Principais:
VM Tubes
|
| Link material:

|
| Plugins: No plugins
|
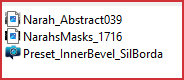
Save the SilBorda preset in the
Presets folder on the PSP
A character tube and a floral or other decorative tube
are required |
SCRIPT
01. Open a new transparent image measuring 800 x 600px
02. Choose two colors from your tube or that match it.
Put the dark color in the foreground and the light color in the
background
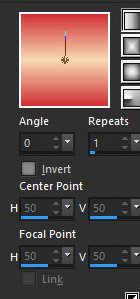
Prepare a Linear gradient
Angle=0 / Repeats=1 / invert unchecked
Paint the image with this gradient
03. Layers / New Raster Layer
Paint with the background color
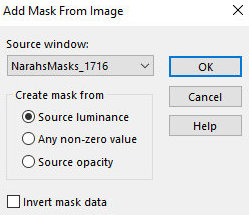
04. Layers / New Mask Layer / From image / Mask [NarahsMasks_1716]
05. Merge Group
06. Effects / Edge Effects / Enhance
07. Layers / New Raster Layer
Paint with the background color
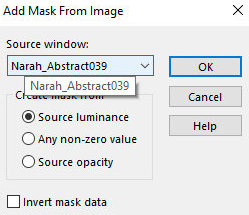
08. Layers / New Mask Layer / From Image / Mask [Narah_Abstract039]
09. Merge Group
10. Copy your main tube
paste as new layer
Resize if necessary
Position as desired
11. Drop Shadow of your choice
12. Copy your Deco tube
Resize if necessary
Position as desired
13. Drop Shadow of your choice
14. Image / Add borders / Symmetric marked / 2px / foreground color
15. Image / Add borders / Symmetric marked / 2px / background color
16. Image / Add borders / Symmetric marked / 2px / foreground color
17. Image / Add borders / Symmetric marked / 30px / background color
18. Select this 30px border with the Magic Wand (tolerance/feather=0)
Paint with the initial gradient - INVERT MARKED
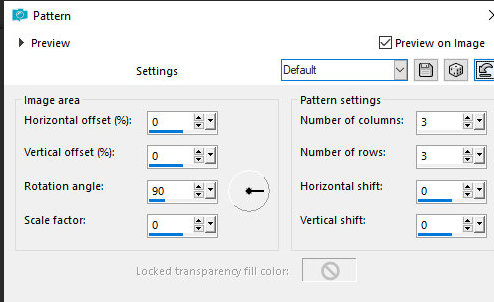
19. Effects / Reflection Effects / Pattern - default
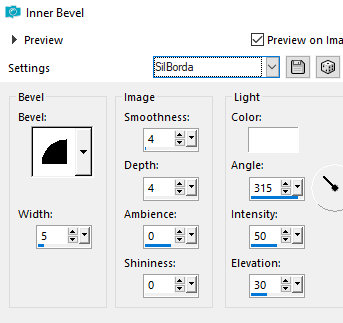
20. Effects / 3D Effects / Inner Bevel / preset [SilBorda] (preset
in the material or copy the print configuration)
select none
21. Put your signature
Image / Resize: 800 x 600px - all layers checked
Save as jpeg
Tutorial traduzido em 28/10/2023
*
 |