|
|
|
Material
1 imagem jpg (anexada) Plugin Distort / Turn Your Inside Outside Plugin FM Tile Tools / Saturation Emboss Plugin Mura’s Seamless / Shift at Arch Plugin Alf’s Border FX / FadeIII Wordart Efeitos do PSP X
Roteiro
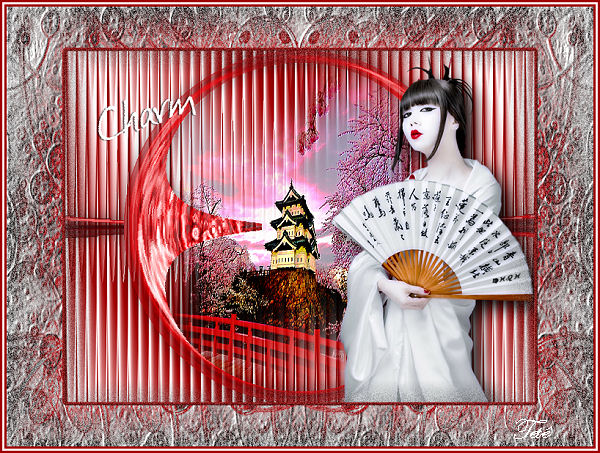
04- Abra uma transparência 800X600
05- Selections / Select All
06- Ative a imagem jpg que foi dada
07- Edit /
Copy
09- Selections / Select None
10- Colorize (Opcional)
11- Ative a ferramenta Selection
12- Em Custom Selection configure: T= 280 / L= 0 / B= 320 / R= 800
13- Selections / Invert
14- Edit / Cut
15- Selections / Select None
16- Effects / Plugin Distort / Turn Your Inside Outside com o valor: 255
17- Ative novamente a ferramenta Selection
18- Em Custom Selection configure: T= 280 / L= 335 / B= 320 / R= 468
19- Edit / Cut
20- Selections / Select None
21- Com a Mafic Wand (Tolerance e Feather= 0), selecione a parte transparente da figura formada pelo efeito do Plugin Distort
22- Ative o tube de paisagem
23- Edit /
Copy 24- Layers / New Raster Layer
25- Edit / Paste Into Selection
26- Effects / FM Tile Tools / Saturation Emboss por default
27- Selections / Select None
28- Ative a Raster 1 (a do efeito)
29- Effects / 3D Effects / Drop Shadow na configuração: 0 / 0 / 60 / 40, Color #000000
30- Layers / New Raster Layer
31- Layers / Arrange / Send to Bottom
32- Escolha duas cores de seu trabalho. Coloque a mais ecura no Foreground e a mais clara no Backgroud
33- Forme o seguinte gradiente: Linear, A= 45 / R= 3; Invert desmarcado
34- Pinte a layer com esse gradiente
35- Effects /
Plugin Mura’s Seamless / Shift at Arch com os valores:
36- Effects / User Defined Filters / Emboss 3
37- Ative seu tube.
38- Edit / Copy
39- Edit / Paste As New Layer na tag
40- Layers / Arrange / Bring to Top
41- Dê resize se necessário
42- Com a ferramenta Move, posicione-o a seu gosto
43- Drop Shadow a seu gosto
44- Layers / Merge / Merge Visible
45- Image / Resize 80%, All Layers desmarcado
46- Layers / New Raster Layer
47- Layers / Arrange / Send to Bottom
48- Selections / Select All
49- Ative a imagem jpg que foi dada.
50- Edit /
Copy
52- Selections / Select None
53- Se modificou a cor (item 10. opcional), torne a fazê-lo
54- Effects / User Defined Filters / Emboss 3
55- Ative a Layer Merged
56- Selections / Select All
57- Selections / Float
58- Selections / Defloat
59- Selections / Modify / Select Selection Borders configurado: Outside e Anti-alias marcados; Border width= 4
60- Pinte com uma cor escura escolhida de seu trabalho
61- Effects / 3D Effects / Inner Bevel (preset Almofada), configurado: Bevel, desenho 2; Width=20; 2 / 2 / 8 / 0; color:#ffffff; 315 / 40 / 35
62- Selections / Select None
63- Layers / Merge / Merge Visible
64- Effects/ Plugins Alf’s Border FX / Fade III com os valores: 172 / 78
65- Image / Add Borders com: Symmetric marcado, 3 px, cor escura do Foreground
66- Image / Add Borders com: Symmetric marcado, 3 px, cor clara do Background
67- Image / Add Borders com: Symmetric marcado, 3 px, cor escura do Foreground
68- Layers / New Raster Layer
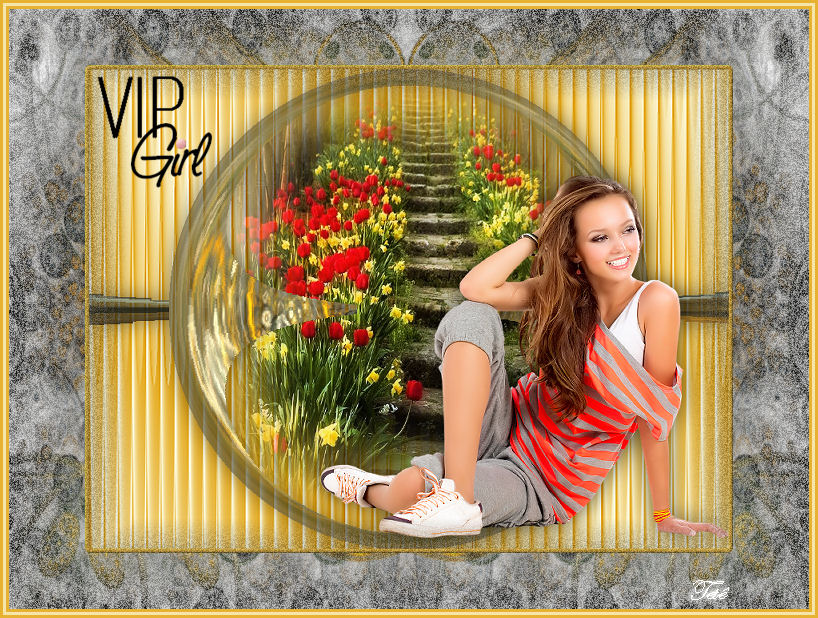
69- Aplicar o WordArt escolhido
70- Layers / Merge / Merge All
71- Assine.
72- Salve.
Outro Modelo:
Créditos:
Tubes do modelo principal:
Tutorial criado por Tetê Samuel em 24 de maio de 2016 sendo proibida sua divulgação sem o prévio consentimento da autora.
|