Material:
Tube de personagem
Tube floral
selection_requinte
nrb_art_deco_46
Narahsmasks_1780
Efeitos do PSP (Foi usado o PSP 2020)
Plugin Unlimited 2.0/ Special Effects1
Plugin DSB Flux/ Gears
Plugin Two Moon/ Rotoblades
Plugin FM Tile Tools/ Blend Emboss
Plugin Alien Skin/ Eye Candy 5/ Impact
Roteiro:
1 - Abra um tube no PSP.
Escolha duas cores e faça um gradiente Linear/
Angle 90/ Repeats/ 0. Cor mais escura no Foreground.
Invert desmarcado
2 - Abra uma imagem
transparente 300X300 e pinte com esse gradiente
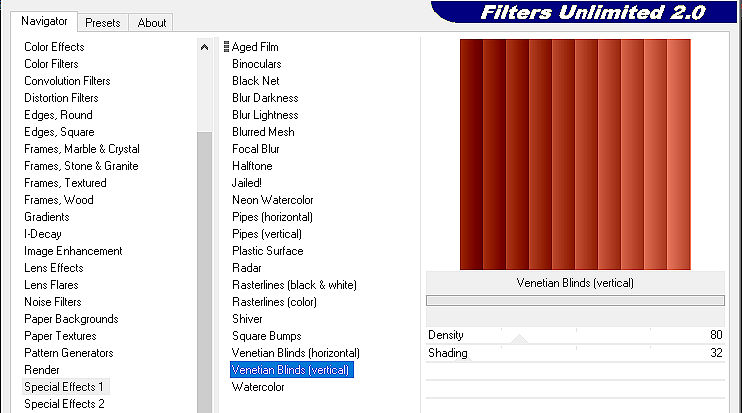
3 - Effects/ Plugins/
Unlimited 2.0/ Special Effects1/ Venetian Blinds
(Vertical)/ 80/ 32
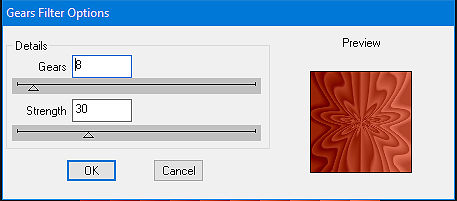
4 - Effects/ Plugins/ DSB
flux/ Gears/ 8/ 30
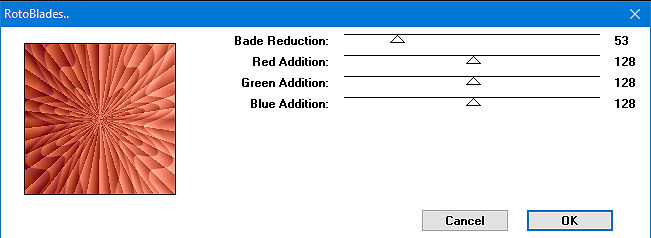
5 - Effects/ Plugins/ Two
Moon/ Rotoblades/ 53/ 128/ 128/ 128
6 - Effects/ Image Effects/
Seamless Tiling/ Default
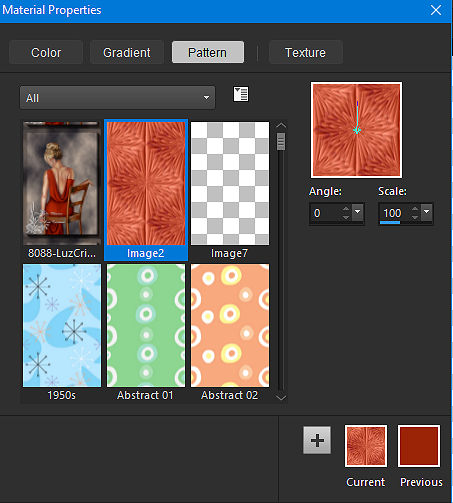
7 - Abra uma imagem
transparente 900X600 e pinte com a pattern criada/
Angle/ 0/ Scale/ 100.
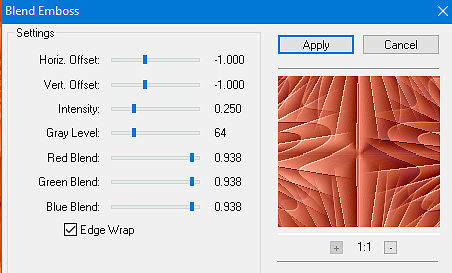
8 - Effects/ Plugins/ FM Tile
Tools/ Blend Emboss/ Default
9 - Layers/ New Raster/ Layer.
Pinte de branco
Layers/ New Mask Layer/ From Image/ escolha a
mask Narahsmasks_1780
10 - Layers/ Delete. Layers/ Merge/ Merge Group
Image/ Free Rotate/ Right/ 90. All Layers
desmarcado
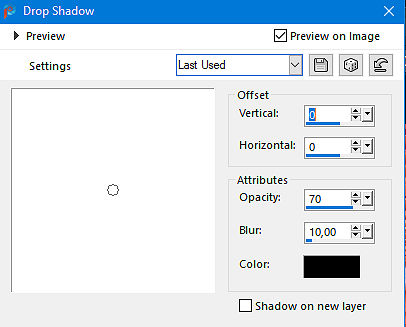
11 - Effects 3D Effects/ Drop
Shadow/ 0/ 0/ 70/ 10,00
12 - Effects 3D Effects/
Inner Bevel/ Settings: Pé de Mesa
13 - Layers/ New Raster Layer
14 - Selections/ Load Save
Selection/ Load Selection from Disk
Escolha a seleção selection_requinte
15 - Edit/ Copy no tube
floral
Edit/ Paste into Selection
16 - Plugin Alien Skin/ Eye
Candy 5: Impact/ Glass/ Settings/ Clear
Selections/ Select None
17 - Image/ Add Borders/ 8/
Symmetric/ Branco
18 - Image/ Add Borders/ 50/
Symmetric/ cor contrastante
19 - Selecione com a
ferramenta Magic Wand e pinte com um gradiente
linear/ 0/ 1 feito com as cores anteriores. Invert
desmarcado
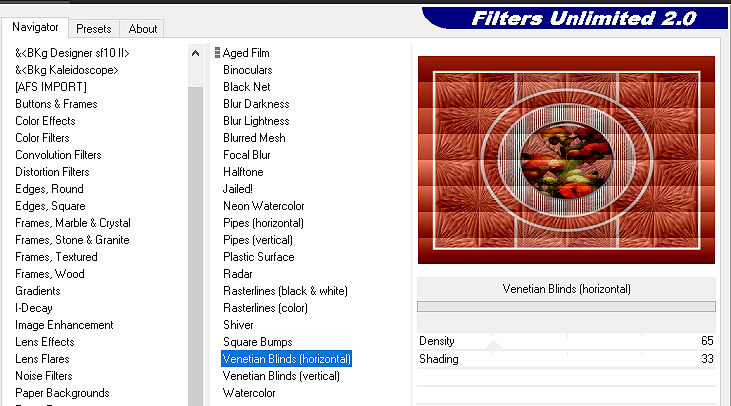
20 - Effects/ Plugins/
Unlimited 2.0/ Special Effects1/ Venetian Blinds
(Horizontal)/ 65/ 33
21 - Effects/ Texture Effects/
Weave/ 1/ 1/ 15/ Weave Color: cor do Foreground/ Gap
color: cor do Background/ Fill Gaps marcado
22 - Selections/ Invert
23 - Effects 3D Effects/ Drop
Shadow/ 10/ 10/ 60/ 10,00
Repetir com os valores Vertical e Horizontal
negativos
24 - Selections/ Select None
25 - Image/ Add Borders/ 3/
Symmetric/ Preto
26 - Image/ Add Borders/ 30/
Symmetric/ Branco
27 - Edit/ Copy no tube de
personagem
Edit/ Paste as New Layer
28 - Coloque onde desejar
Aplique uma sombra a gosto
29 - Image/ Add Borders/ 3/
Symmetric/ Preto
30 - Edit/ Copy no deco
Edit/ Paste as New Layer
31- Ferramenta Pick/ Position
X: 39,00/ Position Y: 35,00
32 - Duplicate/ Image/ Mirror/
Mirror Horizontal
Duplicate/ Image/ Mirror/ Mirror Vertical
Duplicate/ Image/ Mirror/ Mirror Horizontal
33 - Layers/ Merge/ Merge All
34 - Image/ Resize/By Pixels
marcado/ altere width para 900
Resize All Layers marcado
30 - Adjust/ Sharpness/
Sharpen
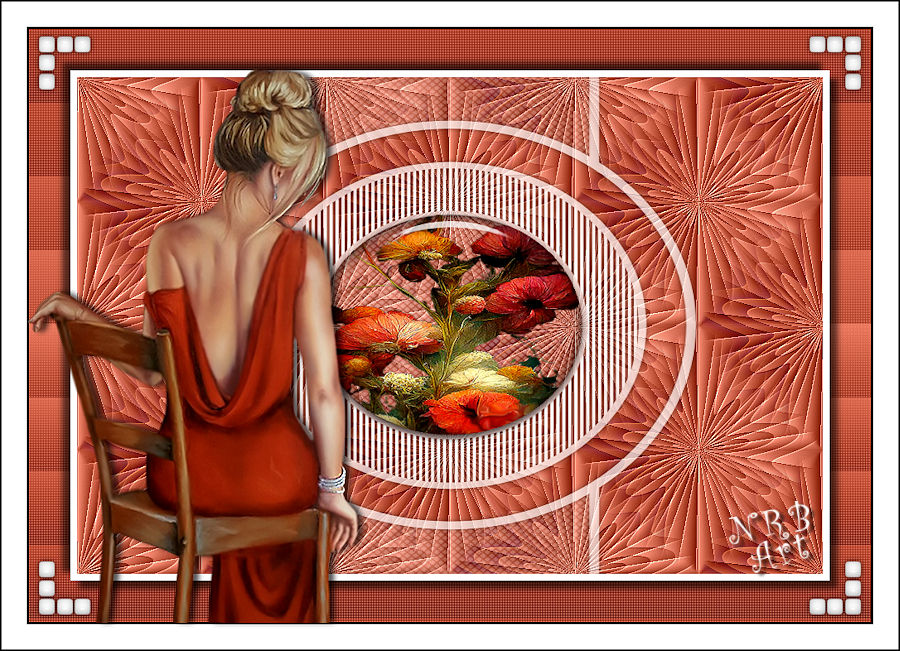
Assine e salve em jpeg
Outro Modelo:
Créditos:
Tube personagem1: Luz Cristina
Tube personagem2: Yady
Tube Floral1: Calligraphy
Tube Floral2: Colybrix
selection_requinte: NRB_Art
nrb_art_deco_46
Mask: Narahsmasks_1780
Tutorial criado por Natália Raposo em Agosto de 2023