Material:
Tube de personagem
Narah_Mask_1231
nrb_art_deco_76
nrb_art_deco_77
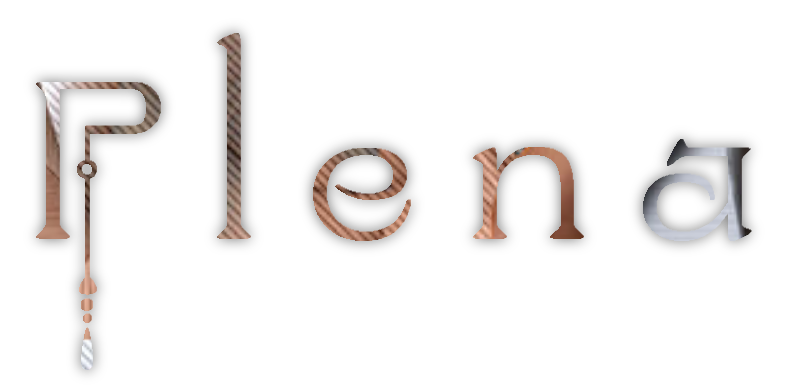
nrb_art_textos_plena
Plugin VM Toolbox/ Tiler
Plugin Medhi/ Sorting Tiles
Plugin Flaming Pear/ Flexify 2
Plugin Simple/ Left Right Wrap
Plugin Caroline and Sensibility/ CS-DLines
Plugin [AFS IMPORT]/ sqborder2
Plugin Graphics Plus/ Cross Shadow
Plugin Graphics Plus/ Button Beveler III
Roteiro:
1 - Abra o tube no PSP.
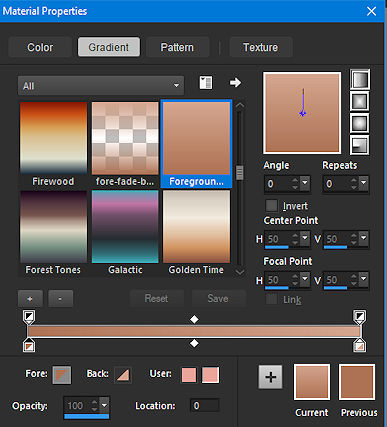
2 - Escolha duas cores e faça um gradiente Linear 0/ 0/
Invert desmarcado
Cor escura no Foreground, cor clara no Background
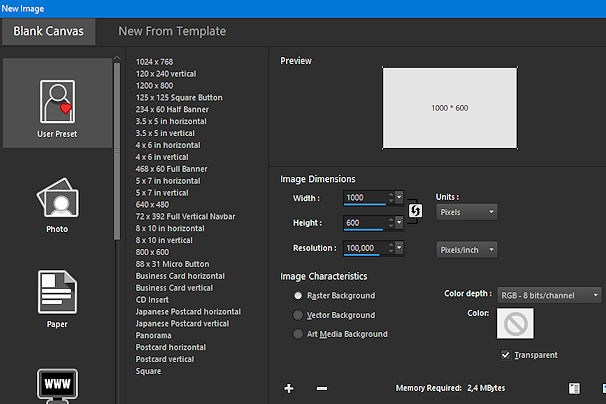
3 - Abra uma imagem 1000X600. Pinte com o gradiente
Edit/ Copy no tube
4 - Selections/ Select all.
Edit Past Into Selection. Selections/ Select None
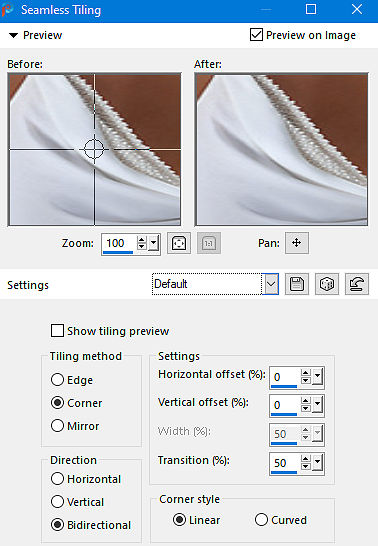
5 - Effects/Image Effects/ Seamless Tiling/ Default
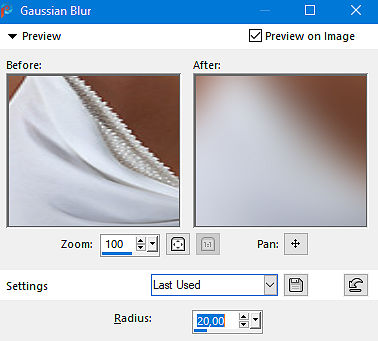
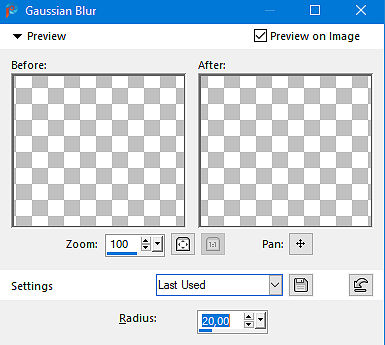
6 - Adjust Blur/ Gaussian Blur/ 20
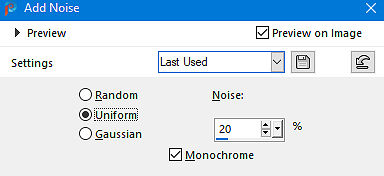
7 - Adjust/ Add Remove Noise/ Add Noise/ Uniform/ 20/
monochrome marcado
8 - Effects/ Plugins/ VM Toolbox/ Tiler/ 122/ 46/ 26/ 106
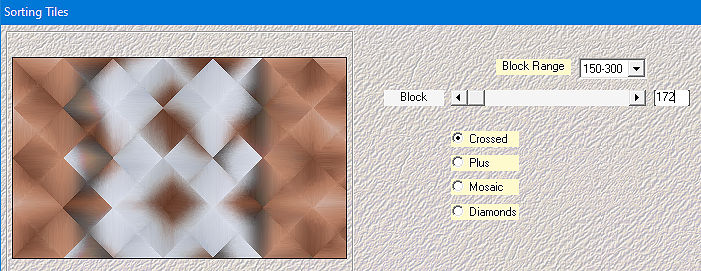
9 - Effects/ Plugins/ Medhi/ Sorting Tiles/ 150-300/ 172/
Crossed
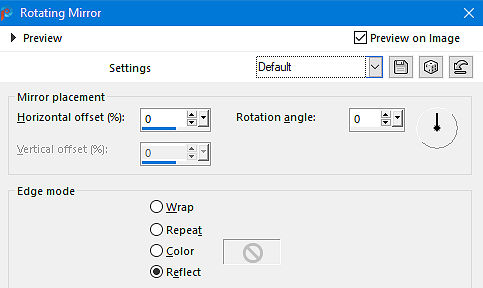
10 - Effects/ Reflection Effects/ Rotating Mirror/ Default
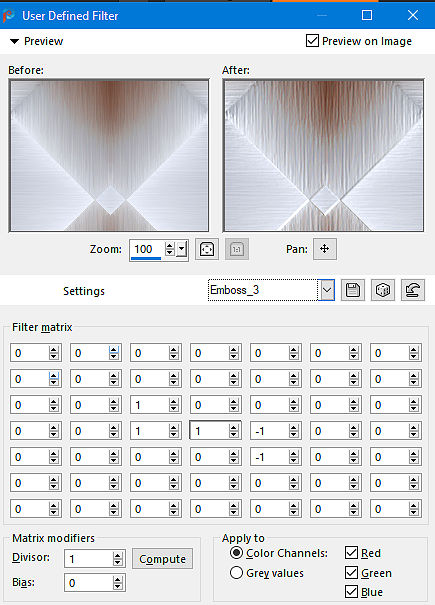
11 - Effects/ User Defined Filter/ Emboss3
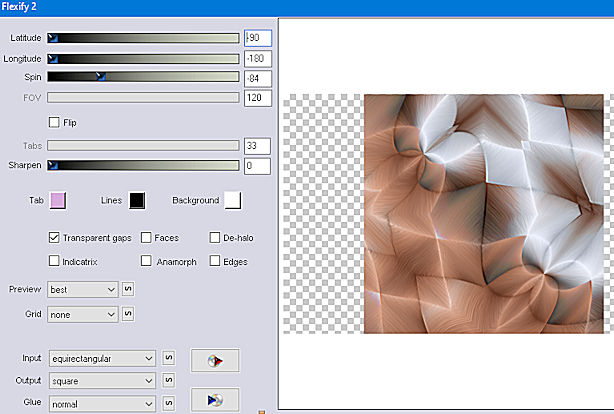
12 - Layers/ Duplicate
Effects/ Plugins/ Flaming Pear/ Flexify 2/ -90/
-180/ -84/ 120/ 33/ 0/ transparent gaps marcado/ best/ none/
equirectangular/ square/ normal
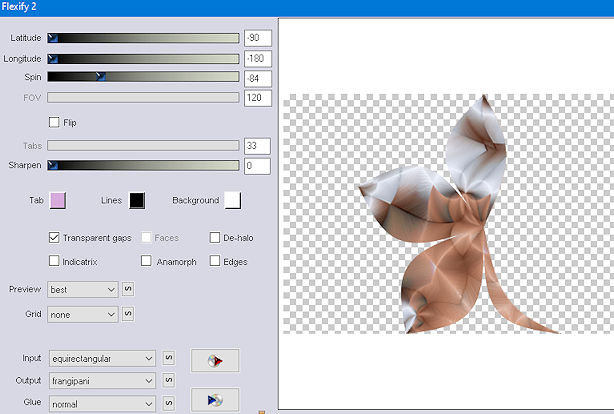
13 - Effects/ Plugins/ Simple/ Left Right Wrap
Effects/ Plugins/ Flaming Pear/ Flexify 2/ -90/
-180/ -84/ 120/ 33/ 0/ transparent gaps marcado/ best/ none/
equirectangular/ frangipani/ normal
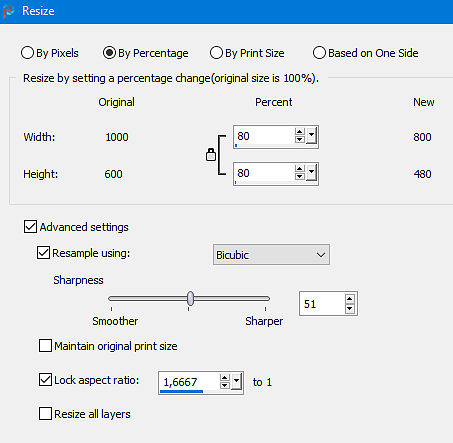
14 - Image/ Resize/ By Percentage marcado/ 80/
Percent
Resize All Layers desmarcado
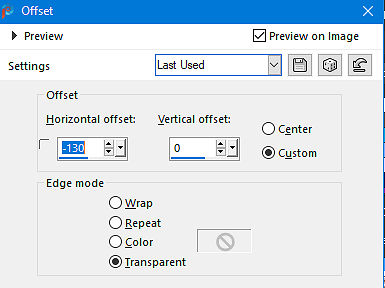
15 - Effects/ Image Effects/ Offset/ Horizontal/
-130/ Vertical/ 0/ Custom/ Transparent
16 - Layers/ Duplicate
Image/ Mirror/ Mirror Horizontal
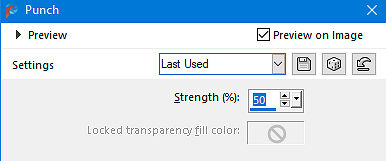
17 - Layers/ Merge/ Merge Down
Effects/ Distortion Effects/ Punch/ 50
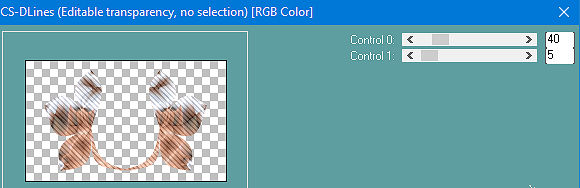
18 - Effects/ Plugins/ Caroline and Sensibility/
CS-DLines/ 40/ 5
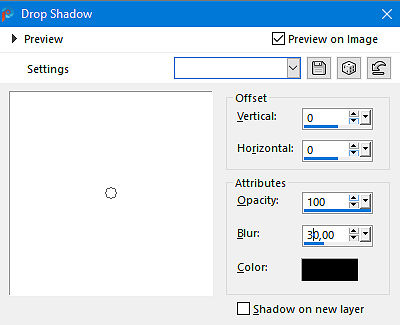
19 - Effects/ 3D Effects/ Drop Shadow/ 0/ 0/ 100/
30,00. Preto
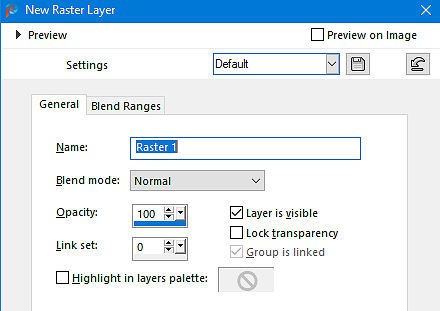
20 - Layers/ New Raster Layer
21 - Layers/ Arrange/ Move Down
Pinte de branco
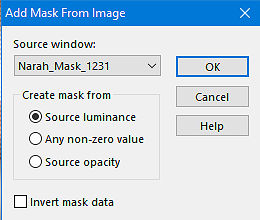
22 - Aplique a Narah_Mask_1231
Layers/ Delete. Layers/ Merge/ Merge Group
23 - Mude o Blend Mode para Luminance(L)
Diminua a opacidade em 55%
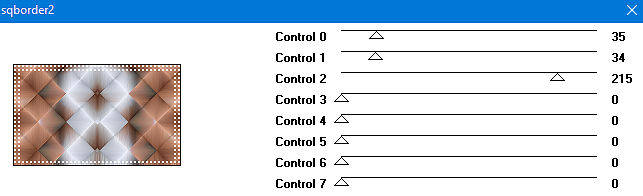
24 - Selecione a Raster 1 e aplique o Plugin [AFS
IMPORT]/ sqborder2/ 35/ 34/ 215/ 0/0/0/0/0
25 - Edit/ Copy no tube
Edit/ Paste as New Layer
26 - Layers/ Arrange/ Bring to Top. Posicione a gosto
Redimencione se necessário e aplique uma sombra a gosto
27 - Image/ Add Borders/ Symmetric marcado/ 2/
branco
Edit/ Copy
28 - Selections/ Select All
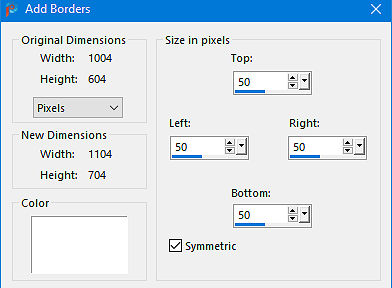
Image/ Add Borders/ Symmetric marcado/ 50/ branco
29- Selections/ Invert
Edit/ Paste/ Into Selection
30 - Adjust Blur/ Gaussian Blur/ 20
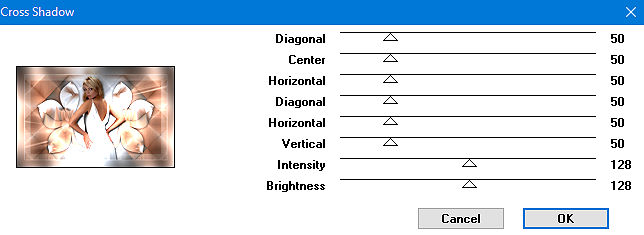
31 - Effects/ Plugins/
Graphics Plus/ Cross Shadow/ 50/ 50/ 50/ 50/ 50/ 50/ 128/
128
32 - Effects/
Plugins/ [AFS IMPORT]/ sqborder2/ 35/ 34/ 215/ 0/0/0/0/0
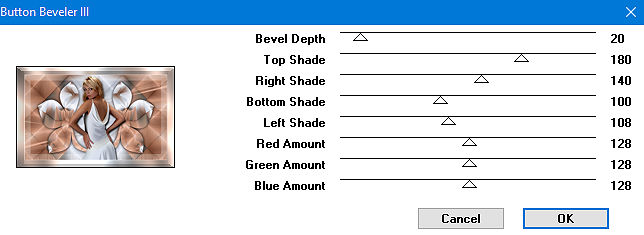
Effects/
Plugins/ Graphics Plus/ Button Beveler III/ 20/ 180/ 140/
100/ 100/ 128/ 128/ 128
33 - Selections/ Invert
Effects/ 3D
Effects/ Drop Shadow/ 0/ 0/ 100/ 30,00. Preto. Como no item
21
Selections/ Select None
34 - Image/
Add Borders/ Symmetric marcado/ 2/ branco
Image/ Resize/
By pixels marcado/ Width/ 1000. Resize All Layers marcado
35 - Adjust/
Sharpness/ Sharpen
36 - Edit/
Copy no nrb_art_deco_76
Edit/ Paste as New Layer
37 - Edit/
Copy no nrb_art_deco_77
Edit/ Paste as New Layer
38 - Posicione
com a ferramenta Picks/ Position X/ 2,00/ Position Y/ 165,00
Layers/ Duplicate. Image/ Mirror/ Mirror Horizontal
39 - Edit/
Copy no texto
Edit/ Paste as New Layer. Posicione a gosto
40 - Layers/
Merge/ Merge All
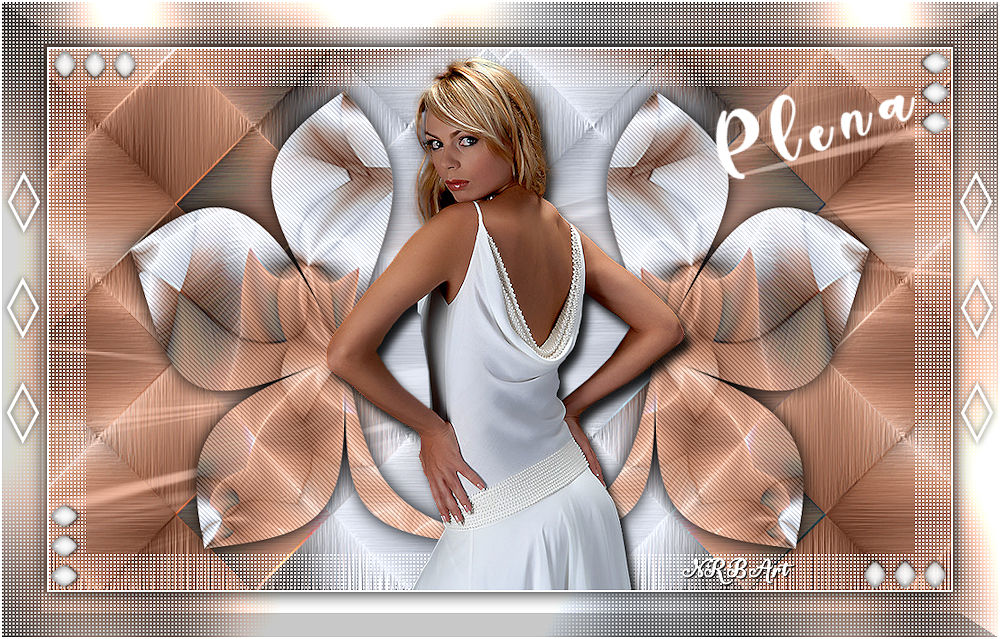
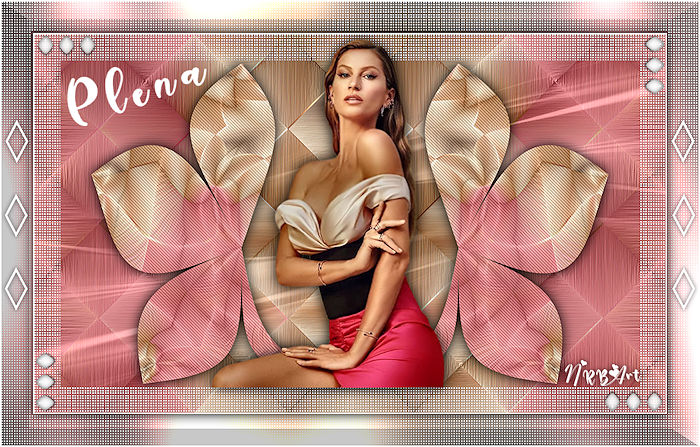
Assine e salve em Jpeg
Outro
Modelo:
Créditos:
Tube1: Nena Silva
Tube2: Luz Cristina
Narah_Mask_1231
nrb_art_deco_76
nrb_art_deco_77
nrb_art_textos_plena
Tutorial criado por Natália Raposo em maio de 2024