Roteiro:
1 - Abra os
materiais no PSP
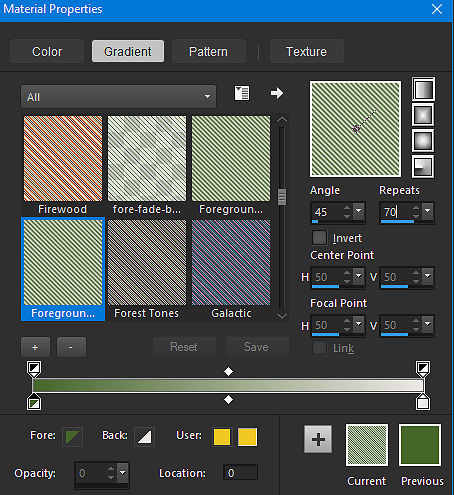
2 - Escolha
duas cores e faça um gradiente linear/ 45/ 70/ Invert
desmarcado/ Link desmarcado
Cor mais escura no Foreground, mais clara no background
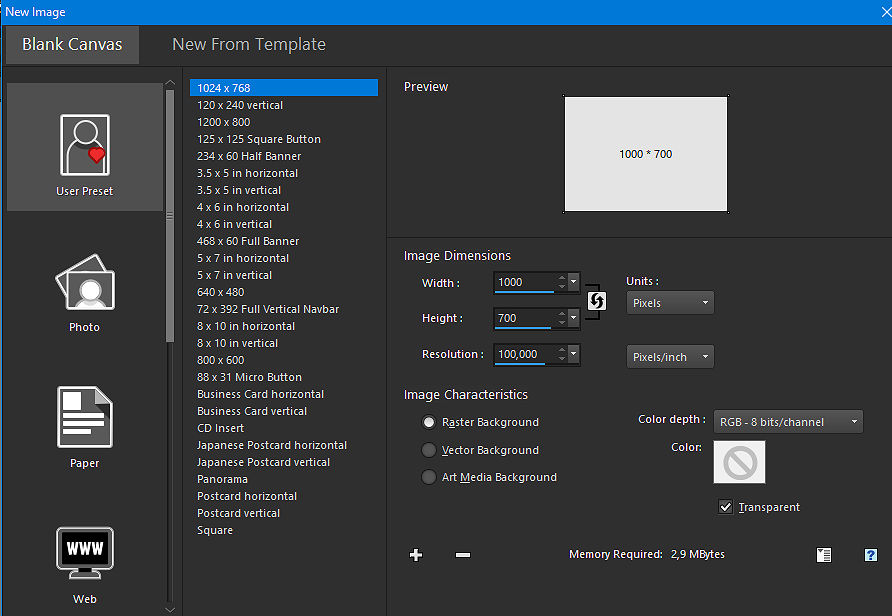
3 - Abra uma
imagem transparente 1000X700 e pinte com o Gradiente
4 - Effects/
Edge Effects/ Enhance
Selections/ Select All
5 - Edit/ Copy
no tube
Edit/ Paste into Selection
6 - Selections/
Select None
Effects/ Image Effects/ Seamless Tiling/ Default
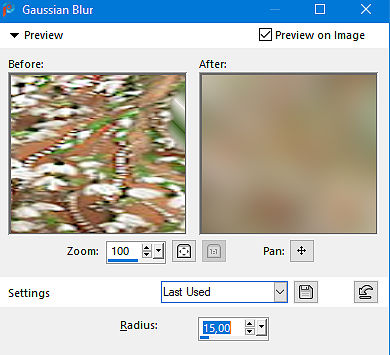
7 - Adjust/
Blur/ Gaussian Blur/ Radius 15
8 - Effects/
Plugins/ Lenk Landksiteofwonders/ LenK's Palmyre/ 255/ 7
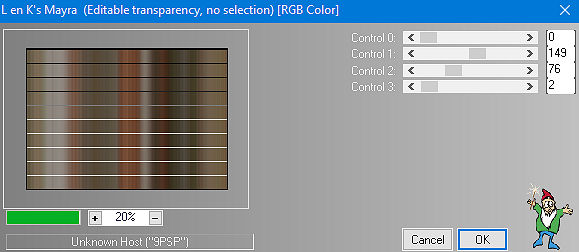
9 - Effects/
Plugins/ Lenk Landksiteofwonders/ LenK's mayra/ 0/ 149/ 76/
2
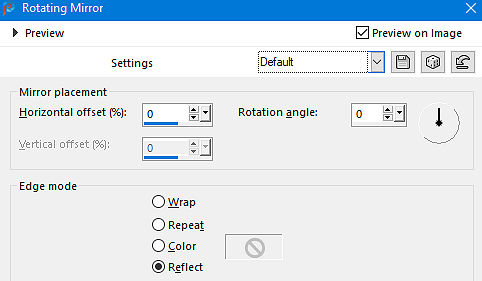
10 - Effects/
Reflections Effects/ Rotation Mirror/ Default
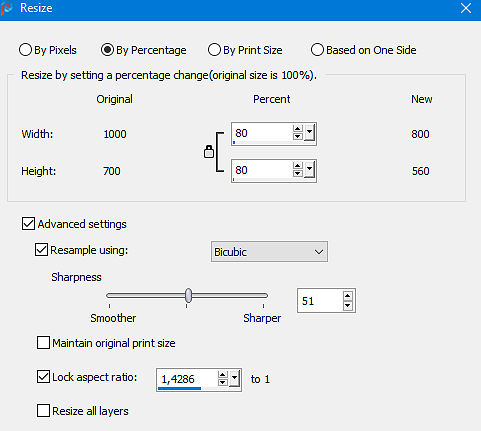
11 - Layers/
Duplicate
Image/ Resize/ By Percentage/ 80 Percent/ Resize All
Layers desmarcado
12 - Effects/
Distortion Effects/ Lens Distortion/ 0/ -40/ Pincushion/ 33/
Repeat
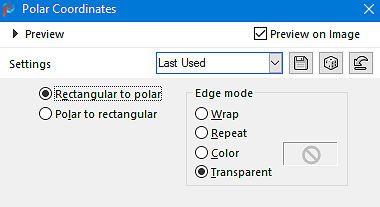
13 - Effects/
Distortion Effects/ Polar Coordinates/ Rectangular to Polar/
transparent
14 - Layers/
Duplicate
Image/ Mirror/ Mirror Vertical
15 - Layers/
Merge/ Merge Down
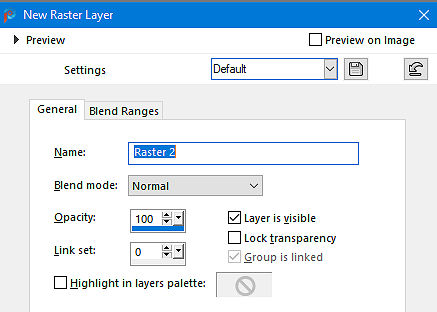
Layers/ New Raster Layer
16 - Pinte com
a cor do background
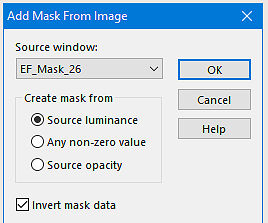
Aplique a mask/ Invert Mask Data marcado/ Delete/
Merge Group
17 - Mude o
Blend Mode para Soft Light
Adjust/ Sharpness/ Sharpen More
18 - Edit/
Copy no tube
Edit/ Paste as New Layer
19 - Resize,
se necessário, posicione e aplique uma sombra a gosto
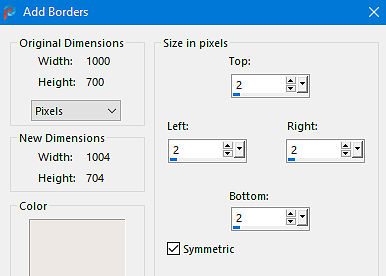
Image/ Add Borders/ Symmetric marcado/ 2/ Cor do
Background
20 - Edit/
Copy
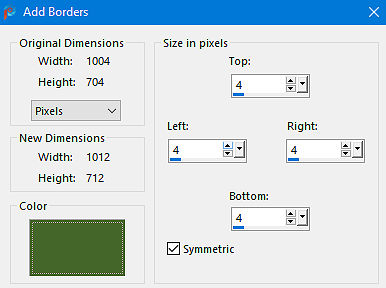
Image/ Add Borders/ Symmetric marcado/ 4/ Cor do
Foreground
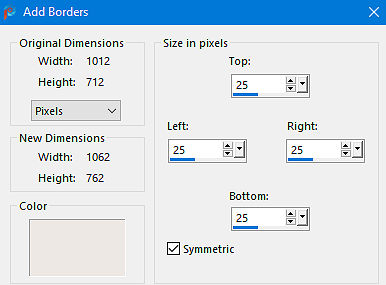
21 - Image/
Add Borders/ Symmetric marcado/ 25/ Cor do Background
22 - Image/
Add Borders/ Symmetric marcado/ 4/ Cor do Foreground
Selections/
Select All
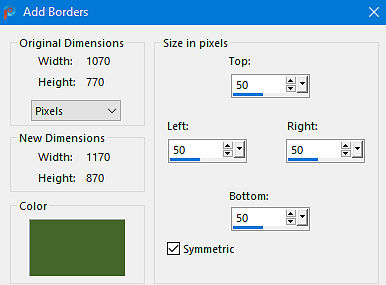
23 - Image/
Add Borders/ Symmetric marcado/ 50/ qualquer cor
Selections/ Invert
24 - Edit/
Paste into Selection a imagem copiada no item 20
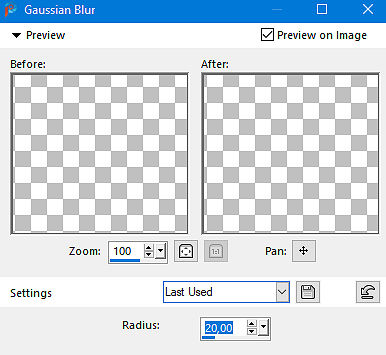
Adjust/ Blur/ Gaussian Blur/ 20
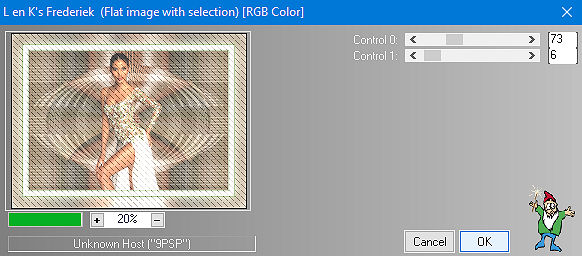
25 - Effects/
Plugins/ Lenk Landksiteofwonders/ LenK's Frederieck/ 73/ 6
26 - Effects/
Plugins/ Lenk Landksiteofwonders/ LenK's Palmyre/ 255/ 7(como
no ítem 08)
Selections/ Select None
27 - Image/
Add Borders/ Symmetric marcado/ 2/ Cor do Background
28 - Edit/
Copy no deco NRB_Art_Deco_84
Edit/ Paste as New Layer
29 - Com a
ferramenta Pick, posicione: Position X/ 82,00/ Position Y/
148,00
30 - Layers/
Duplicate
Image/ Mirror/ Mirror Horizontal
31 - Layers/
Duplicate
Image/ Mirror/ Mirror Vertical
32 - Layers/
Duplicate
Image/ Mirror/ Mirror Horizontal
33 - Edit/
Copy no deco NRB_Art_Deco_85
Edit/ Paste as New Layer
34 - Com a
ferramenta Pick, posicione: Position X/ 12,00/ Position Y/
16,00
Layers/ Duplicate
Image/ Mirror/ Mirror Horizontal
Image/ Mirror/ Mirror Vertical
35 - Copie
novamente o deco NRB_Art_Deco_85 e posicione nas laterais da
mask, como no modelo
36 - Edit/
Copy no deco NRB_Art_Deco_86
Edit/ Paste as New Layer
37 - Com a
ferramenta Pick, posicione: Position X/ 1039,00/ Position Y/
13,00
Layers/ Duplicate
Image/ Mirror/ Mirror Vertical
Image/ Mirror/ Mirror Horizontal
38 - Edit/
Copy no texto
Edit/ Paste as New Layer/ posicione
39 - Layers/
Merge/ Merge All
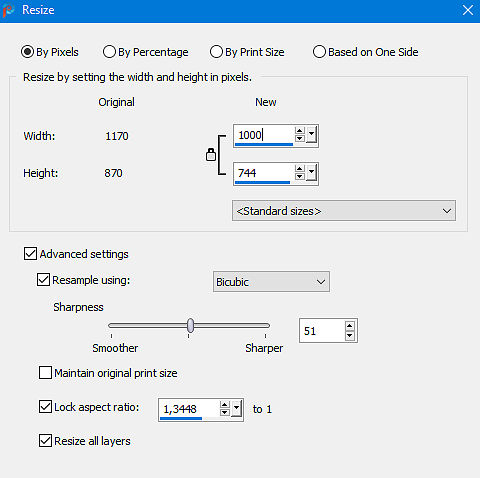
Image/ Resize/ By Pixels/ Width/ 1000/ Resize All
Layers marcado
40 - Adjust/
Sharpness/ Sharpen
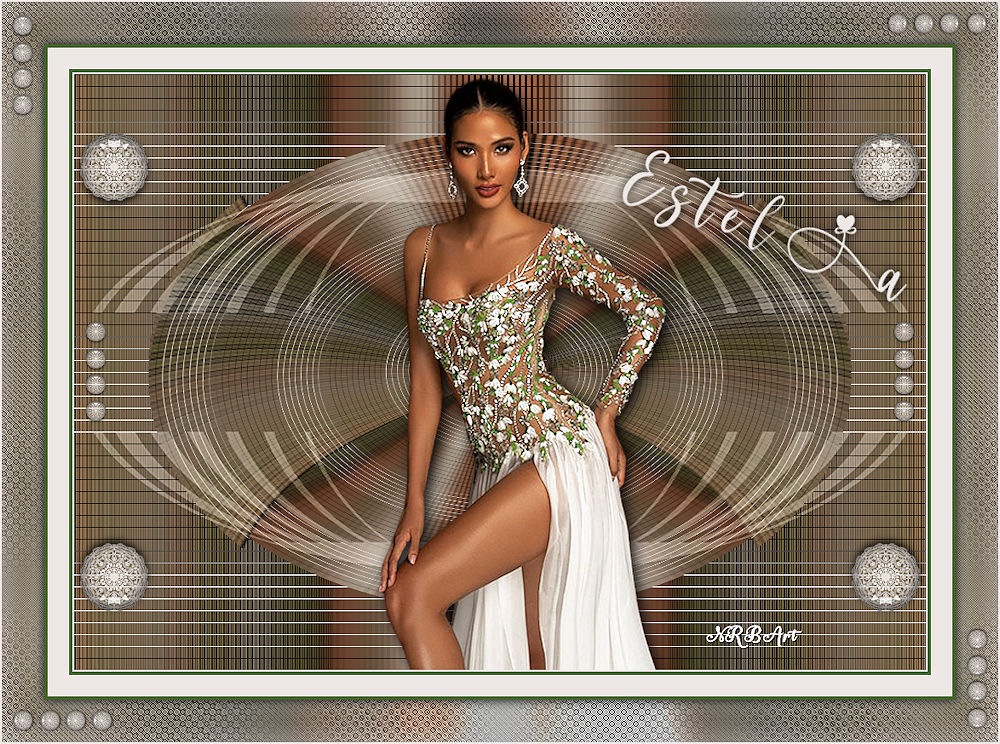
Assine e salve em jpeg
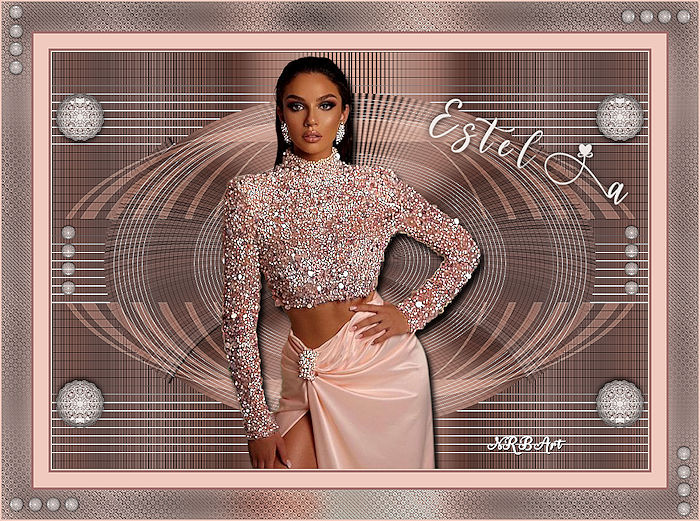
Outro
Modelo:
Créditos:
Tutorial:
Natália Raposo
Tube1: LB Tubes
Tube2: LB
Tubes
Mask: EF_Mask_26
NRB_Art_Deco_84
NRB_Art_Deco_85
NRB_Art_Deco_86
NRB_Art_Texto_Estela