Material:
Tube de personagem
Tube Floral
nrb_art_deco_48
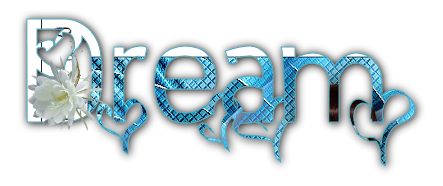
nrb_art_texto_dream
Narah_Mask_Abstract_049
Efeitos do PSP (foi usado o PSP 2020)
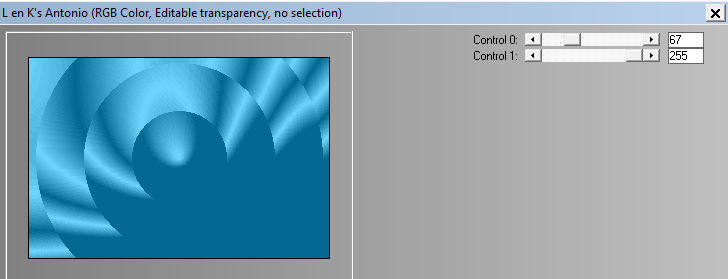
Effects/ Plugins/ Len K landksiteofwonders/ Lenk's Antonio
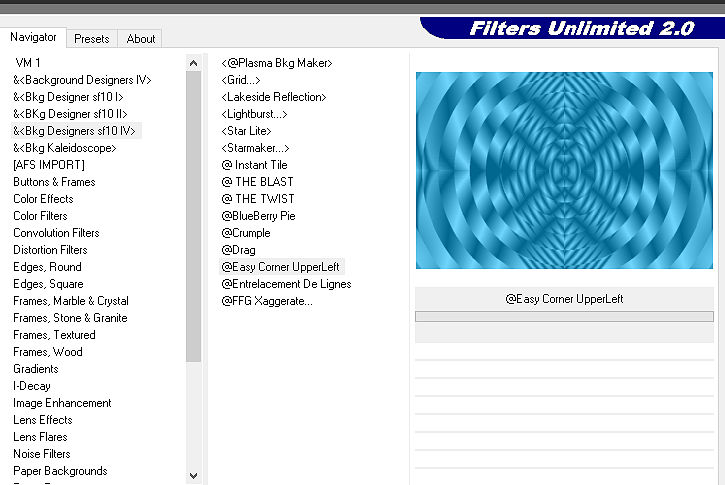
Effects/ Plugins/ Filters Unlimited 2.0/ &<Bkg Designers/
sf10 IV/ Easy Corner UpperLeft
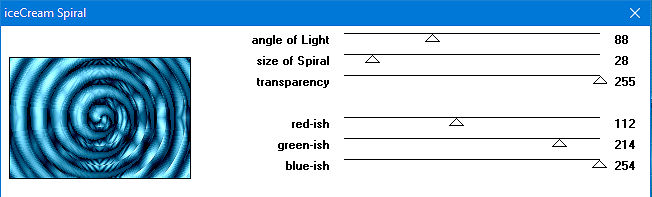
Effects/ Plugins/ Kang 2/ Icecream Spiral
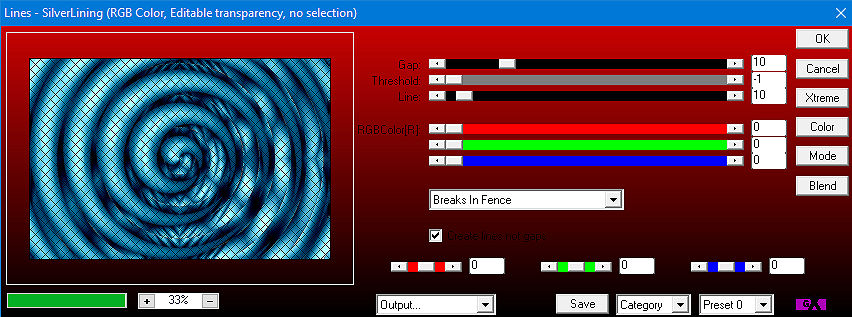
Effects/ Plugins/ AP01[Innovations]/ Lines-SilverLining
Roteiro:
1 -
Abra os materiais no PSP
Escolha duas cores predominantes
2 -
Coloque a cor mais escura no foreground e a cor mais clara
no Background
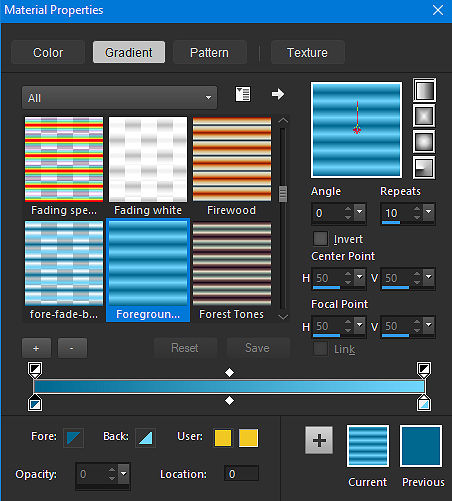
No Foreground, faça um Gradiente linear/ 0/ 10. Invert
desmarcado
3 -
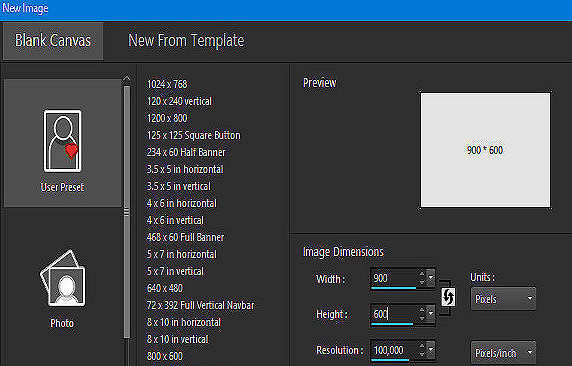
Abra uma imagem transparente 900X600 e pinte com o Gradiente
4 - Effects/ Plugins/ Len K landksiteofwonders/
Lenk's Antonio/ 67/ 255
5 - Layers/ Duplicate
Image/ Mirror/ Mirror Horizontal. Image/ Mirror/ Mirror
Vertical
6 - Mude o Blend Mode para Darken
Layers/ Merge/ Merge Down
7 - Effects/ Plugins/ Filters Unlimited 2.0/ &<Bkg
Designers/ sf10 IV/ Easy Corner UpperLeft
8 - Effects/
Edge Effects/ Enhance More
9 - Layers/
Duplicate
Effects/ Plugins/ Kang 2/ Icecream Spiral/ 88/ 28/ 255/
Em red-ish/ green-ish/ blue-ish coloque o RGB do
background
10 - Mude o
Blend Mode para Soft Light
Effects/ Plugins/ AP01[Innovations]/ Lines-SilverLining/
Breaks in Fence
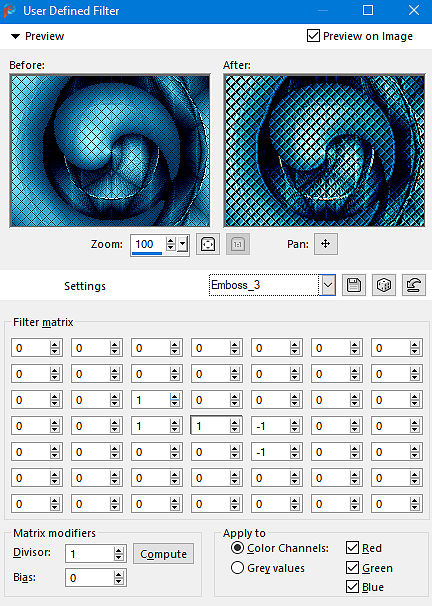
11 - Effects/
User Defined Filter/ Settins/ Emboss 3
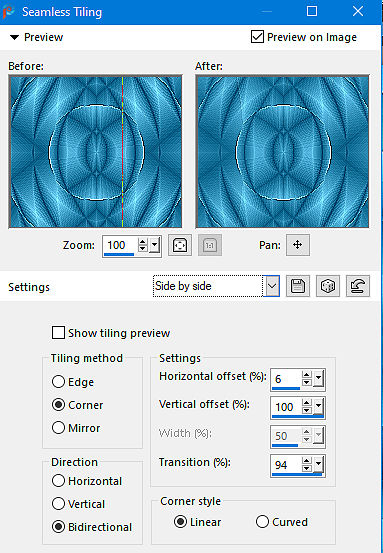
12 - Na layer
Raster 1: Effects/ Image Effects/ Seamless Tiling/ Side by
Side
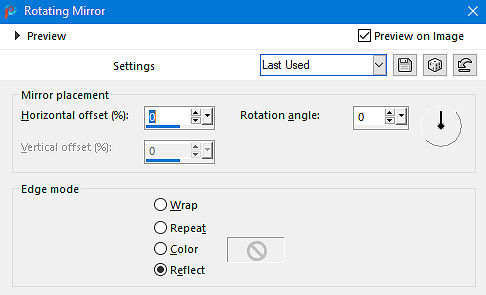
13 - Effects/
Reflection Effects/ Rotation Mirror/ Default
14 - Layers/
New Raster Layer.
Pinte de branco
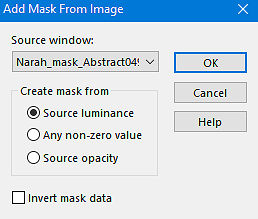
15 - Aplique a
mask. Layers/ Delete
Layers/ Merge/ Merge Group
16 - Mude o
Blend Mode para Luminance (Legacy)
Layers/
Arrange/ Bring to Top
17 - Edit/
Copy no tube principal
Edit/ Paste as New Layer
18 -
Redimencione, se necessário, posicione e aplique uma sombra
a gosto
19 - Edit/
Copy no tube floral
Edit/ Paste as New Layer
20 -
Redimencione, se necessário. Posicione e aplique uma sombra
a gosto
21 - Edit/
Copy no texto
Edit/ Paste as New Layer
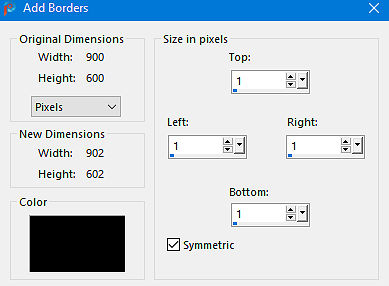
22 - Image/
Add Borders/ Symmetric/ 1/ Preta
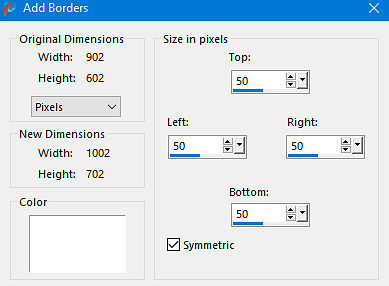
23 - Image/
Add Borders/ Symmetric/ 50/ Branca
24 - Image/
Add Borders/ Symmetric/ 1/ Preta
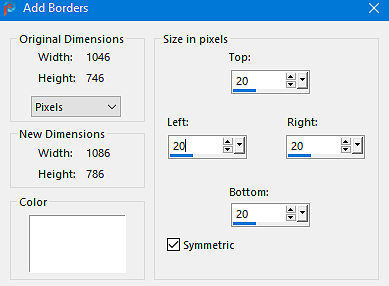
25 - Image/ Add Borders/ Symmetric/ 20/ Branca
26 - Image/
Add Borders/ Symmetric/ 1/ Preta
27 - Edit/
Copy no deco
Edit/ Paste as New Layer. Posicione à esquerda como no
modelo
28 - Layers/
Duplicate
Image/ Mirror Horizontal. Image/ Mirror Vertical
29 - Layers/
Merge/ Merge all
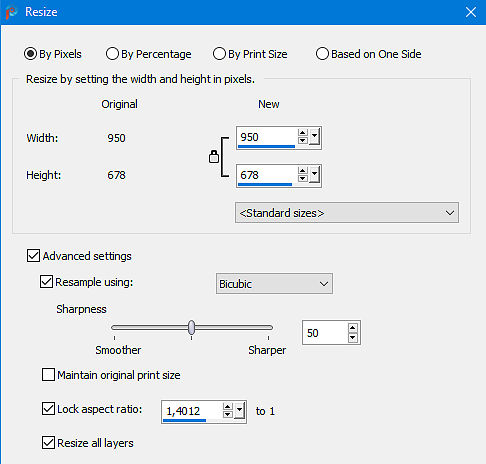
Image/ Resize/ By Pixels marcado/ Width/ 950/ Resize
All Layers marcado
30 - Adjust/
Sharpness/ Sharpen
Assine e salve em jpeg
Outro
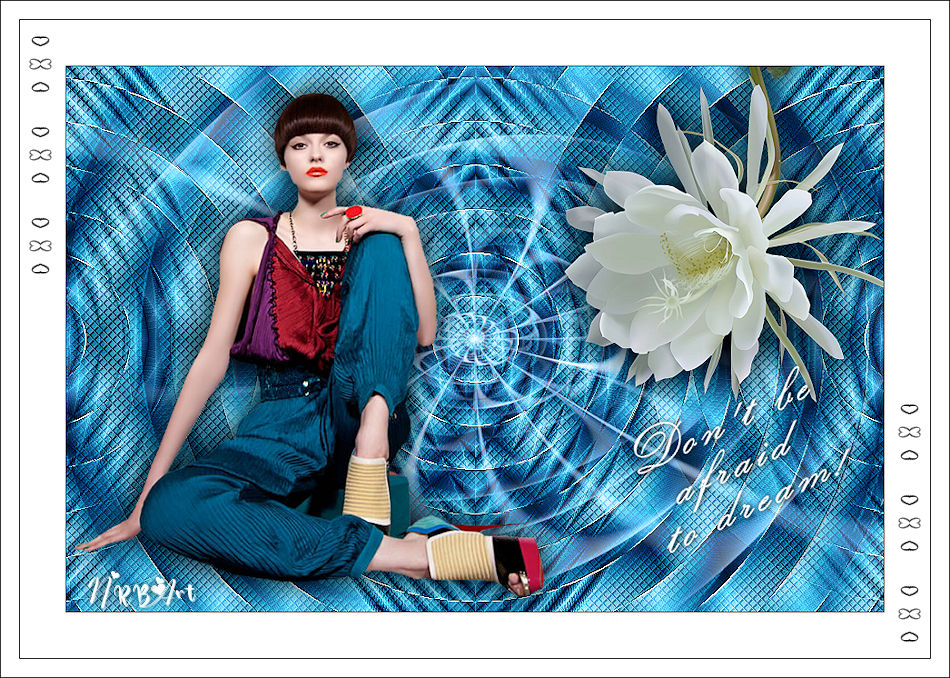
Modelo:
Créditos:
Tutorial: Natália
Raposo
Arte e Formatação: Natália Raposo
Tube personagem1: Calligraphiy
Tube Floral1: LB Tubes
Tube Personagem2: VIO
Tubes
Tube Floral2:
Calligraphy
Mask: Narah
Deco e Texto: NRB_Art