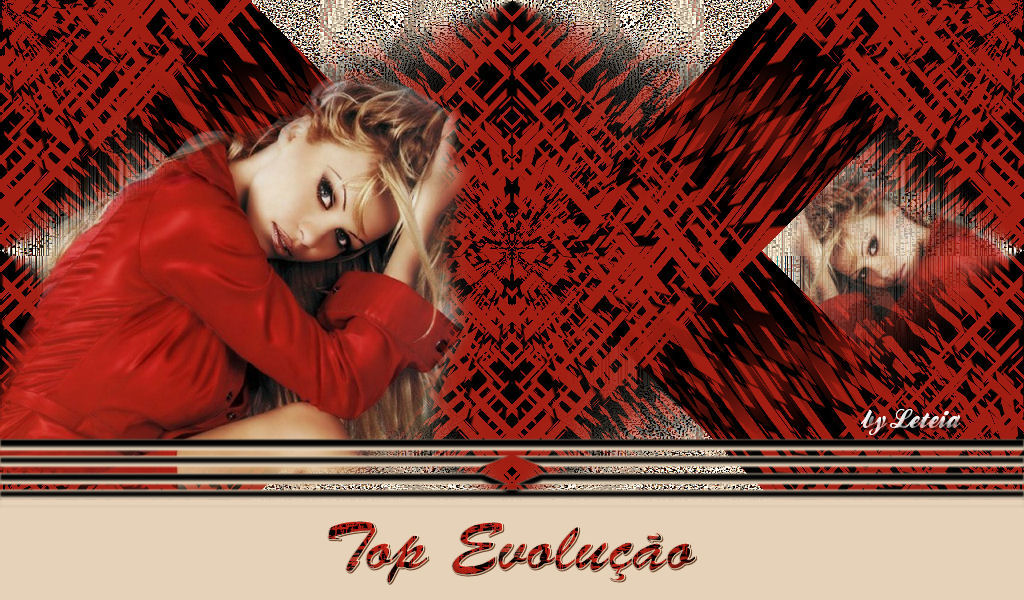
01- Abra o PSP e
o tube.
02- Edit/ Copy.
Feche o
original.
03- Edit/ Paste/
As New Image.
04- Escolha duas
cores
contrastantes
(uma escura e
uma clara) da
tube. Coloque a
cor clara em
background e a
cor escura no
foreground.
05- Abra uma
nova imagem de
1024x500 pxl
transparente.
06- Pinte com a
cor escura.
07- Plugin/
Richard Rosemanm/
Box Fiting:
3000/ 35/ 25/
preto.
08- Effects/
Distortion
effeccts/ Polar
coordinate:
rectangular to
polar/ wrap.
09- Effects/
Geometric
Effects/ Skew:
vertical/ 45/
transparent.
10- Layers/
Duplicate.
11- Image/
Mirror. Blend
mode lighten.
12-Layers/
Merge/ Merge
down.
13- Effects/
Image Effects/
Seamless tiling:
Default.
14- Layers/ New
raster layer.
Merge down.
15- Pintar com a
cor clara.
16- Effects/
Texture Effects/
Texture: Grain
long deep: 100/
0/ 2/ 1/ 1/
branco/ 315/ 50/
30.
17- Effects/
User defined
filters:
emboss_3.
18- Plugin/
Funhouse/Gyro:
140/ 0/ 0/ 0/ 0/
0/ 0/ 0.
19- Effects/
Geometric
Effects/
Perspective
horizontal: 70/
Repeat.
20- Layers/
Duplicate.
21- Image/
Mirror. Blend
mode: darken.
22- Layers/
Merge/ Merge
down.
23- Plugin/
Funhouse/
Heinenberg’s
Mirror: 188.
24- Adjust/
Sharpeness/
Shapen more.
25- Edit/Copy no
tube.
26- Edit/ Paste
as new layer no
top.
27- Layers/
Merge/ Merge all.
28- Layers/ Load/
save mask/mask
from disk:
leteia_007_2012.
29- Merge group.
30- Image/
Carvas size:
1024x530/ Bottom:
30/ Restante: 0.
31- Effects/ 3D
Effects/Drop
shadow:
7/0/100/3/preto.
32- Layes/ New
raster layer.
33- Pintar com a
cor clara.
34- Assinar,
salvar como jpeg
e formatar como
top.