|
|
 Material
Efeitos do PSPX5
Alpha Channel: leteia_ac_moon
Tube misted
Tube principal
Plugins
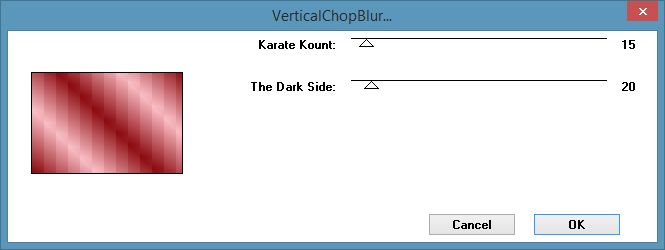
Two Moon / VerticalChopBlur
Simple / Pizza Slice Mirror

Roteiro
01- Abra o PSP, os tubes e o Alpha Channel
02- Edit/ Copy. Feche os originais
03- Edit/ Paste/ As New Image
04- Escolha 2 cores da imagem / tube
Escura para Foreground e clara para Background
05- Faça um gradiente: Style: Linear / Angle: 45 / Repeats: 3/
Invert desmarcado
06- Abra uma nova imagem de 750x500 pxl transparente
07- Pinte com o gradiente
08- Plugins / Effects / Two Moon / VerticalChopBlur:
09- Effects / Edge Effects / Enhance More
10- Effects / Plugin / Simple / Pizza Slice Mirror
Repetir o efeito mais uma vez
11- Selection / Load/Save Selection / Load Selection from Alpha
Channel: selection#01
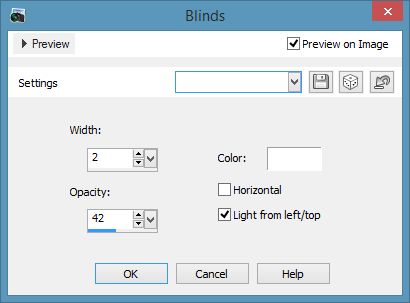
12- Effects / Texture Effects / Blinds:
 13- Effects / 3D Effects / Drop Shadow: 0 / 10 / 30 / 10 / #000000
Repetir com valor negativo
14- Selections / Promote Selection to Layer. Select None
15- Volte a Raster 1:
Selection / Load/Save Selection / Load Selection from Alpha
Channel: Selection#2
16- Adjust / Add/Remove Noise / Add Noise: Uniform / 30 /
Monochrome
17- Adjust / Sharpness / Sharpen More
18- Selections / Promote Selection to Layer
19- Effects / 3D Effects / Drop Shadow: 0 / 10 / 30 / 10 /
#000000
Repetir com valor negativo
20- Selections / Select None
21- Volte a Raster 1:
Selection / Load/Save Selection / Load Selection from Alpha
Channel: Selection#3
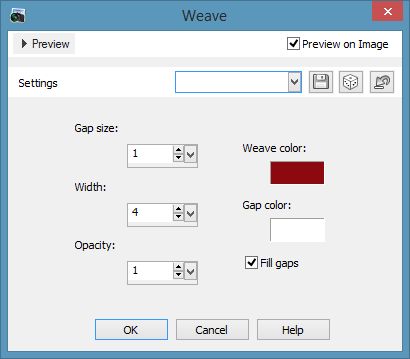
22- Effects / Texture Effects / Weave, cor escura e branco:
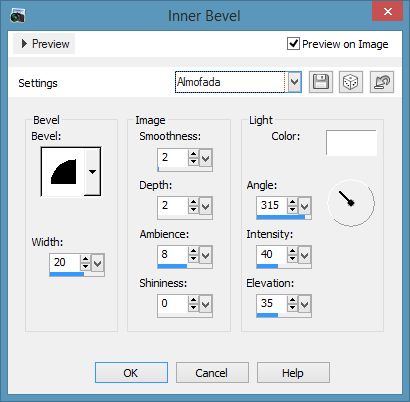
23- Effects / 3D Effects / Inner Bevel: preset almofada
Selections / Promote Selection to Layer
24- Adjust / Sharpness / Sharpen More. Select None
25- Adicione nova Layer. Selections / Select All
26- Edit / Copy no tube misted
27- Edit / Paste into Selection. Select None
Coloque essa Layer entre a Raster 1 e a Promote Selection 2
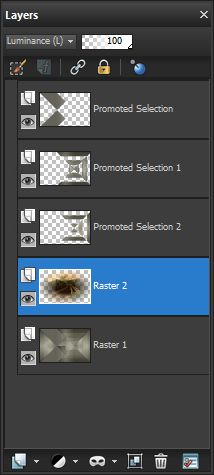
28- Blend mode: Luminance (L) ou outra de seu agrado
Ajeite a gosto
29- Edit / Copy no tube. Layers / Arrange / Bring to top
Resize e Sharpen se necessário
30- Effects / Image / Offset: 200 / 0 / Custom / Transparent
31- Blend Mode: Screen ou outra de seu agrado
32- Layers / Duplicate
33- Image / Offset: -100 / 0 / Custom / Transparent
Blend mode: normal
34- Effects / 3D Effects / Drop Shadow: 0 / -10 / 30 / 10 /
#000000
35- Image / Add Borders: 2 pxl / Symmetric marcado / cor escura
36- Selections / Select All
37- Image / Add Borders: 40 pxl / Symmetric marcado / cor escura
38- Selections / Invert
39- Effects / Texture Effects / Weave, cor escura e branco:

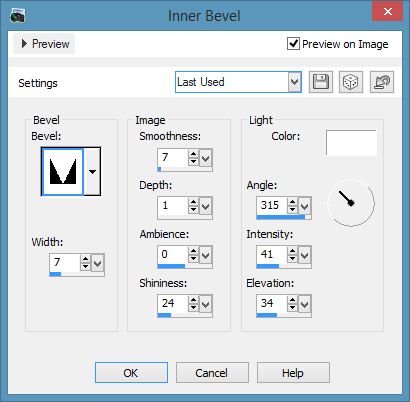
40- Effects / 3D Effects / Inner Bevel: preset barra
41- Selections / Select None
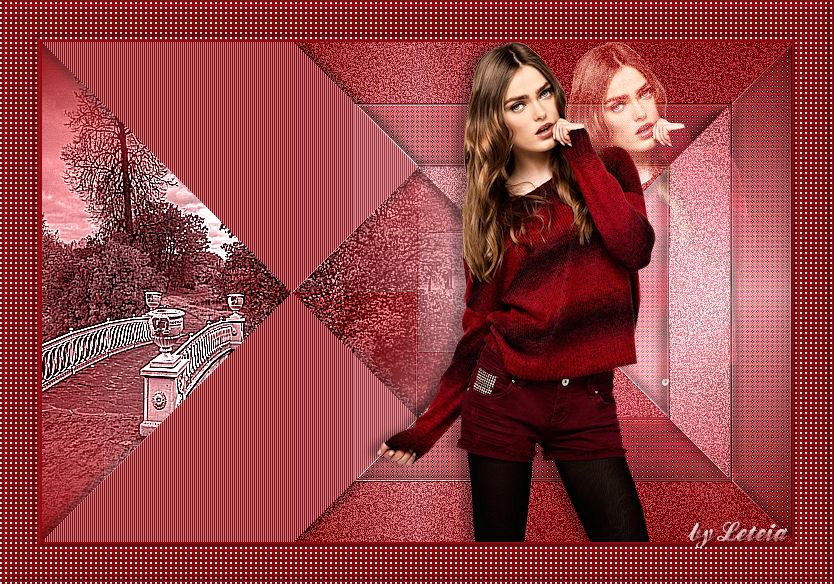
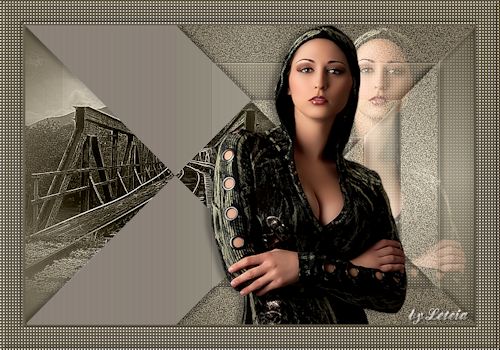
42- Assinar e salvar como jpeg.
Outros exemplos:
 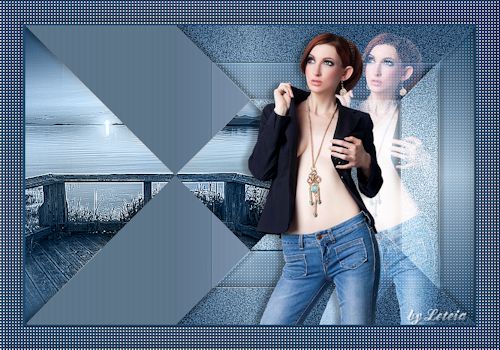
Créditos
Tube principal: woman tubes 149-HaZaL
Tube misted principal: _141_paysage_p3_animabelle
Tube 1º exemplo:
_k@rine_
dreams _Pretty_Woman_2353_Novembre_2012
Tube misted 1º exemplo: 113 - way120 - LB TUBES._
Tube 2º exemplo:
_k@rine_
dreams _Pretty_Woman_2485_Avril_2013
Tube misted 2º exemplo: 1248 - misted - LB TUBES
Tutorial elaborado por Alessandra (Letéia), em 05 de dezembro de
2017,
sendo proibida sua divulgação sem o prévio consentimento da
autora.
 |