|
|
|

Material
Efeitos do PSPX5 Seleções: letéia_atração / letéia_atração1 Tube feminino Tube masculino Tube misted de paisagem
Plug-ins
Filters Unlimited 2.0 / Distortion Filters / Magnifying Glass Filters Unlimited 2.0 / Distortion Filters / Warp Jump Redfield / Water Ripples v1.15 Graphics Plus / Cross Shadow AAA Frame / Texture Frame 
Roteiro
01- Abra o PSP e os tubes 02- Edit / Copy. Feche os originais 03- Edit / Paste As New Image 04- Escolha 2 cores do tube misted Escura para Foreground e clara para Background 05- Abra uma imagem de 900 x 600 e pinte com o Gradiente: Radial / Angle: 135 / Repeats: 1 / Invert desmarcado Center Point: 50 / 50 06- Selections / Select All 07- Edit / Copy no tube misted de paisagem 08- Edit / Paste Into Selection 09- Selections / Select None 10- Effects / Image Effects / Seamless Tiling: Default 11- Adjust / Blur / Gaussian Blur: 70 12- Layers / Duplicate 13- Effects / Plugins / Filters Unlimited 2.0 / Distortion Filters / Magnifying Glass: 30 / 135 / 40 14- Selections / Load/Save Selections / Load Selection From Disk: letéia_atração 15- Selections / Invert. Delete no teclado 16- Selections / Select None 17- Effects / Image Effects / Offset: 150 / 0 / Custom / Transparent 18- Selecione a parte preta com a Magic Wand e delete no teclado 19- Selecione a Raster 1 20- Effects / Plugins / Filters Unlimited 2.0 / Distortion Filters / Warp Jump: 58 21- Effects / Edge Effects / Enhance More 22- Volte a Layer de cima 23- Effects / 3D Effects / Drop Shadow: 0 / 0 / 50 / 50 / #000000 24- Selections / Select None 25- Selections / Load/Save Selections / Load Selection From Disk: letéia_atração1 26- Adicione nova Layer 27- Edit / Paste Into Selection (A imagem já está na memória) 28- Effects / Edge Effects / Enhance More 29- Selections / Select None 30- Layers / Merge / Merge Down 31- Blend Mode: Hard Light ou outro que você prefira 32- Volte à Raster 1 33- Layers / Duplicate 34- Effects / Plugins / Redfield / Water Ripples v1.15: 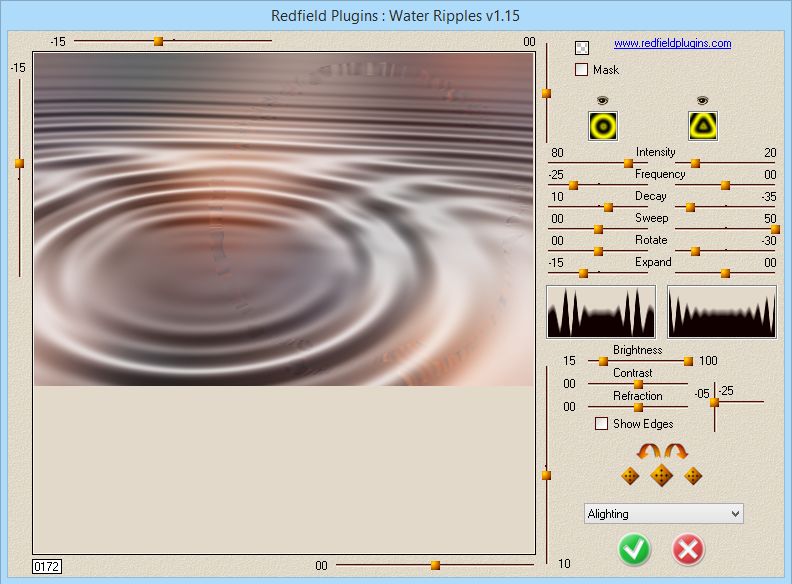 35- Repetir o efeito mais uma vez 36- Ferramenta Pick Tool, nessas configurações:  37- Effects / 3D Effects / Drop Shadow: 0 / 0 / 50 / 50 / #000000 38- Selections / Load/Save Selections / Load Selection From Disk: letéia_atração1 39- Selections / Modify / Expand: 20. Delete no teclado 40- Selections / Select None 41- Edit / Copy no tube masculino 42- Edit / Paste As New Layer 43- Blend Mode: Soft Light 44- Ficará disposto desse modo: 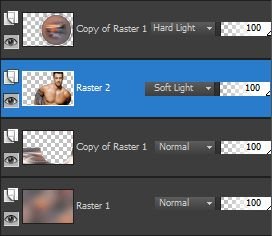
45- Edit / Copy no tube feminino
46- Edit / Paste As New Layer 47- Layers / Arrange / Bring to top 48- Effects / 3D Effects / Drop Shadow: 0 / 0 / 50 / 50 / #000000 49- Image / Add Borders: 3 pxl / Symmetric / #000000 50- Image / Add Borders: 50 / Symmetric / cor clara 51- Selecione essa borda e pinte com o mesmo Gradiente 52- Effects / Plugins / Graphics Plus / Cross Shadow: 50 / 50 / 50 / 50 / 50 / 50 / 128 / 128 53- Effects / Plugins / AAA Frame / Texture Frame: 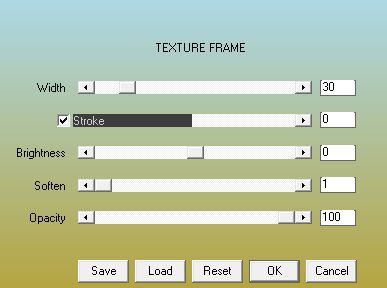
54- Selections / Select All
55- Selections / Modify / Contract Selection: 30 56- Effects / 3D Effects / Drop Shadow: 0 / 0 / 100 / 50 / #000000 57- Selections / Select None 58- Image / Resize: Width: 900 / Height: 600 Lock aspect ratio desmarcado Resize all Layers marcado 59- Assinar e salvar como jpeg Outros exemplos: 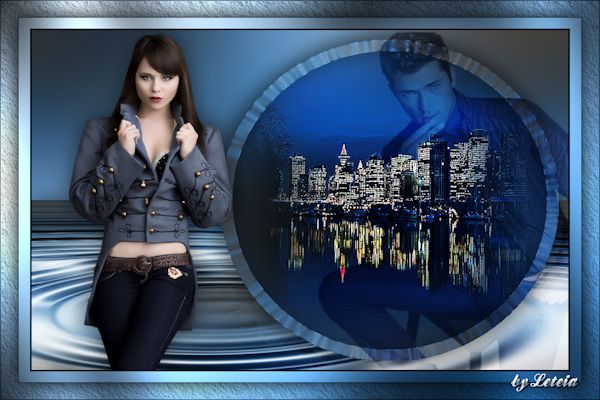 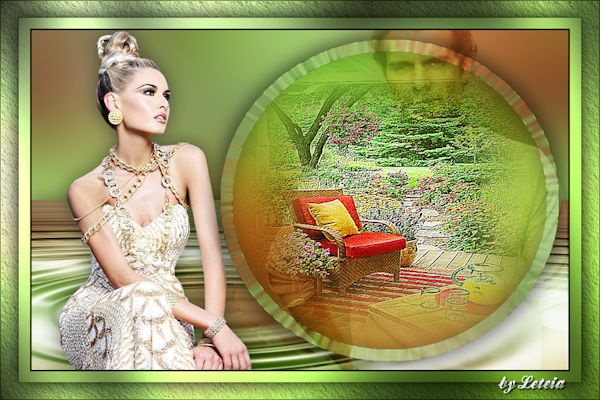
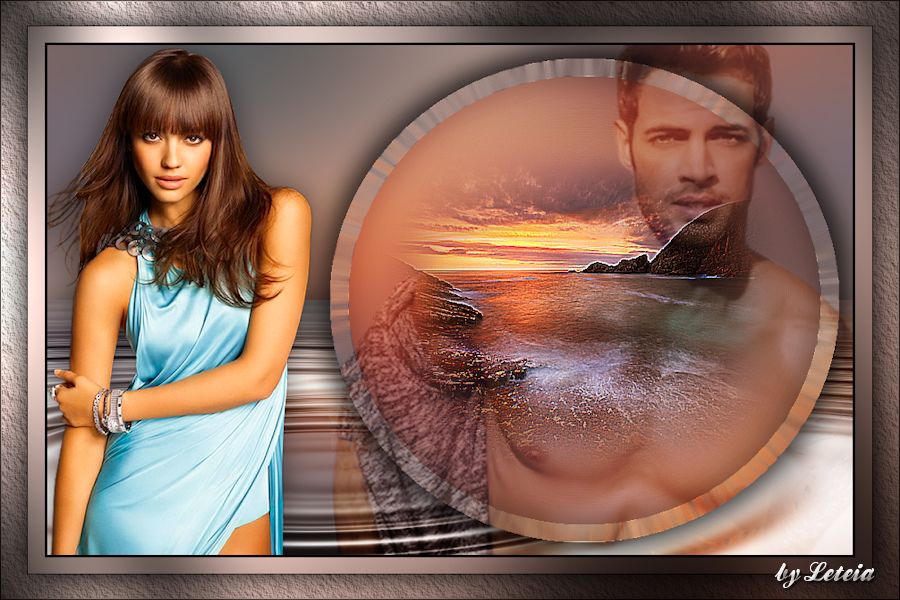
Créditos da Tag Principal
Tube feminino principal: Image10Jessica in Blue_LR-06-12-09 Tube masculino principal: 2182 - William-Ley - LB TUBES Tube misted principal: 8mist_paysage_animabelle
Seleções: letéia_atração / letéia_atração1
Créditos da Tag 1º exemplo
Tube feminino 1º exemplo:
_k@rine_
dreams _Pretty_Woman_2467_Fevrier_2013
Tube masculino 1º exemplo: 2153 - man - LB TUBES Tube misted 1º exemplo: 1285 - night-Vancouver-misted - LB TUBES
Seleções: letéia_atração / letéia_atração1
Créditos da Tag 2º exemplo
Tube feminino 2º exemplo:
_k@rine_
Dreams_Pretty_Woman_2947_Mai_2014
Tube masculino 2º exemplo: 2243 - man - LB TUBES
Tube misted 2º exemplo: 3046-luzcristina
Seleções: letéia_atração / letéia_atração1
Tutorial elaborado por Alessandra (Letéia), em 05 de outubro de
2018, sendo proibida sua divulgação sem o prévio consentimento
da autora
|