|
Tutorial de Alessandra
Link tutorial original:
Beautiful Colors
|
| Tubes Principais:
VM Tubes
|
| Link material:

|
| Plugins: No Plugins |
| Guidelines
Open the mask [leteia_046_2012] and minimize
Save texture 1 in the Textures folder on the psp
|
SCRIPT
01. Open the material / Duplicate (shift+d) / Close the
originals
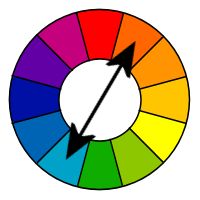
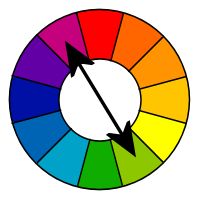
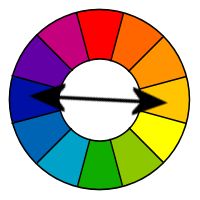
02. Choose two colors from the color tabl. Choose colors that
match your tube
The author provides 3 color wheels. Choose two colors for one
of the wheels that match the tube character
03. Open a new transparent image measuring 800 x 600px
04. Paint with the color chosen for the foreground
05. Effects / Texture Effects / texture[texture 1]
67 2 2 -15 35 white 135 50 30
06. Layers/Duplicate
07. Image / Mirror / Mirror Vertical
08. Layers / Properties / Blend Mode: Lighten
09. Merge down
10. Effects / Edge Effects / Enhance More
11. Layers / New Raster Layer
12. Paint with the background color
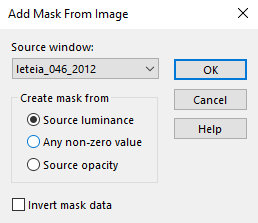
13. Layers / New Mask Layer / From Image / Maks
[leteia_046_2012]
14. Merge Group
15. Drop Shadow: -10 -10 60 10 black
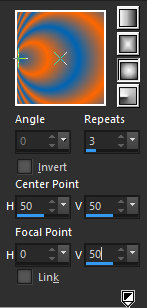
16. Layers / New Raster Layer
17. Paint the layer with this Sunburst gradient:
repeats=3 / invert unchecked / center point=50/50 / focal point=0/50
/ link unchecked
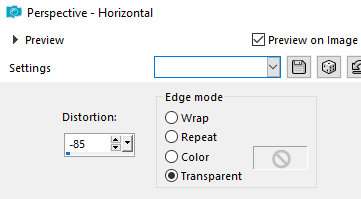
18. effects / Geometric Effects / Perspective Horizontal
-85 transparent
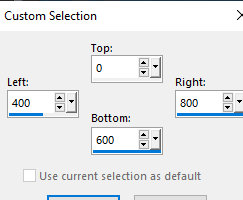
19. Activate Selection Tools / Custom Selection and configure:
0 400 800 600
20. Press Delete on your keyboard
21. Select none
22. Layers/Duplicate
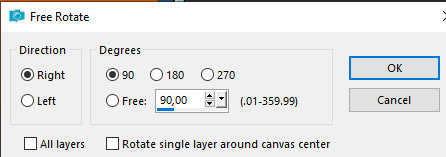
23. Image / Free Rotate - right /90
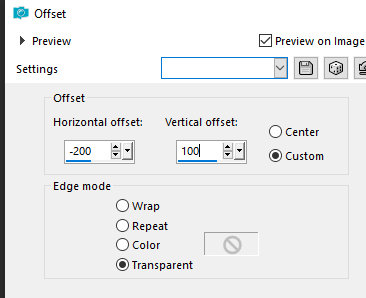
24. Effects / Image Effects / Offset - 200/100 - transparent
25. Layers / Properties / blend Mode: Darken
26. Merge Down
27. Layers/Duplicate
28. Image / Mirror / Mirror Horizontal
29. Image / Mirror / Mirror Vertical
30. Layers / Properties / blend Mode: Darken
31. Merge down
32. Effects / Edge Effects / Enhance More
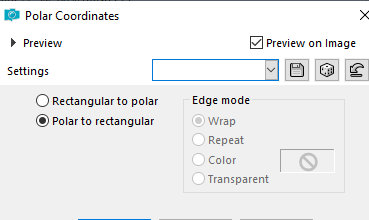
33. Effects / Distortion Effects / Polar Coordinates
polar to rectangular
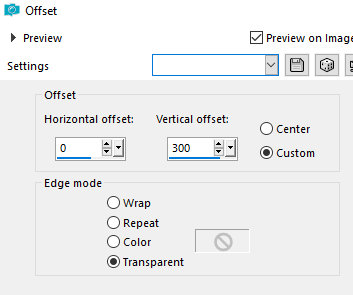
34. Effects / Image Effects / Offset=0/300
35. Layers/Duplicate
36. Image / Mirror / Mirror Vertical
37.Merge down
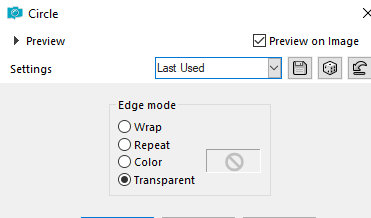
38. Effects / Geometric Effects / Circle - transparent (repeat
this effect 2 more times)
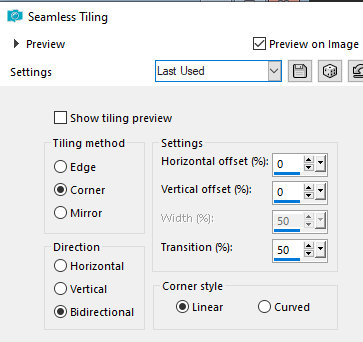
39. Effects / Image Effects / Seamless Tiling - default
40. Drop shadow: 0 0 80 30 background color
41. Effects / Edge Effects / Enhance More
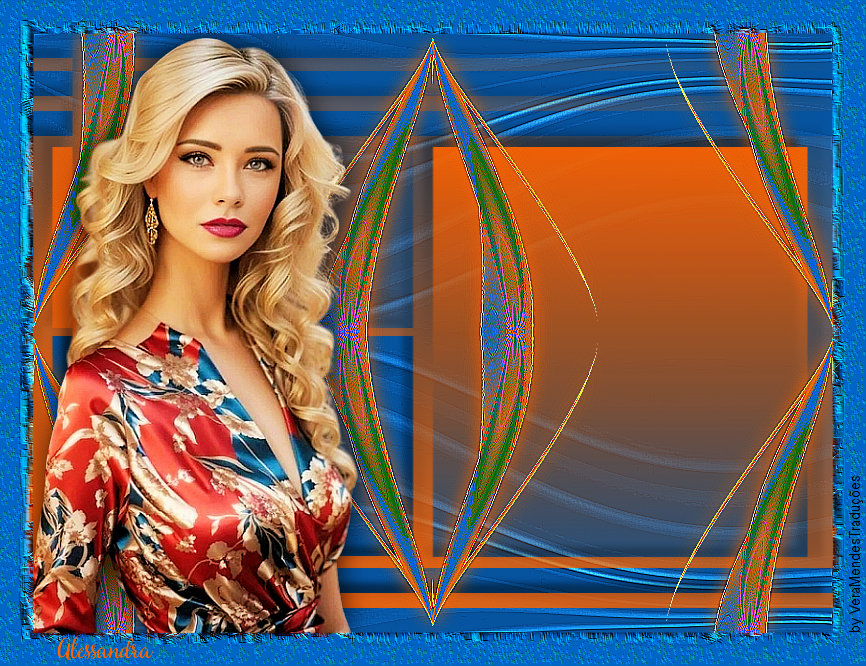
42. Copy the tube character and paste it as a new layer
43. Make adjustments as per your choice: resize/Drop shadow/Position
44. Image / Add borders / symmetric marked / 3px / foreground
color
45. Image / Add borders / symmetric marked / 30px / a different
color
N.T.: I chose to use the color I chose for the foreground, in my
version.
46. Select this 30px border with the Magic Wand (tolerance/feather=0)
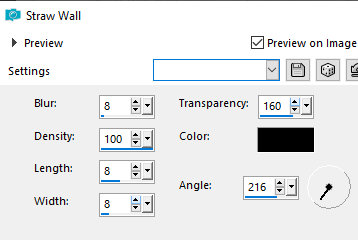
47. Effects / Texture Effects / Straw Wall - Preset[Carpet at
the bowling alley]
N.T.: If you don't have this preset, just copy the print
configuration.
8 100 8 8 160 black 216
48. Drop shadow: 10 10 60 10 black
Repeat with negative V and H
49. Select none
50. Put your signature
51. Save as jpeg