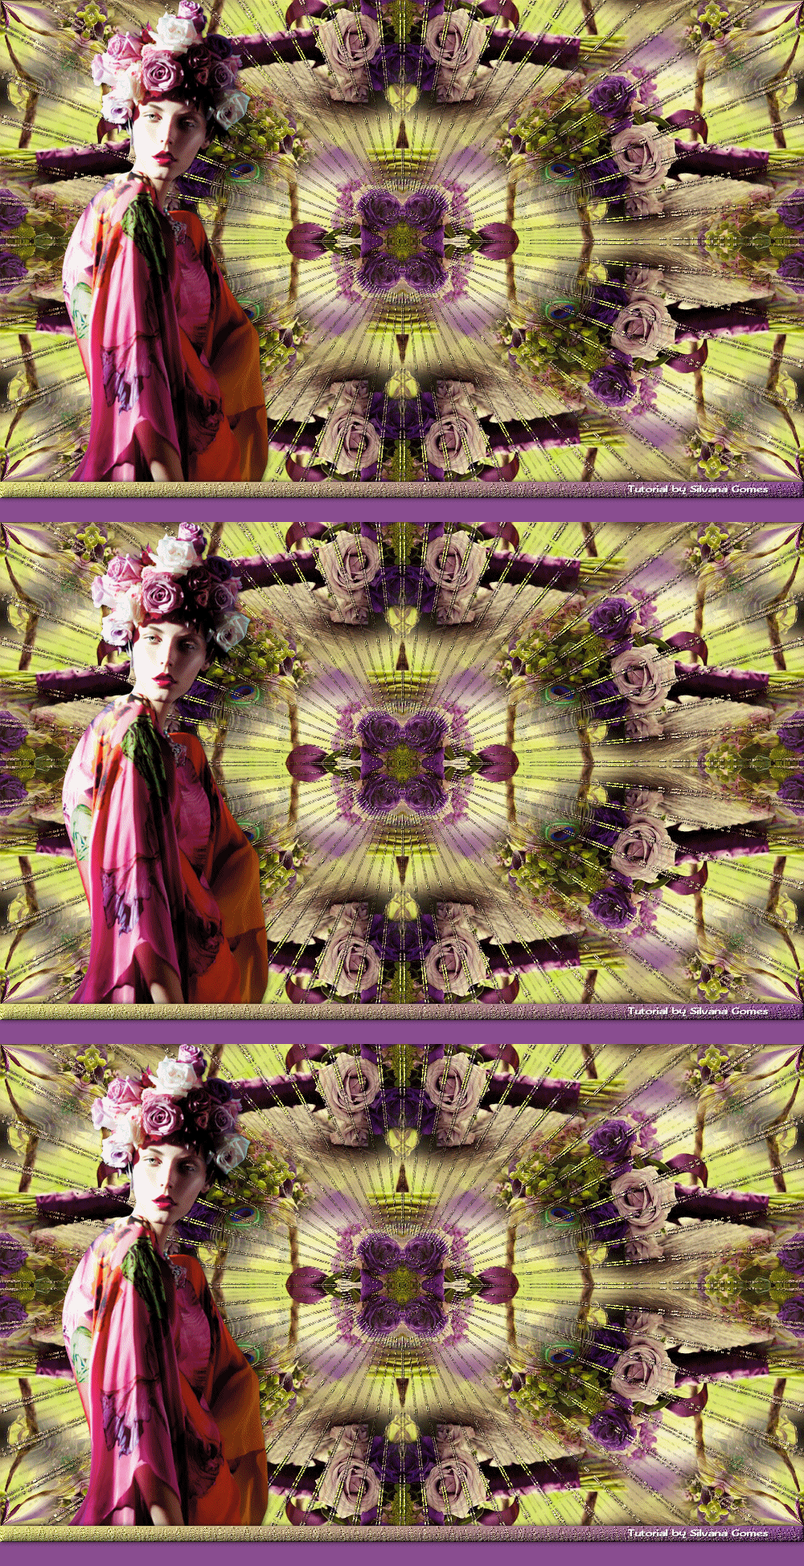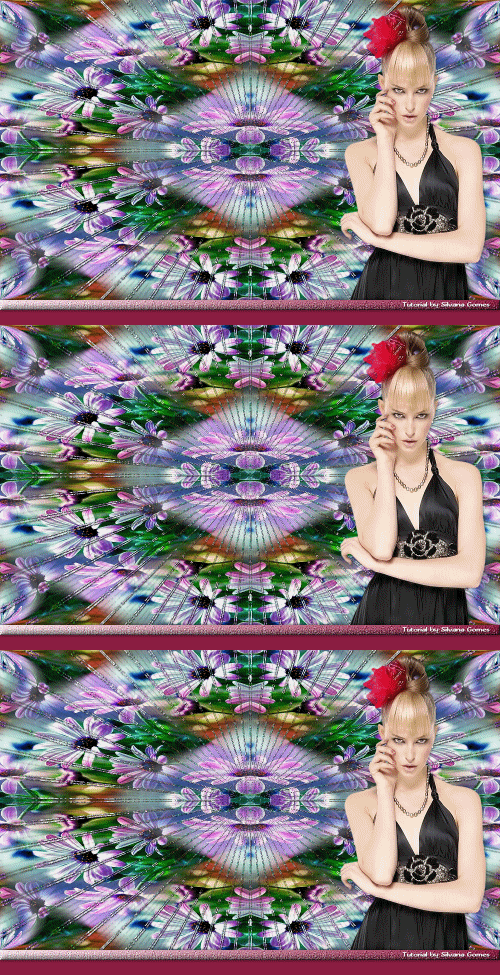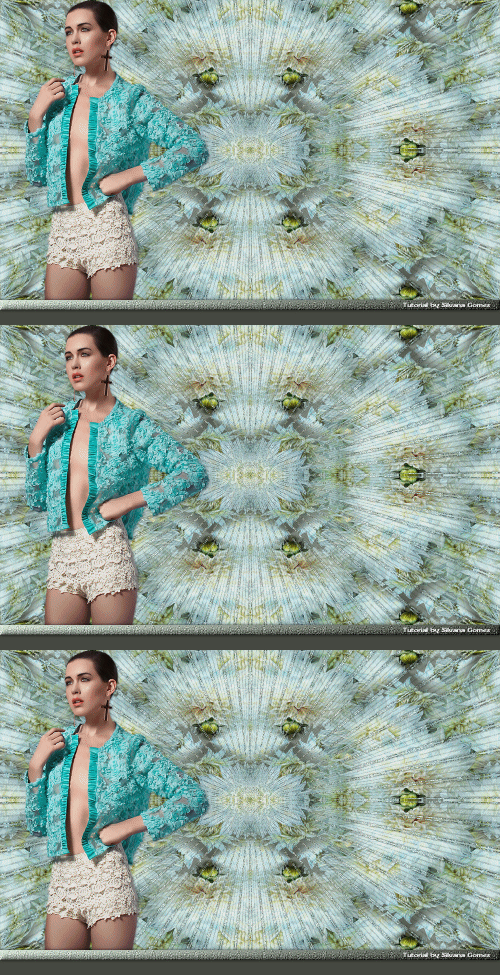
Material
Tube floral para o fundo do top
Tube principal
Plugins:
Kang 1 / Some Snowflake Star Thing
Transparency / Eliminate Black
Visual Manipulation / Slipthrough
Textures / Placage de texture
Sybia / ZigZagge
Efeitos do PSP X5
AS
Roteiro
OBS: Poderá dar diferença pela
escolha do tube floral.
1. Abra os tubes
2. Do tube floral escolha 2 cores,
colocando a cor escura no Foreground e a cor clara no Background
Forme um gradiente Linear / Angle=10
/ Repeats=0 / Invert marcado
3. Abra uma imagem transparente
1000x600px
Pinte com o gradiente. Selections /
Select All
4. Edit / Copy no tube floral
Edit / Paste Into Selection
Selections / Select None
5. Effects / Image Effects / Seamless
Tiling / Default
6. Effects / Reflection Effects /
Kaleidoscope
Image area: 21 / (-30) / 0 / (-47)
Edge mode=Wrap
Kaleidoscope settings: 2 / 0 / 34
7. Layers / Duplicate
8. Effects / Plugin Kang 1 / Some
Snowflake Star Thing : 212 / 39 / 41
9. Effects / Plugin Transparency /
Eliminate Black
10. Effects / 3D Effects / Drop
Shadow: 1 / 1 / 100 / 1 / preto
Renomeie como Efeito
11. Edit / Copy no tube principal
Edit / Paste As New Layer
Effects / 3D Effects / Drop Shadow a
gosto
12. Ative a Layer Raster 1
13. Effects / Plugin Visual
Manipulation / Slipthrough
14. Image / Canvas Size / 1000x620px
/ Bottom=20 / demais=0
Selecione com a Magic Wand /
Tolerance e Feather=0
15. Layers / New Raster Layer
Pinte com o mesmo gradiente
16. Effects / Plugin Textures /
Placage de texture: Toile / 100 / 4 / Haut / Inverser desmarcado
17. Effects / Plugin Sybia / ZigZagge
: 17 e o restante das configurações em 0 (zero)
18. Effects / User Defined Filter /
Emboss 3
19. Effects / 3D Effects / Inner
Bevel: Bevel 2 / Width=15 / Smoothness=5 / Depth=5 / Ambience=0 / Shininess=10
/ Color=branco / Angle=315 / Intensity=30 / Elevation=50
20. Image / Canvas Size / 1000x650px
/ Bottom=30 / demais=0
21. Effects / 3D Effects / Drop
Shadow: 0 / 0 / 75 / 10 / preto
22. Selections / Select None
23. Layers / New Raster Layer
Layers / Arrange / Send to Bottom
Pinte com a cor escura
24. Ative a layer da barrrinha
Layers / Arrange / Bring to Top
25. Layers / New Raster Layer e
assine
26. Ative a Layer Efeito
Adjust / Add/RemoveNoise / Add Noise
/ Uniform / 50 / Monochrome marcado
Edit / Copy Merged
Leve ao AS
27. No AS: Edit / Paste As New
Animation
28. Volte ao PSP e dê um Edit / Undo
29. Adjust / Add/RemoveNoise / Add
Noise / Uniform / 60 / Monochrome marcado
Edit / Copy Merged
Leve ao AS
30. No AS: Edit / Paste After Current
Frame
31. Volte ao PSP e dê um Edit / Undo
32. Adjust / Add/RemoveNoise / Add
Noise / Uniform / 70 / Monochrome marcado
Edit / Copy Merged
Leve ao AS
33. No AS: Edit / Paste After Current
Frame
34. Salve como gif ( Animation /
Frame Properties: 10)
exemplos
Créditos
Tutorial criado por Silvana Gomes, em
08/08/2015.
Beauty_fleurie_by_CibiBijoux
lizztish_a-posy-on-a-swing
jet-woman6-maart-2008
SoniaTubes_3679
30_tube_femme_p1_animabelle
1717_byTReagen_09-2013
Tutorial criado por Silvana Gomes
sendo proibida sua divulgação sem o prévio consentimento da autora.


