|
|
 Material Tube feminino Tube misted de paisagem Plugins/Filter Factory Gallery B/James Bondage Effects/Plugins/Filter Factory Gallery P/Frame 04 Efeitos do PSPX2
01- Abra o PSP e o tube.
02- Edit/ Copy. Feche o original.
03- Edit/ Paste/ As New Image.
04- Escolha duas cores do tube da paisagem para fazer um gradiente. Coloque a cor clara em background e a cor escura no foreground. Configuração: Sunburst/Repeat: 65. Invert desmarcado. Center Point: 100/100. Focal Point: 50/50. Link center and focal points desmarcado.
05- Abra uma nova imagem de 600x500 pxl transparente. .
06- Selection / Selection All.
07- Edit/Copy no tube de paisagem. Paste into Selection. Selection none.
08- Layers / New Raster Layer. Arrange / Send to bottom.
09- Pintar com a cor escura do gradiente. Layers / Merge/Merge visible.
10- Effects / Plugins / Filter Factory Gallery B / James Bondage: 24/255/146.
11- Edit / Copy no tube de paisagem. Paste as New Layer. Resize se necessário.
12- Layers / New Raster Layer. Pintar com o gradiente formado.
13- Selecione com a varinha (Tolerance: 15/Feather: 0/ Antilias marcado inside) a parte lisa e delete.Selections / Select None.
14- Layers / Duplicate. Image / Mirror. Blend mode: Darken. Layers / Merge/Merge down. Image / Flip.
15- Effects / Geometric Effects / Perspective Vertical: -100/Repeat.
16- Effects / Plugins / Filter Factory Gallery P / Frame 04: 86 /45 /192 /52 / 28/ 165/ 120/ 75.
17- Adjust /Hue and Saturation /Colorize: 146 /66. (Essas cores são da cor escura do gradiente, mas você pode colocar como melhor ficar no trabalho).
18- Effects /User Defined Filter: emboss_3.
19- Effects /Reflection Effects /Kaleidoscope: 25 /50/ 270 /-17/2 /0 /32 /Wrap.
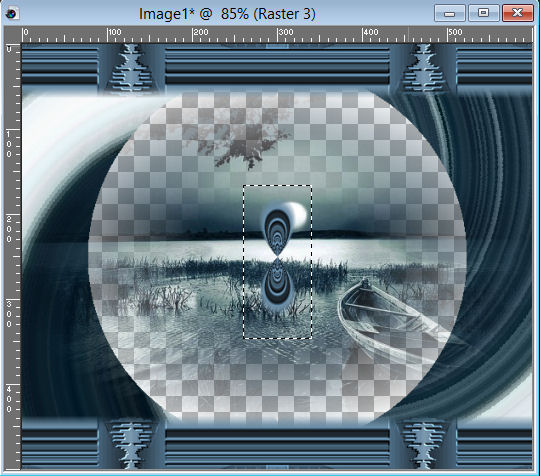
20- Com a ferramenta Selection, delete a parte interna, assim:
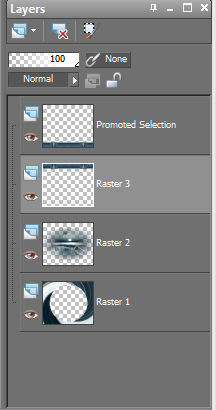
21- Selection /Selections None. Selecione a parte inferior com o selection tools. Promote Selection to Layer. Delete da Layer inferior. Ficará assim:
22- Volte a Layer Merged.
23- Com a varinha (mesma configuração anterior), selecione o círculo, Selection /Modify /Expand: 30.
24- Selecions / Promote Selection to Layer.
25- Volte a Layer Merged.
26- Selection /Modify /Contract: 20. Delete. Selection none.
27- Na Promoted Selection 1: Adjust /Blur /Gaussian Blur: 5.
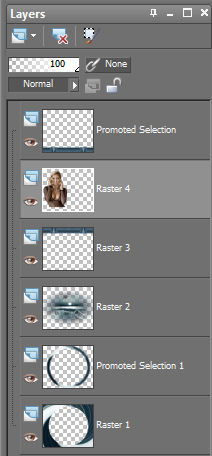
28- Ative a raster 2. Edit /Copy na tube feminina. Paste as New Layer. Resize se necessário.
29- Ficará disposto dessa maneira:
30- Na Pomoted Selection: Effects /3D Effects /Drop Shadow: -10 /0 /80 /10 /#000000.
31- Na Raster 2: Effects /3D Effects /Drop Shadow: 10 /0/ 80 /10 /#000000.
32- Na Raster 3 (tube): Effects/3D Effects/Drop Shadow: 0 /10 /80 /20/ #000000.
33- Layer /New Raster Layer. Arrange /Send to Bottom. Pintar com a mesma cor usada no item 06.
34- Image/Add Border: 3 pixels/Symmetric marcado/Cor clara do gradiente.
35- Image/Add Border: 30 pixels/Symmetric marcado/Cor escura do gradiente.
36- Selecione essa borda com a varinha (tolerance: 15 /Feather: 0 /Antilias: marcado /Inside).
Adjust /Add /Remove Noise /Add Noise: Random /70 /Monochrome marcado.
37- Selection invert. Effects /3D Effects /Drop Shadow: 10 /10 /80 /20 /#000000. Repetir com valores negativos. Selection none.
38- Image /Add Border: 3 pixels /Symmetric marcado /Cor clara do gradiente.
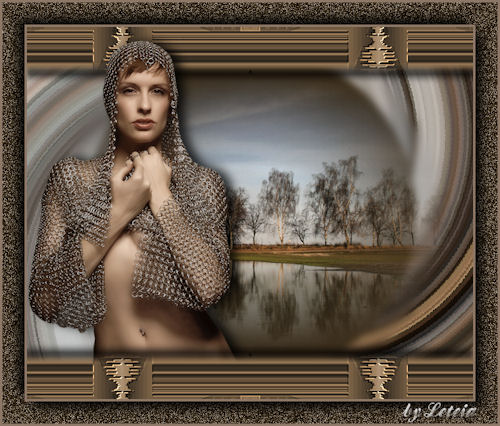
39- Assinar, salvar como jpeg.
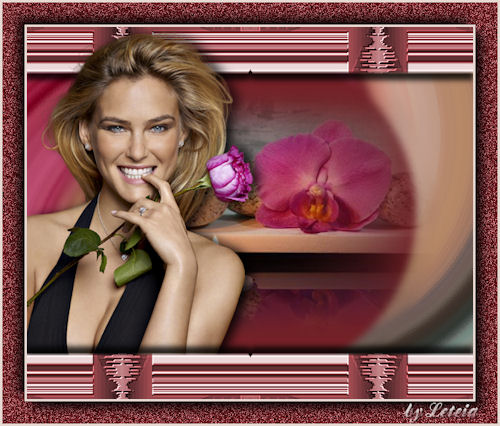
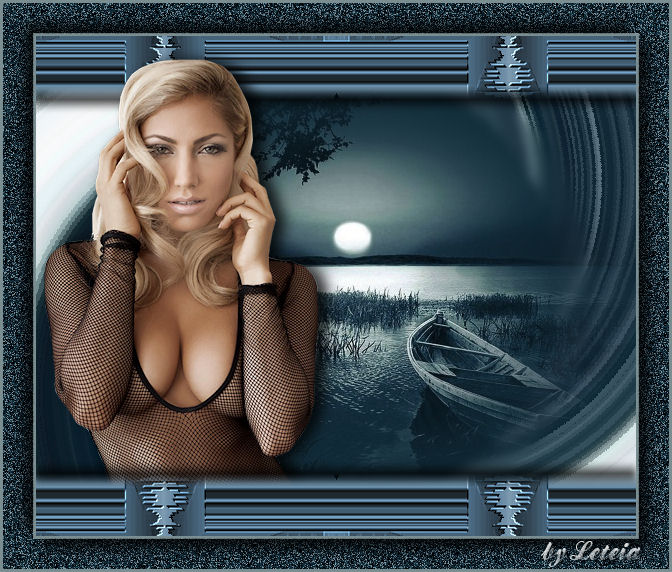
Outros exemplos:
Créditos: Tube principal paisagem: AnaRidzi122 Tube principal feminino: AnaRidzi1214
Tube paisagem 1º exemplo: AR78 Tube feminino 1º exemplo: AR1052
Tube paisagem 2º exemplo: Ambiance_spa_CibiBijoux Tube feminino 2º exemplo: Radieuse_CibiBijoux
Tutorial elaborado por Alessandra (Letéia), em 05 de junho de 2015, sendo proibida sua divulgação sem o prévio consentimento da autora.
|