Roteiro
01- Abra o PSP, a Mask e o tube
02- Edit / Copy. Feche os
originais
03- Edit / Paste / As New Image
04- Escolha 2 cores do tube
Escura para Foreground e clara para Background
05-
Abra uma imagem de 850 x 550 e pinte com
um Gradiente:
Sunburst / Repeats: 0 / Invert marcado
Center Point: 50 / 50
Focal Point: 50 / 50
Link center and focal points desmarcado
06- Layers / New Mask Layer /
From Image: letéia_016_2018
07- Effects / Edge Effects /
Enhance More
08- Layers / Merge / Merge
Group
09- Adicione nova Layer e pinte
com o mesmo Gradiente, somente desmarcando o Invert
10- Layers / Arrange / Move
down
11- Selections / Load/Save
Selection / Load / Selection From Disk: leteia_amber
12- Effects / Plugins / Filters
Unlimited 2.0 / &<Background Designers IV> / sf10 Slice N
Dice
13- Effects / Edge Effects /
Enhance More
14- Selections / Promote
Selection to Layer
15- Selections / Select
None
16- Image / Mirror
17- Blend Mode: Darken
18- Effects / 3D Effects / Drop
Shadow: 0 / 0 / 50 / 30 / #000000
19- Ferramenta Selection /
Custom Selection:
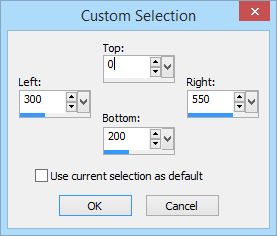
20- Delete no teclado.
Selections / Select None
21- Layers / Merge / Merge Down
22- Selecione a Layer do topo
Selecione o meio da imagem com
a Magic Wand:
23- Volte à Raster 1
24- Effects / Plugins /
Penta.com / Dot and Cross: 80 / 10 / 2
25- Adjust / Sharpness /
Sharpen More
Mantenha selecionado
26- Edit / Copy no tube misted
de paisagem
27- Edit / Paste As New Layer
Resize e Sharpen, se necessário
Pode ultrapassar a seleção
28- Blend Mode: Luminance ou
Luminance (L)
29- Selections / Invert. Delete
no teclado. Mantenha selecionado
30- Volte à Layer de cima
31- Effects / 3D Effects / Drop
Shadow: 0 / 0 / 50 / 30 / #000000
32- Selections / Select None
33- Selections / Load/Save
Selection / Load / Selection From Disk: leteia_amber1
34- Selections / Modify /
Expand: 15
35- Selections / Promote
Selection to Layer
36- Selections / Select None
37- Selections / Load/Save
Selection / Load / Selection From Disk: leteia_amber1
38- Delete no teclado.
Selections / Select None
39- Effects / Texture Effects /
Weave:
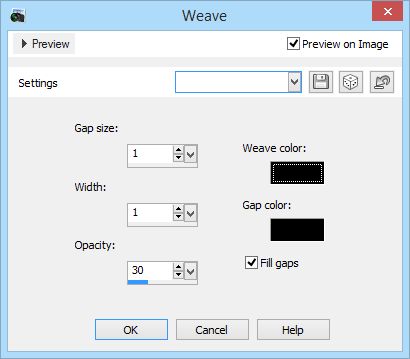
40- Effects
/ 3D Effects / Drop Shadow: 0 / 0 / 50 / 30 / #000000
41- Selecione a Layer abaixo
42- Effects / Plugins / Texture
/ Texturizer:
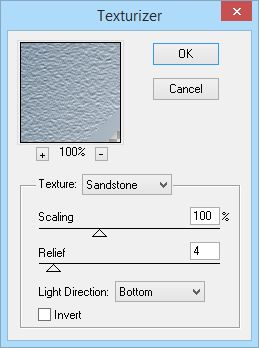
43- Edit / Copy no tube
principal
44-Edit / Paste as New Layer
45- Layers / Arrange / Bring to
top
46- Resize e Sharpen se
necessário. Disponha a gosto
47- Effects / 3D Effects / Drop
Shadow: 0 / 0 / 50 / 30 / #000000
48- Image / Add Borders: 50 pxl
/ Symmetric / #000000
49- Selecione com a Magic Wand
e pinte com o Gradiente usado anteriormente (Invert
desmarcado)
50- Effects
/ Texture Effects / Weave nas mesmas configurações
anteriores
51- Effects / 3D Effects / Drop
Shadow: 10 / 10 / 50 / 30 / #000000
Repetir com valores negativos
52- Selections / Select
None
53- Assinar
e salvar como jpeg
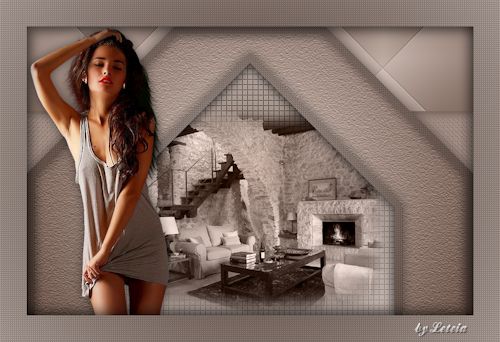
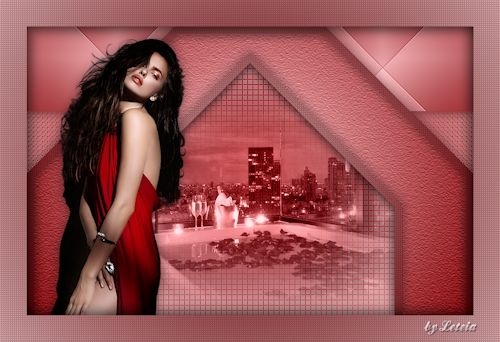
Outros
exemplos:
Créditos
Tube principal:
Mina@.4476.girl.02.17
Tube misted
principal:
9mist_paysage_animabelle
Tube 1º
exemplo:
Mina@.4522.WOMAN.02.17
Tube misted 1º
exemplo:
1651 - misted - LB TUBES
Tube 2º
exemplo:
Mina@.Irina.6.4.15
Tube misted 2º
exemplo:
1794 - misted paisaje - LB TUBES
Tutorial
elaborado
por Alessandra
(Letéia),
em 14
de junho de 2018,